Homemade True Caramel
Learn how to make homemade True Caramel three different ways. With 3 ingredients and no thermometer, you can make homemade caramel sauce, chewy caramels, or hard caramel candy with this technique and recipes from my bake shop!
If you are looking for more caramel desserts, try some of my other favorites like Salted Caramel No Churn Ice Cream, Salted Caramel Cake With Buttercream Frosting, Gingerbread Caramel Sauce, Homemade Caramel Sauce with Bone Broth, Homemade Chewy Coffee Caramel Candies, or Banoffee Icebox Cake.

A Quick Look At The Recipe
- Recipe Name: Homemade True Caramel
- Ready In: 15 minutes
- Main Ingredients: cane sugar, salted butter, heavy whipping cream
- Flavor Profile: smooth, buttery caramel
- Dietary Info: gluten free, eggless, no seed oils
- Difficulty: Medium
- Why You’ll Love It: 3 different ratios to make caramel sauce, chewy caramels, or hard caramel candy
Summarize & Save This Content On
Why You’ll Love This Recipe
- Pure: Learn how to make homemade true caramel with this simple and pure recipe! This is how caramel was created, so it’s the most pure and delicious way to make homemade caramel of any kind.
- 3 Ingredients: I’m going to teach you how to make homemade true caramel with just 3 ingredients! Organic cane sugar, butter, and heavy whipping cream are all you need to make homemade caramel sauce, homemade chewy caramel candies, or hard caramel candy.
- 3 Types of Caramel: With this recipe you’ll learn three different versions for true caramel. You’ll learn how to make homemade caramel sauce, homemade chewy caramel candies (these are the best caramels!), and hard caramel candy. With the same technique and different ratios of ingredients, you can make three different types of homemade caramel easily! This is the only homemade caramel recipe you'll ever need.
- No Thermometer Needed: You do not need a candy thermometer to make this caramel from scratch. I'm teaching you how to cook caramel over the stovetop with just a pot. and a spatula!
Jump to:
- A Quick Look At The Recipe
- Why You’ll Love This Recipe
- What is homemade true caramel?
- Ingredients
- Chewy Caramel Vs. Hard Caramel
- Baker’s Tips
- How to Make Homemade True Caramel Without a Thermometer
- Ways To Use From Scratch Caramel Sauce
- How to Use Homemade Chewy Caramel Candies
- Ways Use Homemade Caramel Hard Candy
- Recipe FAQ’s
- More Caramel Recipes
- Homemade True Caramel
- The Bake Shop
What is homemade true caramel?
True caramel is the traditional or old fashioned way to make caramel. Caramel flavor originated from caramelizing sugar. As sugar cooks, it melts, darkens, and caramelizes which is what caramel flavor actually is. It’s just caramelized sugar crystals.

So, true caramel means the act of dry burning sugar until it caramelizes. True caramel (or real homemade caramel) is made using this technique and only adding in butter and heavy whipping cream.
While some caramel recipes may include brown sugar, corn syrup, water, or even molasses; spoiler alert — if a recipe tells you to add multiple ingredients into a pot and stir, you’re not making true caramel. True caramel is made from the technique of dry burning sugar until it caramelizes. If you are not dry burning the sugar, you are just mimicking caramel flavor with a mix of other ingredients that may taste like caramel. The magic is in the dry burning technique!
Ingredients

- Cane Sugar: I use organic cane sugar. Be sure to use a high quality organic cane sugar for the best flavor. Organic cane sugar is just granulated white sugar, but it's organic. It's less processed, therefore it has a more toasty golden flavor, which will result in a tastier caramel!
- Butter: Make sure to use a sweet cream butter with ~80% butterfat, I use Organic Valley. But, similar butters include O Organics, Horizon, Kirkland Organic Salted Butter (yes, Costco!). Do not use a European style butter or a butter with a high butterfat percentage, as higher butterfat will cause the caramel to burn after it's added in (and this isn't your fault!). If using unsalted butter, you may want to add a little salt into the caramel after the cream. Use the ratio of 1/4 teaspoon of salt per 1/2 cup of butter. Check out the Best Salted Butter for Baking for even more info!
- Heavy Whipping Cream: Again, broken record with ingredients, use the good stuff! It will really make this homemade caramel taste that much better. You can use pasteurized or un-pasteurized, either works.
*For a full list of ingredients and measurements, visit the recipe card below.
Chewy Caramel Vs. Hard Caramel
You can make this caramel from scratch three different ways. But, the process is exactly the same. The different ratios of sugar, butter, and cream are what will determine if the caramel becomes a homemade caramel sauce, homemade chewy caramel candies, or hard caramel candy.
More butter and cream soften the caramel and make it into an easy caramel sauce. By reducing the amount of butter and cream to sugar, the caramel hardens more and becomes homemade soft caramels. Reducing butter and cream even more will create caramel hard candy!
The process of making all three of these types of caramel from scratch is exactly the same. The way you make it doesn’t change! It’s only the amounts of sugar, butter, and cream that differ. So, once you learn how to make my famous homemade caramel recipe, you can use this step-by-step technique to make any kind of homemade caramel you want! Then you can make perfect caramels anytime!

Baker's Tips
- Use a scale as the ratios really matter here.
- Use a high heat spatula. This is important because caramel gets hot and the spatula is in the pot doing a lot of work. If you don’t have a high heat spatula, you can warp your spatula.
- Be patient. Making homemade true caramel takes patience, so just breathe while you take your time.
- Work quickly but efficiently when it’s time to add the butter and cream. You need to be sure to stir quickly and entirely in order to prevent clumps from forming or from burning the caramel.
- Store homemade caramel sauce in a glass jar. It can be left at room temperature for about 2 weeks. You can store it in the fridge for about 1 month.
- Store homemade chewy caramel candies and homemade caramel hard candy at room temperature for up to 2 weeks.
How to Make Homemade True Caramel Without a Thermometer

- In a medium pot, add the cane sugar and put over medium heat.

- Once the sugar on the bottom starts to melt, stir with a high heat spatula to keep from burning. The dry sugar will then sink to the bottom, so it can melt. Sugar clumps will form.

- Then the sugar turns into a liquid.

- Once the sugar has completely melted into a liquid, add the butter. Be careful because steam will rise up quickly. Stir rapidly until the mixture is combined.

- Once the butter is completely combined, add in the cream a little at a time. Be careful, because the cream is colder than the sugar mixture so more steam will rise up quickly. Stir rapidly to combine completely when each amount of cream is added. Once about half the cream is added you can add more at a time.

- Once completely combined, remove from heat. Strain the caramel with a strainer to remove any clumps. (This is optional, but if you are new to caramel making, this is a good idea as you learn).

- Transfer caramel to a glass jar for caramel sauce or to your molds, baking pan, or silicone mat if making caramel candies. Let come to room temperature before using in recipes.
Ways To Use From Scratch Caramel Sauce
- Use as a topping for cupcakes or cakes like my Salted Caramel Cake With Buttercream Frosting.
- Dip apples, pretzels, or cookies in it.
- Drizzle over Organic Rocky Road Ice Cream or make my Salted Caramel No Churn Ice Cream.
- Add into coffee and hot chocolate, like my Caramel Hot Cocoa.
- Make milkshakes with it! Add inside or drizzle on top of my Bone Broth Chocolate Milkshake.
- Add into buttercream frosting or a simple cookie glaze to make caramel frosting like my Caramel Buttercream Frosting.
- Make my Caramel Apple Pie or use it as a drizzle on top of Lattice Spiced Apple Pie.
- Add into jars and give as holiday gifts.
- Swirl into Homemade Marshmallows Without Eggs, Homemade Chocolate Marshmallows Without Eggs, or Pumpkin Spice Marshmallows Without Corn Syrup for a caramel swirl in homemade marshmallows.
How to Use Homemade Chewy Caramel Candies
- Pour the caramel into candy molds to make chewy caramel candies.
- If you don't have a candy mold, you cab use a 1-pound loaf pan and line it with parchment paper. Grease the bottom of the pan and the sides lightly with butter. Pour the caramel in and let it set. Then, you can remove the caramel and cut into small squares. If you want to double this recipe, then it will fit into an 8×8-inch baking pan instead (you might want to double it as they will go fast!). If you are looking for a chocolate chewy caramel recipe, try Homemade Chewy Chocolate Caramel Candy.
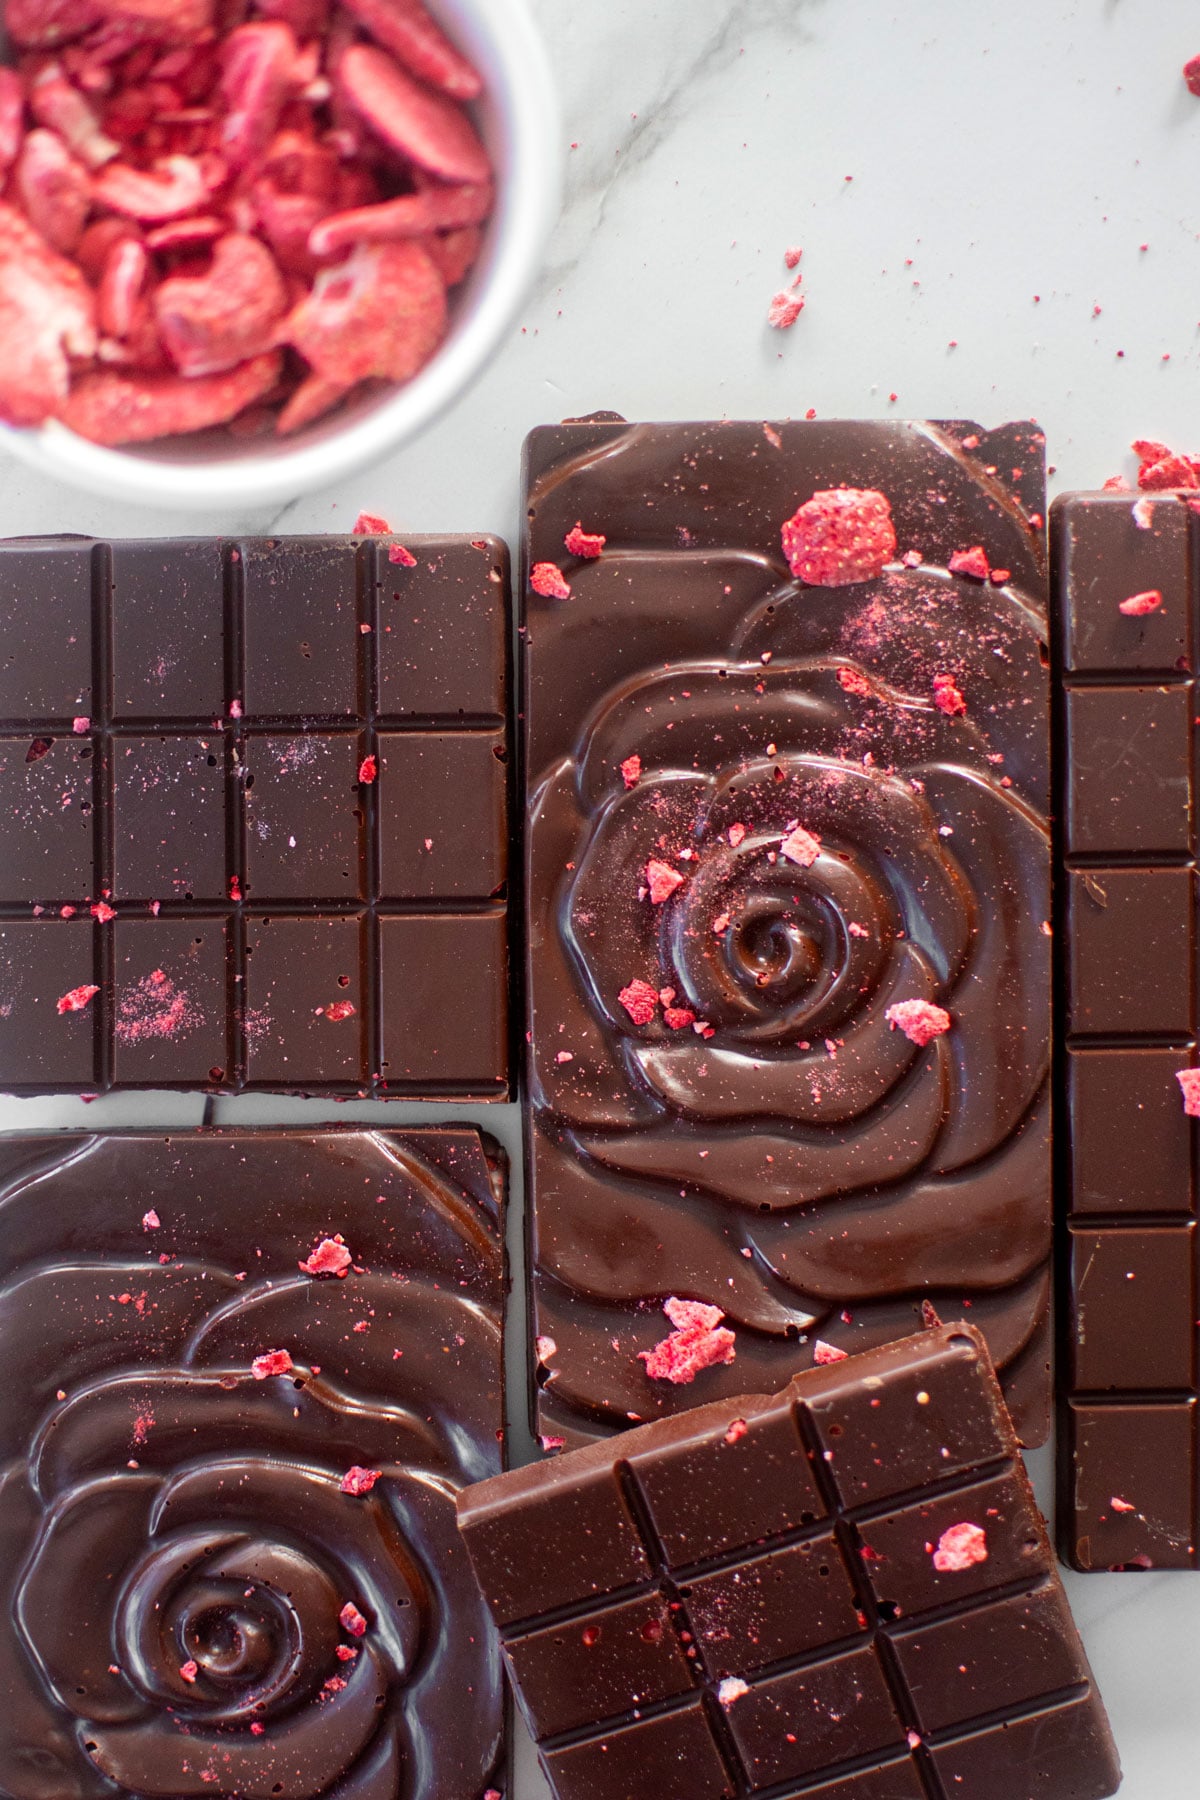
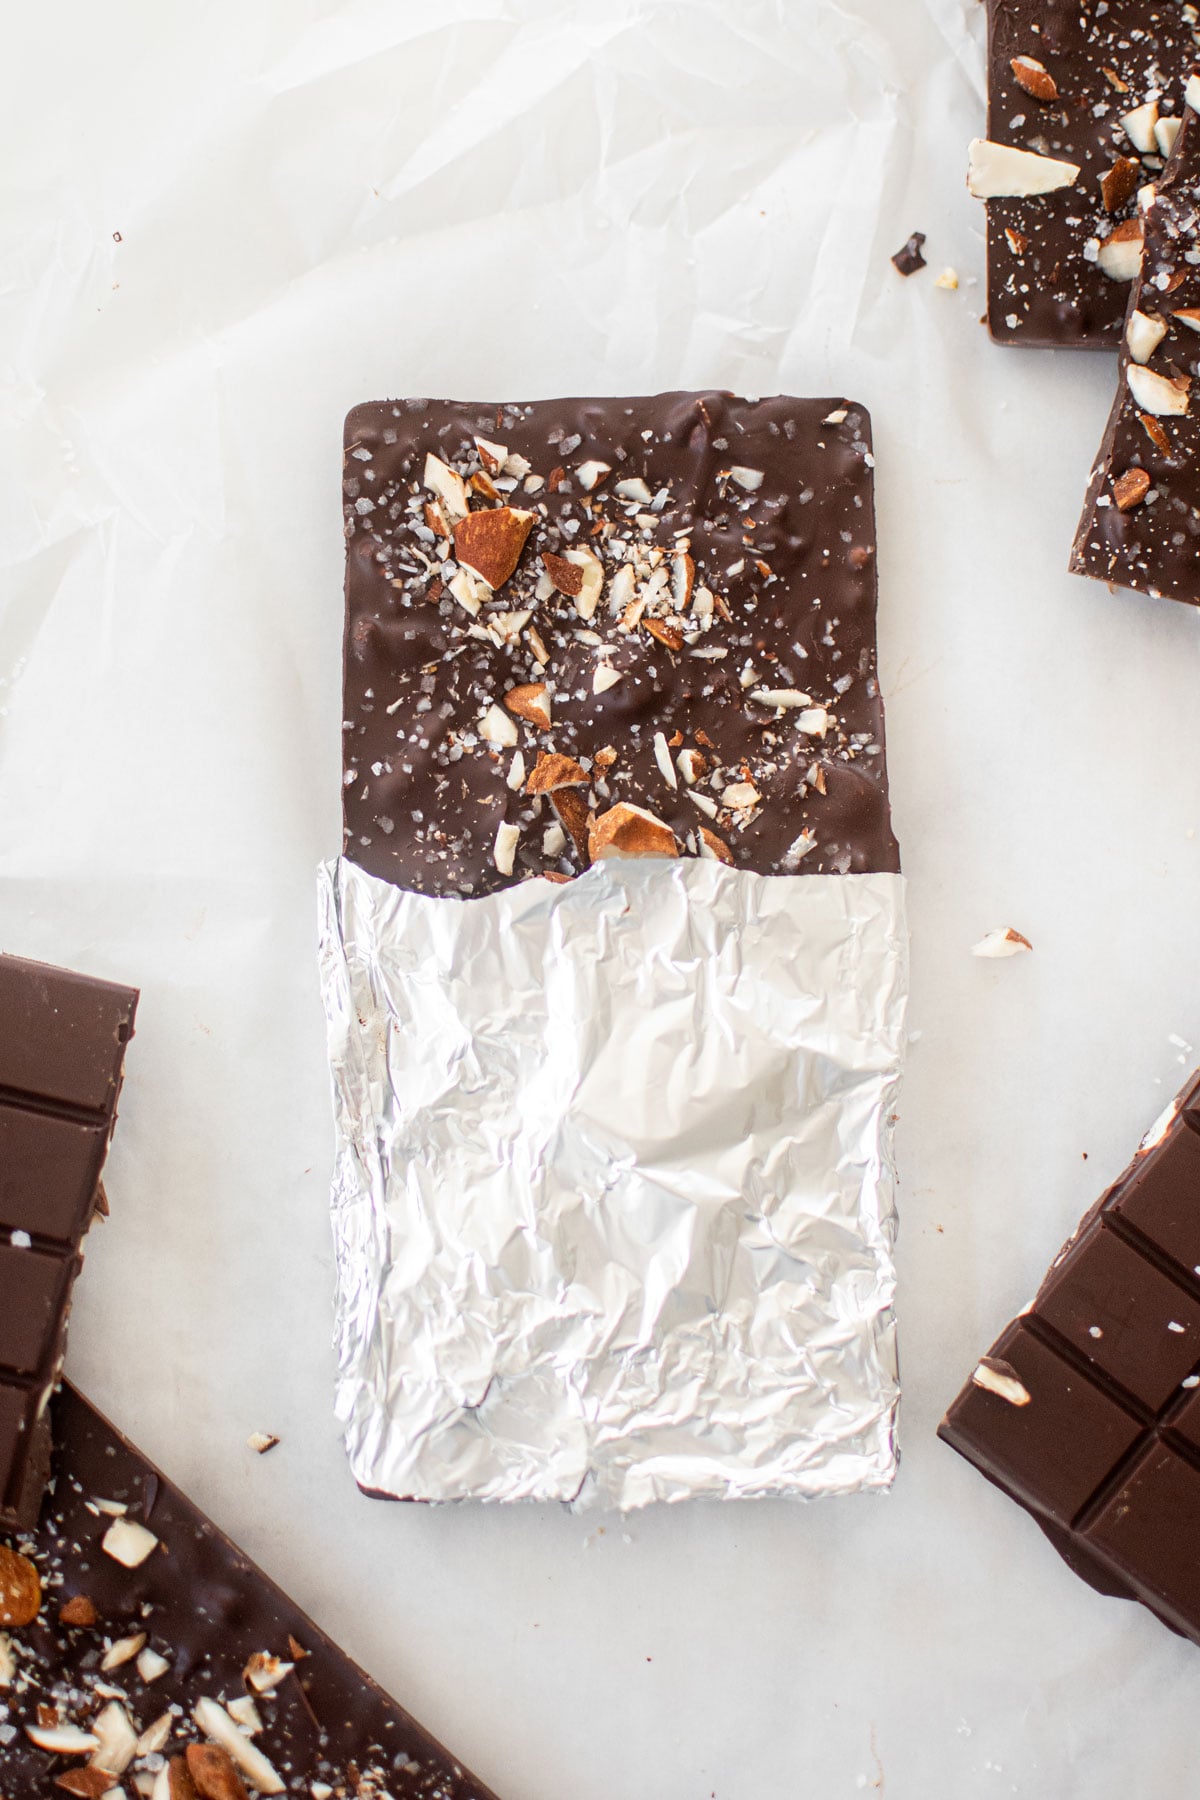
- Once you have molded (or cut) chewy caramels, you can also sprinkle with flaky sea salt or dip or coat in chocolate.
- You can wrap the finished and cut caramels in wax paper pieces.
- Add on top of brownies for a chewy caramel topping!
- Pour onto a silicone mat and let cool. Then you can break off tiny chunks to add into cookies and brownies before baking.
- Use this in my Caramel Chocolate Chip Cookies With Homemade Caramel.


Ways Use Homemade Caramel Hard Candy
- Pour into candy molds for hard candies or make my Caramel Lollipops.
- You can also pour onto a silicone mat and spread evenly. You can then break or crack this into pieces and use as cake and cupcake toppers for shards of caramel.

Recipe FAQ's
No, this recipe does not require a candy thermometer because we are making true caramel where we use the dry method of dry burning the sugar. This method of dry burning the sugar allows you to visually see when it's time to move on to the next step as we add the ingredients in steps, instead of just adding everything to a pot at one time.
If your caramel seems grainy, it can be because your heat is too low. The trick to true caramel is getting it hot enough to melt and caramelize the sugar, but not too hot that it burns. All stoves are a little different and it may take you a few tries to find your sweet spot. If your caramel is grainy, try turning the heat up a little bit. Also, ensure that the sugar is completely melted (and not grainy) before adding in the butter and cream.
Your caramel can burn if the heat is too high or if you don't stir consistently. The trick to true caramel is having the heat high enough that it melts and caramelizes the sugar, but low enough that it doesn't burn. This can be different depending on your range, so adjust if needed. And make sure you don't leave your caramel unattended, it needs to be stirred the entire time to prevent burning.
You do not have to strain the caramel. But, if you are making caramel sauce and you are new to making caramel, then I would recommend straining it at first until you get the hang of it. This will remove any big clumps so they don't get into your sauce. If you are making chew caramel or hard caramel candies, I wouldn't worry about it as much.
Depending on which caramel version you are making, if your caramel didn't come out like you expected, then the ratios of sugar, butter and cream were off. This method of making caramel depends highly on the exact ratio of each ingredient to create either a caramel sauce, chewy caramels, or hard caramels. So, be sure to measure ingredients using a digital food scale for the best results.
Store homemade caramel sauce in a glass jar. It can be left out at room temperature for up to 2 weeks. It will last in the fridge for up to 1 month or even longer!
Chewy caramel candy and hard caramel candy can be stored in your pantry for up to 2 weeks. If you make chewy caramel candies, wrap each one in wax paper.
It will last for up to 2 weeks in the pantry. If you store caramel sauce in the fridge it will last even longer, for up to a month. You can also freeze chewy caramels and hard caramel candies for up to 3 months.
More Caramel Recipes


Loved it? Tell us!
Thanks a waffle lot for stopping by 🧇 If you loved this recipe, sprinkle some love by leaving a ⭐⭐⭐⭐⭐ review — it inspires others to try this recipe and helps me organically reach dog loving foodies like you! I personally read and appreciate every message!
Also, be sure to subscribe to our YouTube channel and join John John and me in the kitchen for step by step recipe videos! And subscribe to our newsletter for new and seasonal recipes!

Homemade True Caramel
Equipment
- Digital Food Scale
- Stainless Steel Pot
- High Heat Spatula
Ingredients
Caramel Sauce
- 454 grams cane sugar
- 113 grams salted butter (room temperature)
- 2 cups heavy whipping cream (room temperature)
Chewy Caramel Candies
- 170 grams cane sugar
- 57 grams salted butter (room temperature)
- ¼ cup heavy whipping cream (room temperature)
Caramel Hard Candy
- 454 grams cane sugar
- 57 grams salted butter (room temperature)
- ¼ cup heavy whipping cream (room temperature)
Instructions
- In a medium pot, add the cane sugar and put over medium heat. Once the sugar on the bottom starts to melt, stir with a high heat spatula to keep from burning. The dry sugar will then sink to the bottom, so it can melt. Sugar clumps will form until the sugar turns into a liquid.
- Once the sugar has completely melted into a liquid, add the butter. Be careful because steam will rise up quickly. Stir rapidly until the mixture is combined.
- Once the butter is completely combined, add in the cream a little at a time. Be careful, because the cream is colder than the sugar mixture so more steam will rise up quickly. Stir rapidly to combine completely when each amount of cream is added. Once about half the cream is added you can add more at a time.
- Once completely combined, remove from heat. Strain the caramel with a strainer to remove any clumps. (This is optional, but if you are new to caramel making, this is a good idea as you learn).
- Transfer caramel to a glass jar for caramel sauce (let come to room temperature before using in recipes). If making chewy caramel candies, line a 1-pound loaf pan with parchment paper. Grease it lightly with butter. Pour the caramel in and let it set. Then, you can remove the caramel and cut into small squares. Or you can use molds like I did here. If making hard caramel, transfer to your lollipop molds.
Video
Notes
- Use a scale as the ratios really matter here.
- Use a high heat spatula. This is important because caramel gets hot and the spatula is in the pot doing a lot of work. If you don’t have a high heat spatula, you can warp your spatula.
- Be patient. Making homemade true caramel takes patience, so just breathe while you take your time.
- Work quickly but efficiently when it’s time to add the butter and cream. You need to be sure to stir quickly and entirely in order to prevent clumps from forming or from burning the caramel.
- Store homemade caramel sauce in a glass jar. It can be left at room temperature for about 2 weeks. You can store it in the fridge for about 1 month. Store homemade chewy caramel candies and homemade caramel hard candy at room temperature for up to 2 weeks.
- High Altitude – Follow the recipe as noted.
Nutrition
The Bake Shop
Visit The Bake Shop for foodie inspired tees, sweatshirts, and accessories. Find my favorite kitchen tools (with discounts!) in the Kitchen Shop. And shop our collection of food inspired dog accessories too!


Loved this article! I never knew how to make caramel and it’s so easy. I will be using this recipe again. I love this website!!
thank you Teresa!!
The only caramel I will eat, this is simply the best!
Thank you for these recipes & video, Mimi!
Can I substitute brown sugar and make butterscotch with this recipe?
Great question. No, I wouldn’t recommend doing that as brown sugar can easily burn if you use the dry burning technique. Instead, try my Brown Butter Butterscotch Sauce recipe here: https://mimisorganiceats.com/post/brown-butter-butterscotch-sauce/ and if you don’t want brown butter, just skip that step for regular butterscotch sauce! Enjoy!
Would this caramel work for drizzling over Biscotti? Will it harden for packaging .
hi Laurie! The caramel sauce recipe will drizzle over biscotti, but it will not harden. So, if you are packaging biscotti, then I would not recommend it. The chewy caramel candy recipe will harden and you could drizzle it over biscotti. But, I would recommend doing this instead: Make the caramel sauce, then make a glaze using the caramel sauce. Add 284 grams (about 2 cups) sifted powdered sugar to a bowl and then add in caramel sauce and whisk until you have a smooth glaze you can drizzle. Then drizzle that glaze over your biscotti, let it sit overnight (it will harden). Then you can package your biscotti. This would be what I would do if I wanted a caramel glaze on biscotti! Happy baking!
Want to make caramel stickjaws for my grandson. Please help
hi Seema, I’ve never had a caramel stickjaw before. But it seem it’s just a chewy caramel candy. So, you should try making the Chewy Caramel Candies here, I bet it would be very similar as these are a chewy, buttery caramel that melts in your mouth.
My soft caramel had about an 1/8th hard balls. I’ve tried to make the soft caramel batch twice now. I’m not sure what I am doing wrong..I did turn the temp down to med-low on my gas stove. And I couldn’t get my butter to fully incorporate into my melted sugar. Was the temp up too high?
hi Erica! Happy to help, so a couple things. First, if you are ending up with small hard balls in your caramel, this is sugar that was not melted properly or it re-hardened after butter/cream was added as the heat was not high enough and those were not able to combine. So, a few things to help with this. First, as you are learning, you can strain your caramel at the end, as I mention, using a fine mesh strainer. This will remove small clumps like this as you hone your caramel making skills. Second, to avoid this from happening we do need to ensure you are first melting the sugar completely and not a single clump remains. If you have any clumps in the first stage and you add in butter, they will never go away. If you’ve mastered this step, then this is happening during the butter/cream stage. Which you mentioned you are on a gas range and that your butter wouldn’t fully incorporate. This means the temp is too low, not too high! The butter may not fully incorporate (like in the video, it may be a tad separated but so long as it’s completely melted, you can add the cream). If your temperature is too low your butter and cream will not combine completely and you will get clumps here. It’s a very fine line with the heat as you need to be hot enough to caramelize the sugar and melt in that butter and cream, but low enough that it doesn’t burn. And all stoves are a bit different, so you really just need some practice to find the best spot for your range. So, what I might recommend is turning your heat up a little bit more on your next time. Also, just be sure you are standing over your stove and stirring the entire time. I hope this helps!
I have never attempted caramel before. Mimi’s instructions were super clear, with examples to help me make sure that I didn’t doubt my steps in the sugar journey.
My caramel came out exactly right without clumps the first time! I used a strainer to be extra careful. But there were no clumps!
I am so pleased with how it turned out! I will be returning to try some of your other recipes!
hi Joc, thank you so much for the kind message, I’m so glad your caramel came out perfectly! Enjoy!