Homemade Chewy Coffee Caramel Candies
These Homemade Chewy Coffee Caramel Candies are soft, buttery and taste like coffee ice cream and caramels had a baby. You only need 5 ingredients and no thermometer to make this easy homemade candy!
If you love caramel as much as I do, be sure to check out other caramel recipes like Homemade Caramel Sauce with Bone Broth, Homemade Chewy Chocolate Caramel Candy, Gingerbread Caramel Sauce, Caramel Hot Cocoa, and Salted Caramel No Churn Ice Cream.

A Quick Look At The Recipe
- Recipe Name: Homemade Chewy Coffee Caramel Candies
- Ready In: 4 hours 20 minutes
- Makes: 36 candies
- Main Ingredients: cane sugar, butter, cream, espresso powder
- Flavor Profile: buttery, sweet, coffee
- Dietary Info: eggless, no seed oils, gluten free
- Difficulty: Medium
- Why You’ll Love It: 5 ingredient caramel candy without corn syrup
Summarize & Save This Content On
Why You’ll Love This Recipe
- Soft Caramels: These soft and chewy caramel candies are buttery with the perfect amount of sweetness and melt in your mouth.
- Coffee Flavored: I use organic espresso powder for natural coffee flavor. My husband says these taste like a coffee ice cream caramel!
- 5 Ingredients: All you need is 5 organic ingredients—no light corn syrup here!
- No Candy Thermometer: You don’t need a candy thermometer to make these chewy caramel candies.
My husband is obsessed with these caramel candies, he has already asked me to make another batch when these are not even gone yet! These would make the perfect gifts for a caramel lover.
These caramels are seriously addictive. I know I'll be making these on repeat come the holiday season as they would make a perfect addition to a DIY Christmas Cookie Box.
If you are looking for more homemade gift ideas, check out Organic Caramel Corn Without Corn Syrup, Sea Salt Dark Chocolate Cashew Clusters, Mint Meltaways, or Peanut Turtle Candy.
Ingredients

- Cane Sugar: I use organic cane sugar, which helps give these caramel candies an even deeper caramel flavor. While you can use white granulated sugar, the caramels won’t have as rich of a flavor or as dark of a color, so I highly recommend using the good stuff!
- Butter: I use organic sweet cream salted butter. But, if you want to use unsalted butter you can, you'll just want to add 1/4 teaspoon of salt when the caramel is removed from the heat. Use a sweet cream butter, and not a higher fat butter like European, to help prevent your caramel from burning. You can read more about that in Best Salted Butter for Baking.
- Heavy Whipping Cream: I use heavy whipping cream because it can withstand high heat. Don’t use milk as this can burn at high temperatures.
- Espresso Powder: Organic espresso powder is where we get the coffee flavor from! You don’t want to use real coffee or espresso as this adds more liquid to the caramel which will alter the ratio and can cause the caramels to be too soft. Plus, the espresso powder adds a concentrated amount of coffee flavor. Instant espresso powder is basically the same thing, so that also works. But, instant coffee is not the same as it's not as concentrated.
- Vanilla Extract: Use a real vanilla extract, I use Simply Organic, for the best flavor.
*For a full list of ingredients and measurements, visit the recipe card below.
Baker’s Tips
- Always weigh ingredients for the best results. With this kind of caramel recipe, the ratio of ingredients really matters to get the right consistency. So, weighing the ingredients is key for the best results.
- I’m using an 8×8-inch baking pan here, but if you prefer to use caramel molds you can also do that too.
- I use my Our Place Titanium Pot here, which conducts heat incredibly well. This is my new favorite caramel making pot! Stainless steel also works well too.
- Be sure to use a high heat spatula, otherwise your spatula can warp or even melt in the caramel (which has happened to me before!).
- If your espresso is clumping, you can put the caramel back on the heat on the lowest setting and whisk to combine it completely.
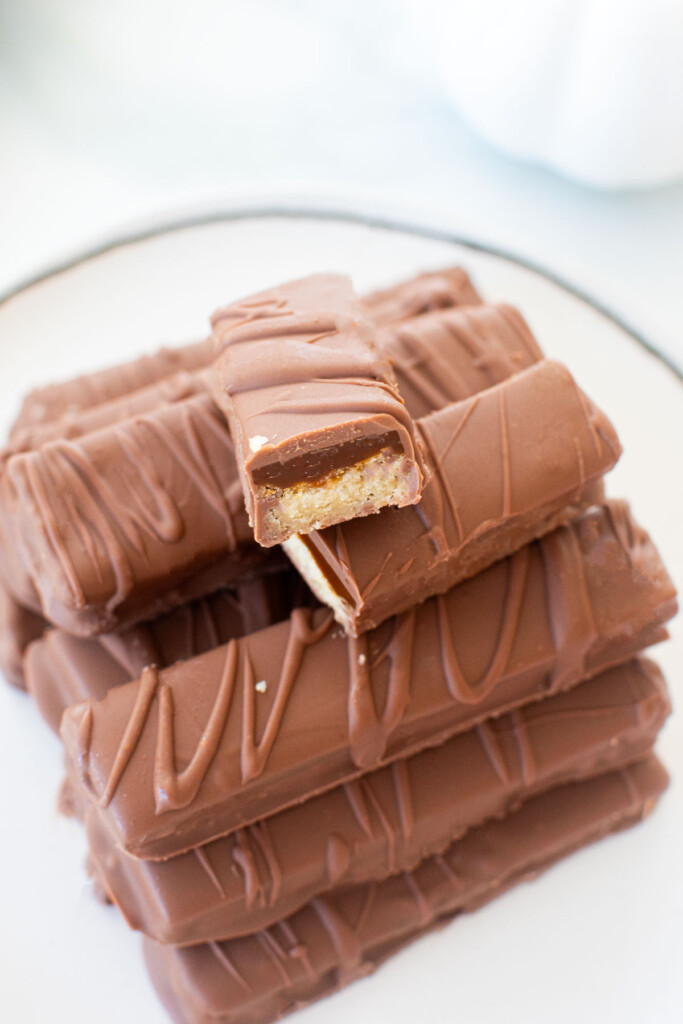
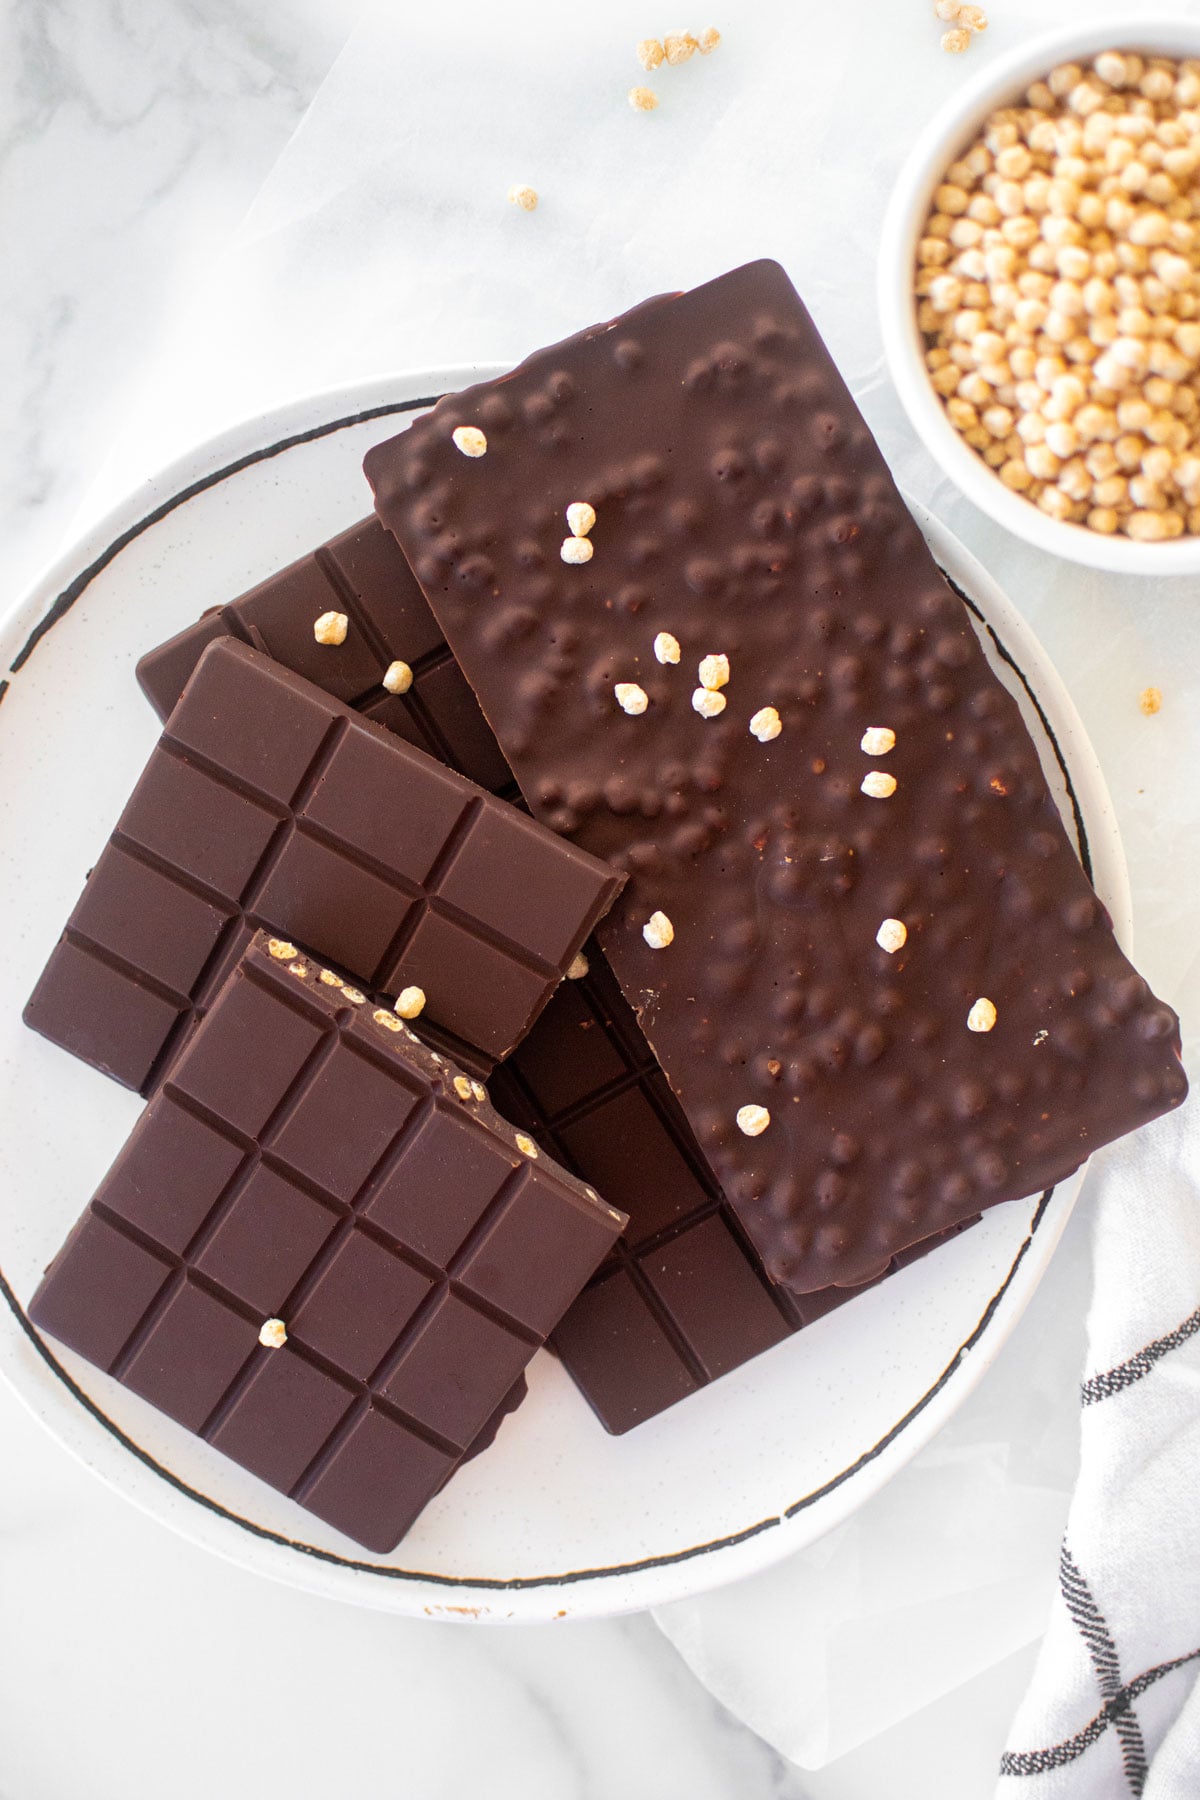
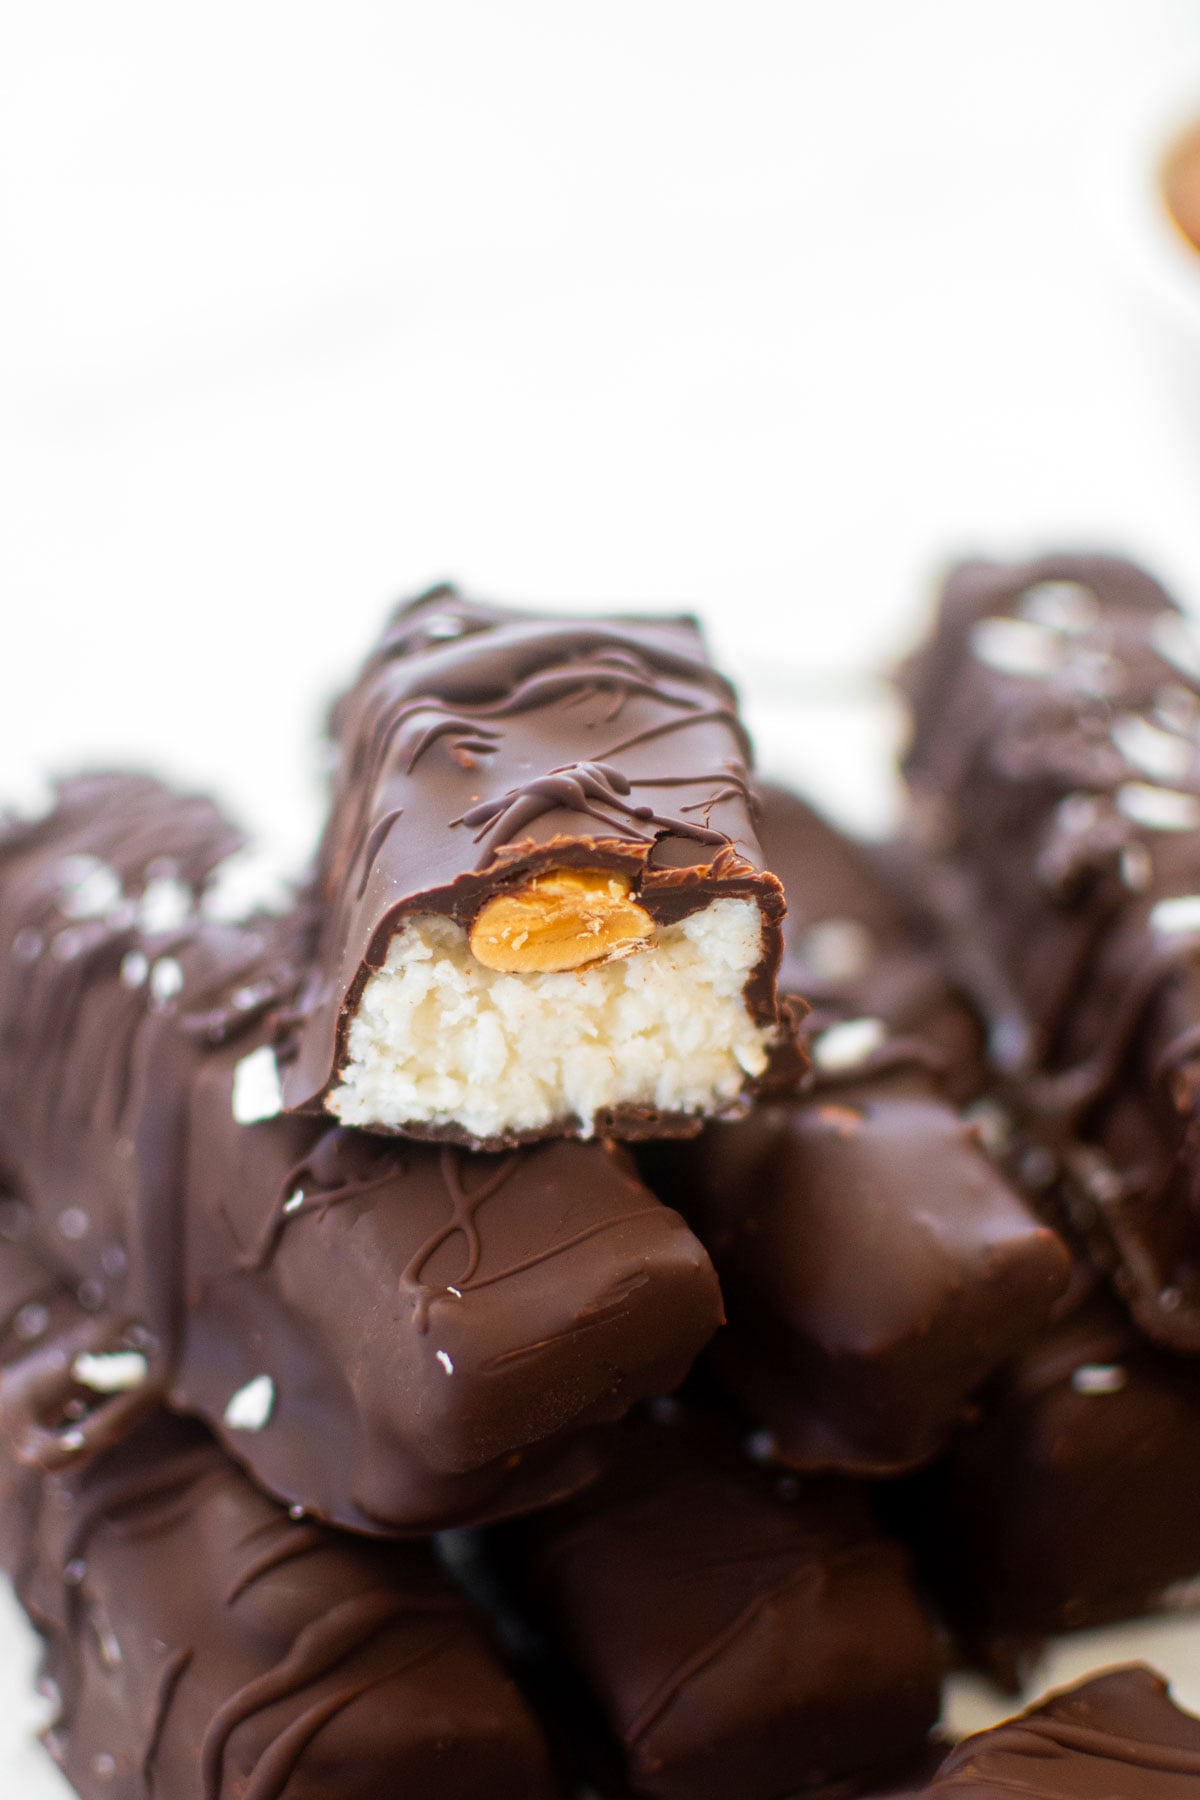
- You can coat these in dark chocolate if you want a caramel that's chocolate coated.
- If you are serving these for a party, you can put them in small candy cups instead of wrapping individually in wax paper..
- If you want to sprinkle flaky sea salt on top for a little added salt, go for it! You know I love a flaky salt, they are delicious both with and without!
How to Make Homemade Chewy Coffee Caramel Candies
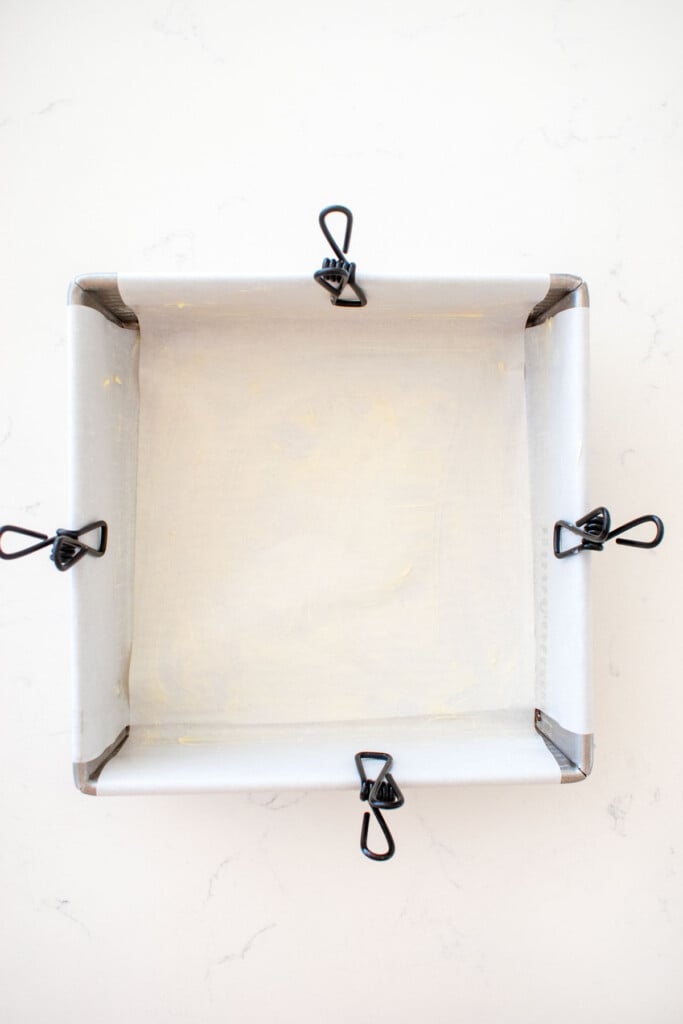
- Line an 8×8-inch baking pan with parchment paper. Lightly butter the parchment paper. (Binder clips help hold up the parchment paper).
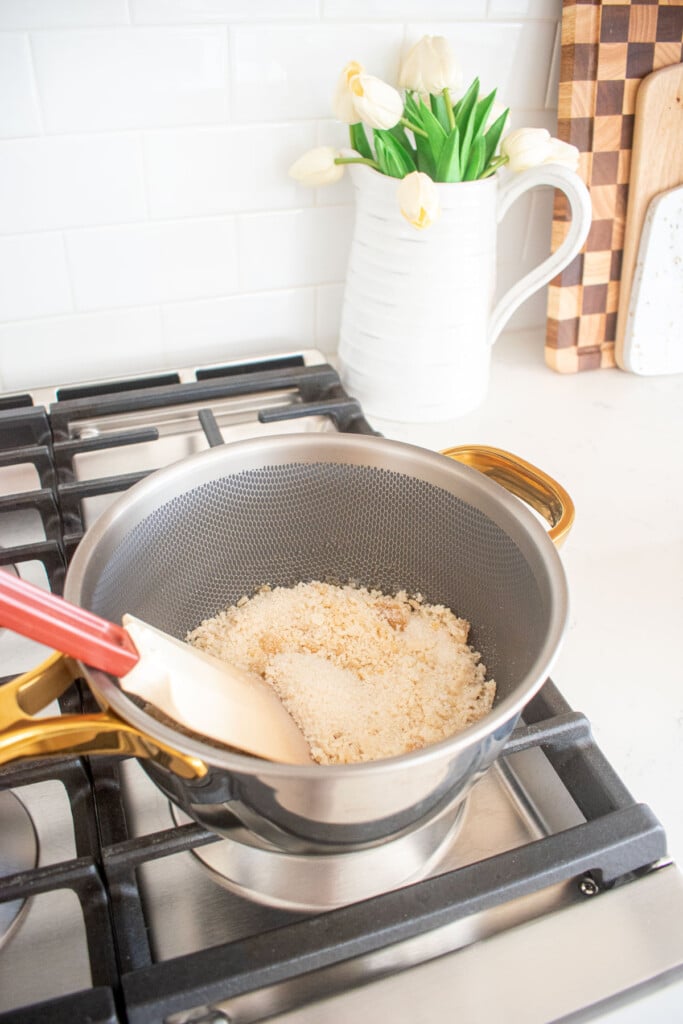
- In a 3-quart pot add the sugar. Put over medium-low heat. Heat until the sugar begins to melt, stirring it to prevent burning. Continue to cook into the sugar is completely melted into a liquid and there are no sugar clumps.
- Continue to cook into the sugar is completely melted into a liquid and there are no sugar clumps.
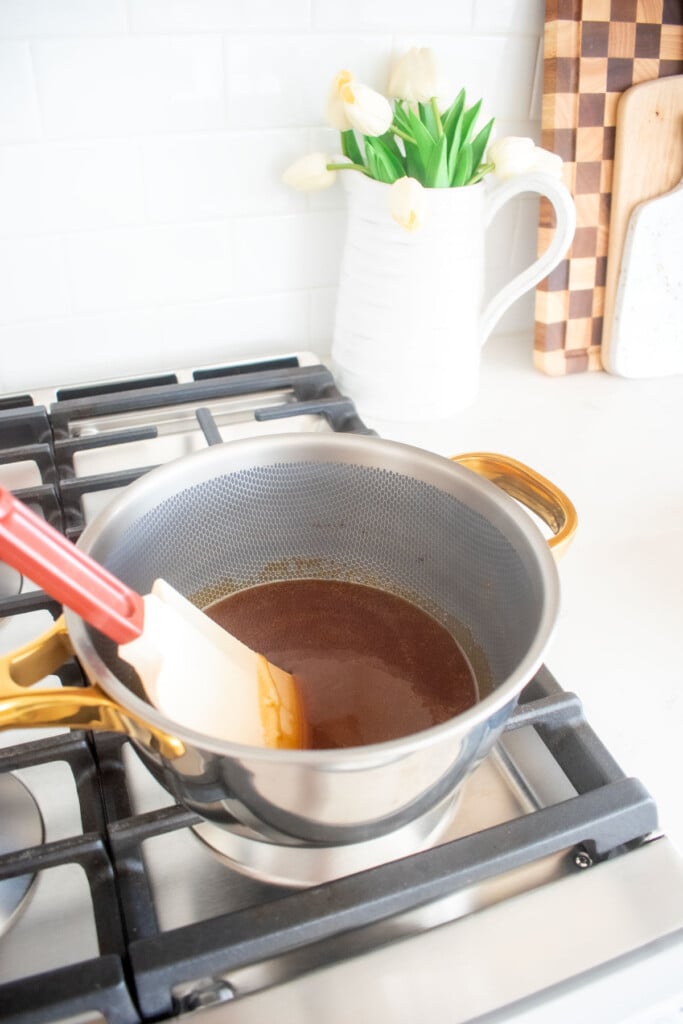
- Once the sugar is completely melted, add in the butter and stir to combine it completely. Be careful as steam will rise up, ensure you’re stirring constantly to incorporate the butter.
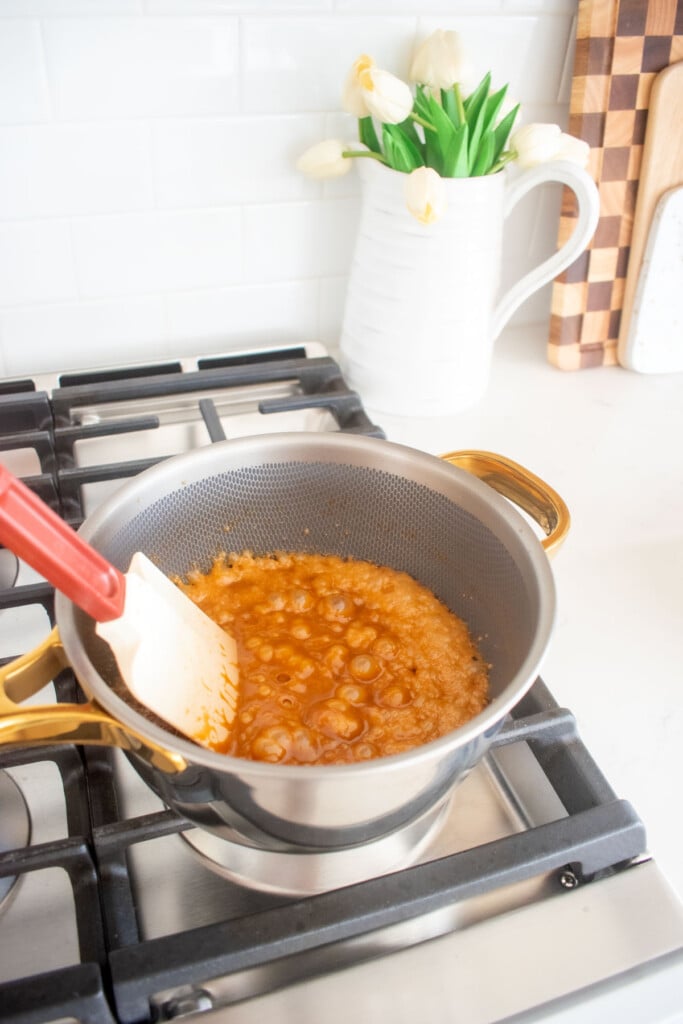
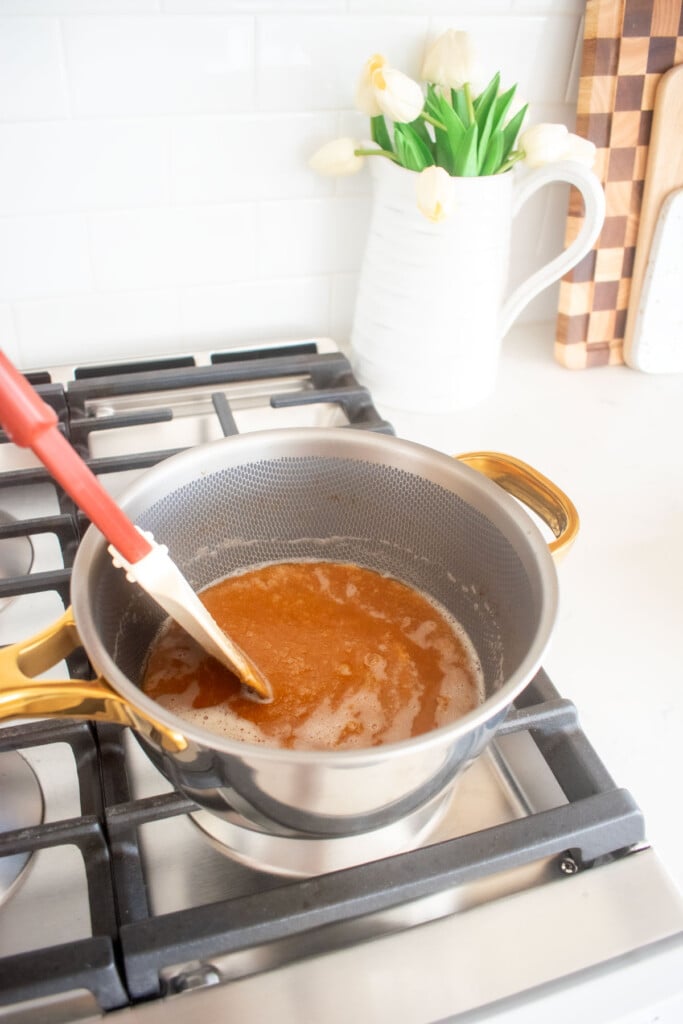
- Add in the heavy cream, a little at a time while ensuring to stir the entire time. Continue to do so until all the cream is combined.
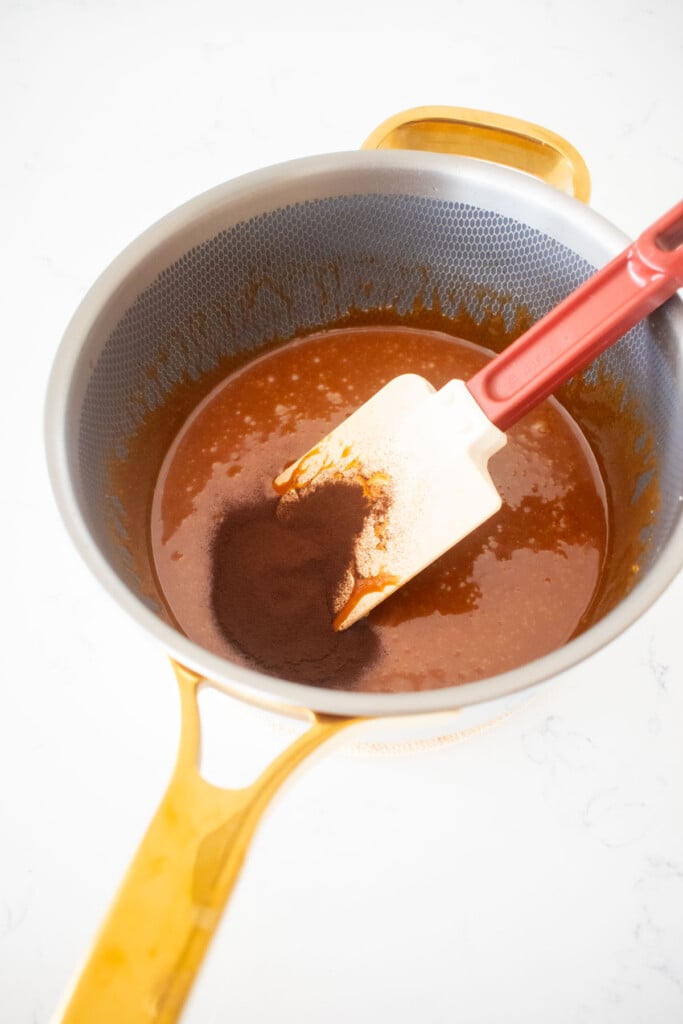
- Remove the caramel from the heat and add in the shot of espresso and espresso powder. Stir to combine completely.
- Last, add in the vanilla extract and stir to combine completely.

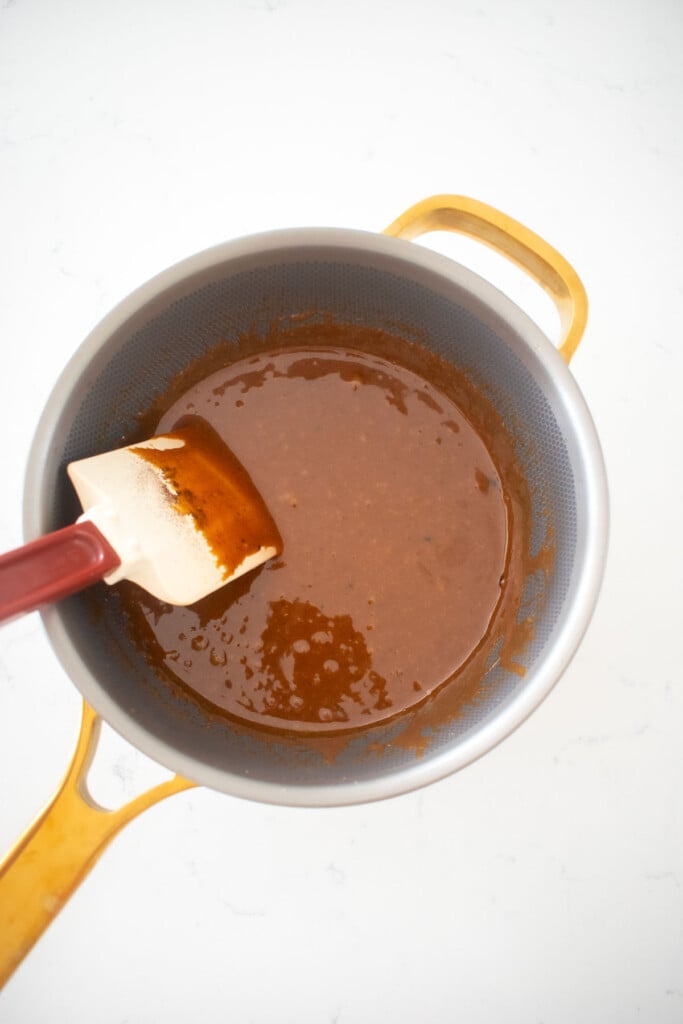
- Transfer the chocolate caramel to the prepared pan and spread it out evenly. Let it cool for at least 4 hours or even overnight.
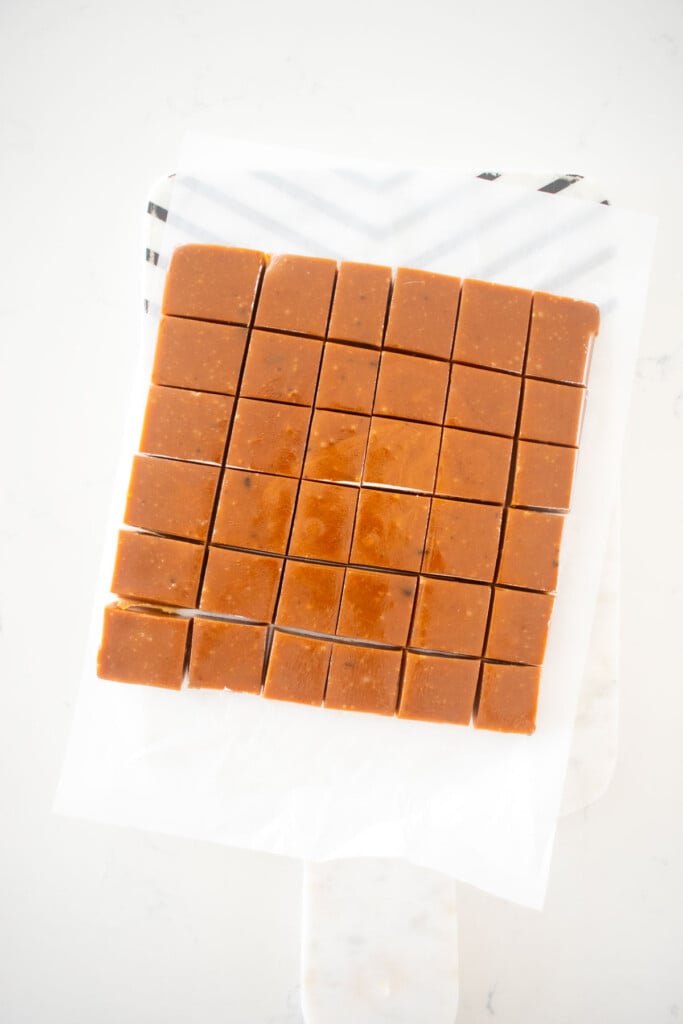
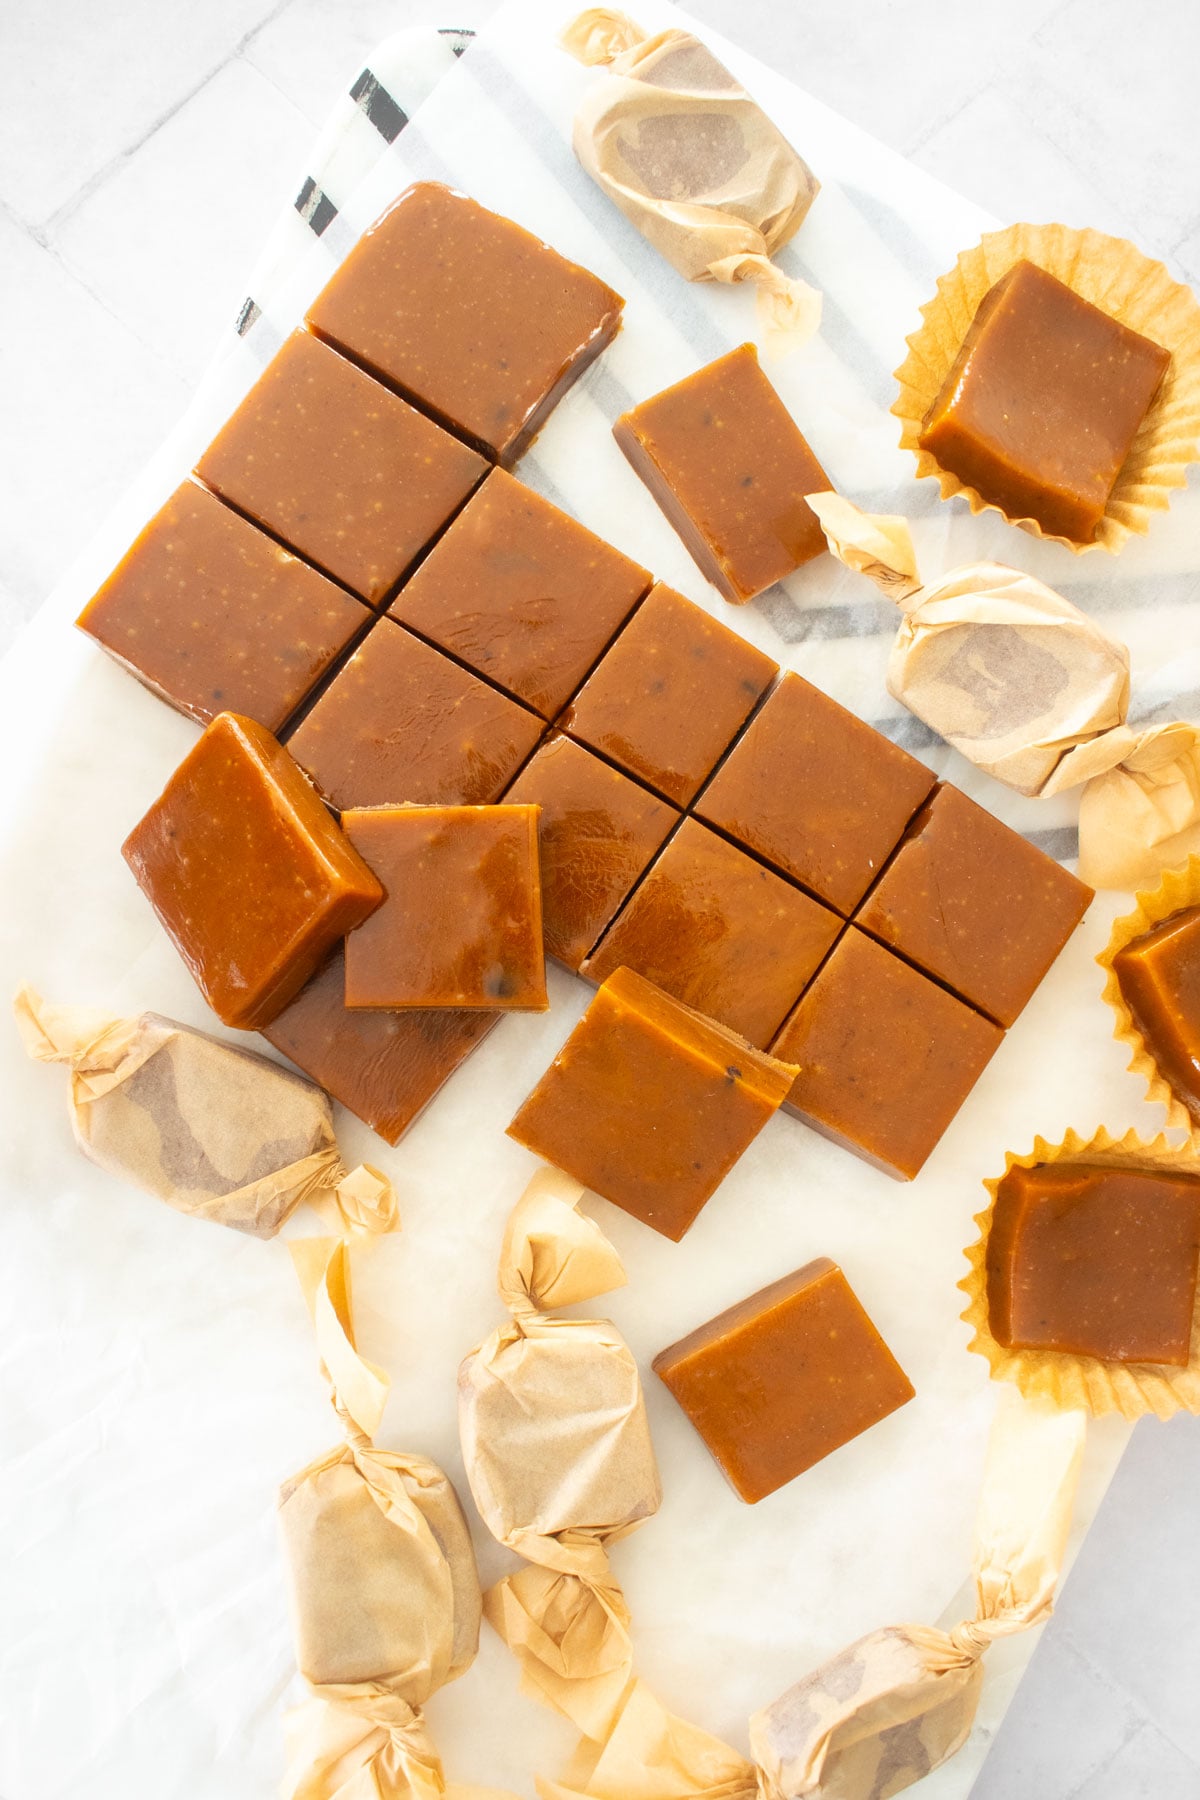
- Remove the caramel from the pan and place on a cutting board. Using a sharp knife, cut into 36 small squares (or rectangles or however you like)! These are about 1.3-inch squares.

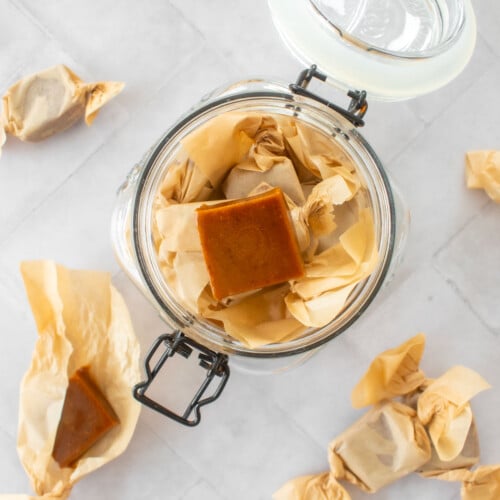
- Wrap each one in wax paper for individual caramels. Or place in a candy cup if adding into a chocolate box. Store at room temperature for up to 2 weeks.
Homemade Chewy Coffee Caramel Candies FAQ’s
I use the method of dry burning the sugar to melt it completely. Then, butter is added and stirred in, then last the cream. This method allows you to visually see when the steps are complete and move on to the next step, there is no thermometer needed.
You don’t need any fancy equipment to make homemade caramel candies. You’ll just need a 3-quart saucepan that conducts heat well, a high heat spatula and an 8×8-inch baking pan. These are standard tools you probably already have in your kitchen!
The ratio of cane sugar, butter, and cream is what determines if the caramel is chewy, hard or even a sauce. I explain this in depth in my post Homemade True Caramel.
No, don’t use coffee as you won’t have as much of a concentrated coffee flavor. And, adding more liquid to this recipe (such as adding liquid coffee or espresso) will alter the ratio of liquid in this recipe, which can make these caramels too soft.
I use organic espresso powder, this allows you to get a concentrated coffee flavor without altering the ratio of ingredients that creates the right texture. If you don’t have espresso powder, you can use instant espresso, that is pretty much the same thing. And a coffee extract may also work (I have not tested this), but adding that small amount of liquid would be fine. I just don't think even an extract would have as much flavor as the espresso powder.
The trick to making a true caramel like this is using heat that is high enough to caramelize and melt the sugar, but low enough so it doesn't burn. Medium heat is usually best, but if you are have a powerful range (gas is usually more powerful than electric) you may want to be closer to low. So, you may have to figure out what works best for your range.
The wrong ratio of ingredients can cause caramels to be too soft (too much liquid/cream). This can happen if you don’t measure ingredients properly. Be sure to weigh ingredients and measure properly as it’s key to ensuring these caramels come out correctly.
The wrong ratio of ingredients (not enough butter or cream) can cause caramels to be too hard. Make sure to measure by weight and ensure that you have proper measurements for the best results.
They will take about 4 hours at room temperature. If you want to speed up the process, you can pop the tray in the fridge for an hour or so.
If you grease your knife when cutting the caramels, that will help when cutting. But, once cut, you should wrap each one in wax paper as this will prevent them from sticking back together when storing.
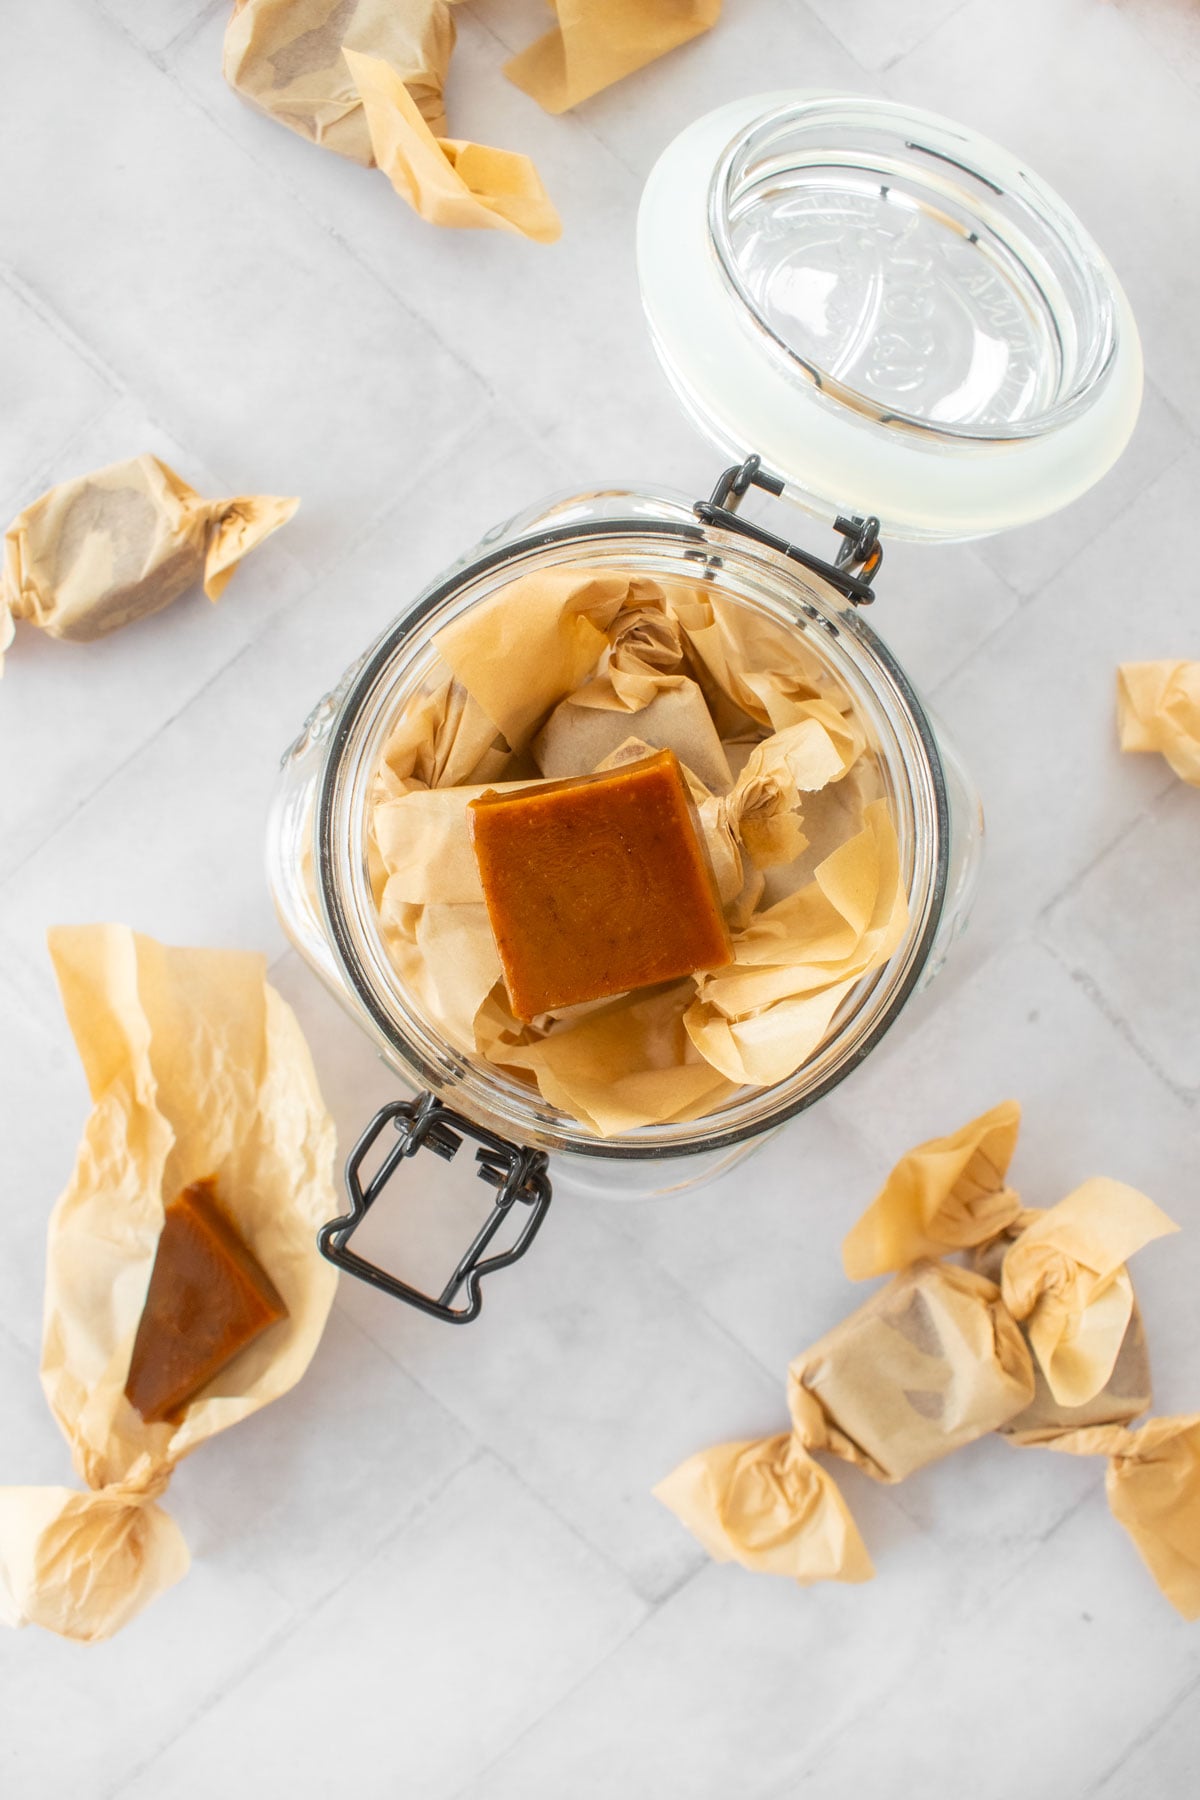
I prefer to store these individually wrapped in wax paper. This ensures that they don’t stick to each other when stacked in a jar or bowl. You do not need to store these in an airtight container, but you can if you want. If you are storing in an airtight container, you'll want to place a piece of parchment paper or wax paper in between each layer to prevent sticking if you are not individually wrapping in wax paper.
You can. After wrapping in wax paper, you can store in the freezer for up to 3 months. Make sure to thaw to room temperature before you enjoy!
More Homemade Candy Recipes

Loved it? Tell us!
Thanks a waffle lot for stopping by 🧇 If you loved this recipe, sprinkle some love by leaving a ⭐⭐⭐⭐⭐ review — it inspires others to try this recipe and helps me organically reach dog loving foodies like you! I personally read and appreciate every message!
Also, be sure to subscribe to our YouTube channel and join John John and me in the kitchen for step by step recipe videos! And subscribe to our newsletter for new and seasonal recipes!
Homemade Chewy Coffee Caramel Candies
Equipment
- Digital Food Scale
- 3-Quart Pot
- High Heat Spatula
- 8×8-inch Baking Pan
- Parchment Paper
Ingredients
- 340 grams cane sugar
- 113 grams salted butter
- ½ cup heavy whipping cream
- 2 teaspoons espresso powder
- 1 teaspoon vanilla extract
Instructions
- Line an 8×8-inch baking pan with parchment paper. Lightly butter the parchment paper. (Binder clips help hold up the parchment paper).
- In a 3-quart pot add the sugar. Put over medium-low heat.
- Heat until the sugar begins to melt, stirring it to prevent burning. Continue to cook into the sugar is completely melted into a liquid and there are no sugar clumps.
- Once the sugar is completely melted, add in the butter and stir to combine it completely. Be careful as steam will rise up, ensure you’re stirring constantly to incorporate the butter.
- Add in the heavy cream, a little at a time while ensuring to stir the entire time. Continue to do so until all the cream is combined.
- Remove the caramel from the heat and add in the shot of espresso and espresso powder. Stir to combine completely.
- Last, add in the vanilla extract and stir to combine completely.
- Transfer the chocolate caramel to the prepared pan and spread it out evenly.
- Let it cool for at least 4 hours or even overnight.
- Remove the caramel from the pan and place on a cutting board. Using a sharp knife, cut into 36 small squares (or rectangles or however you like)! These are about 1.3-inch squares.
- Wrap each one in wax paper for individual caramels. Or place in a candy cup if adding into a chocolate box.
- Store at room temperature for up to 2 weeks.
Video

Notes
- Always weigh ingredients for the best results. With this kind of caramel recipe, the ratio of ingredients really matters to get the right consistency. So, weighing the ingredients is key for the best results.
- I’m using an 8×8-inch baking pan here, but if you prefer to use caramel molds you can also do that too.
- I use my Our Place Titanium Pot here, which conducts heat incredibly well. This is my new favorite caramel making pot! Stainless steel also works well too.
- Be sure to use a high heat spatula, otherwise your spatula can warp or even melt in the caramel (which has happened to me before!).
- If your espresso is clumping, you can put the caramel back on the heat on the lowest setting and whisk to combine it completely.
- You can coat these in dark chocolate if you want a caramel that's chocolate coated.
- If you are serving these for a party, you can put them in small candy cups instead of wrapping individually in wax paper..
- If you want to sprinkle flaky sea salt on top for a little added salt, go for it! You know I love a flaky salt, they are delicious both with and without!
- High Altitude — Follow the recipe as noted.
Nutrition
The Bake Shop
Visit The Bake Shop for foodie inspired tees, sweatshirts, and accessories. Find my favorite kitchen tools (with discounts!) in the Kitchen Shop. And shop our collection of food inspired dog accessories too!

These are the perfect balance of sweet caramel and cozy coffee with a melt in your mouth buttery texture!
Quite literally the best caramel thing I’ve eaten. And I love all things caramel.