How to Make Pie Crust in a Mixer
With pie season here, you may be baking more pies than usual! And if you are looking for a quicker and easier way to make pie crust, I’m showing you how to make pie crust in a mixer!
If you want to level up your pie baking skills, check out some of my other posts like Tips for Golden Brown Pie Crust, Should You Cook Pie Filling Before Baking? or my tutorial How to Roll Out a Pie.

A Quick Look At The Recipe
- Recipe Name: How to Make Pie Crust in a Mixer
- Ready In: 4 hours 15 minutes
- Makes: 1 double pie crust or 2 galettes/bottom pie crusts or 6 mini pies
- Main Ingredients: salted butter, all purpose flour, cane sugar, water
- Flavor Profile: buttery, flaky
- Dietary Info: eggless, no seed oils
- Difficulty: Easy!
- Why You’ll Love It: easy recipe for buttery, flaky pie crust from my bakery, made in a mixer!
Summarize & Save This Content On
Why You'll Love This Recipe
- Butter Crust: This is an all butter pie crust, exactly how we made it at my bakery. No shortening, no oil, just real butter!
- 3 Ingredients: This all butter pie crust only has butter, flour, and cane sugar.
- Use for Many Pies: You can use this recipe anytime you need a pie crust. I provide easy adjustments so you can make this into a double crust, two bottom crusts, or even galettes or mini pies.
- Homemade: Once you start making homemade pie crust, you'll realize how easy it is and how much better they taste then store bought!
- Make In A Mixer: Easy instructions for making this pie crust with a KitchenAid mixer, making it quick, simple and less messy!
Making organic pie crust from scratch in a mixer is so much easier, faster, and it yields the same buttery and flaky pie crust that I was making by hand for so many years. If you’ve been wondering how to make pie crust in a mixer, you’re in the right place as a former bakery owner, I've got tons of tricks!
I use my KitchenAid stand mixer with the beater attachment (paddle attachment), but if you have a fancy pastry beater, that works great too! Mix on low speed to mix the butter cubes and flour until it forms into a rough ball of pie dough. Then, it's easy to form into discs, wrap up and place in the refrigerator for the best tender, flaky pie crust! It's that simple.
Even though I’m usually only baking one or maybe two pies at a time now that I don't own a bakery anymore, I still use my mixer to make homemade pie crust every single time! Once you do this, I bet you’ll never go back to making organic pie dough by hand!
Ingredients
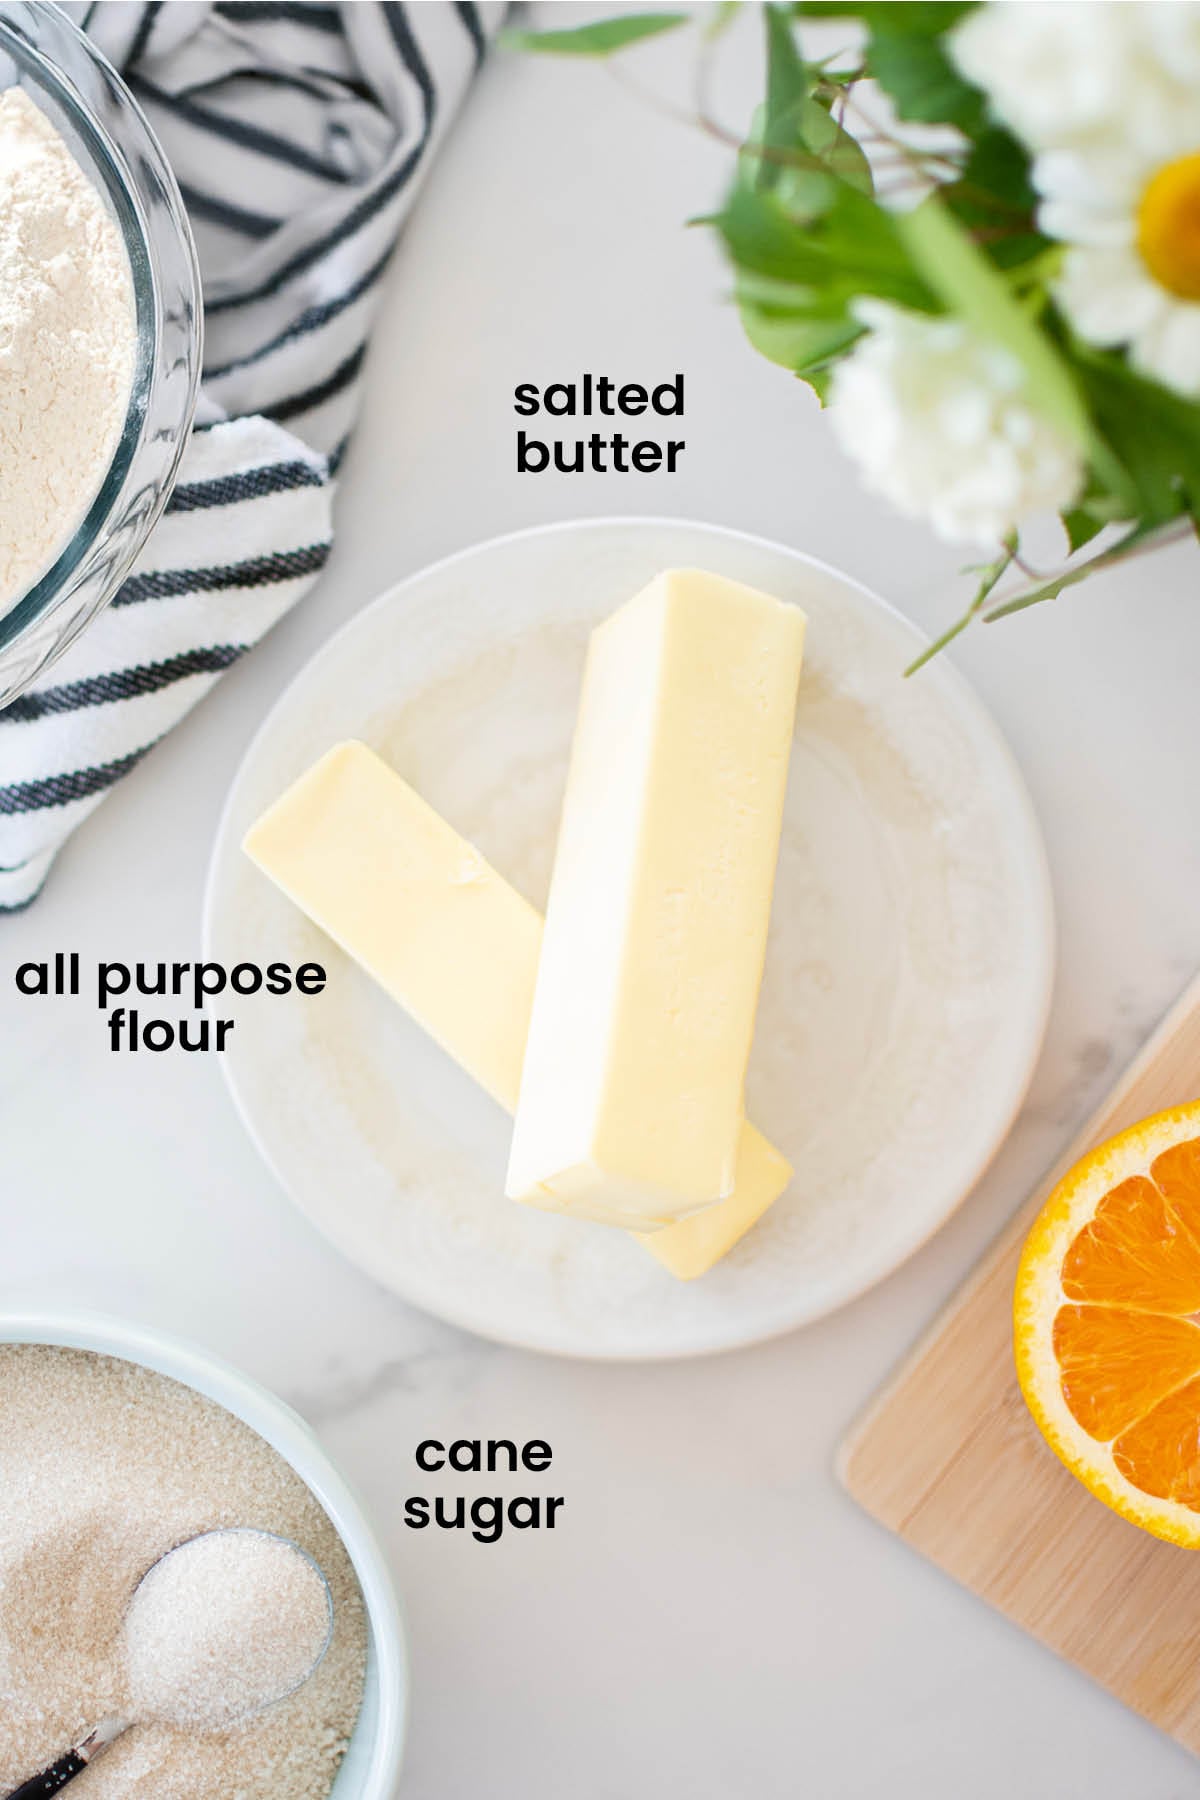
You only need 3 simple ingredients to make pie crust at home! Learn how to make pie crust in a mixer with organic ingredients you'll feel good about eating!
- Butter: I use organic salted butter, but you can use unsalted if you prefer. If using unsalted, just add 1/4 teaspoon of salt to the dough.
- All Purpose Flour: My favorite is Cairnspring Mills.
- Cane Sugar: I use organic cane sugar for a little sweetness. If you're making a savory pie or quiche like Tomato Basil Quiche with Bone Broth, you can just skip the cane sugar.
- Water: Make sure your water is very cold, which is what helps create a buttery and flaky pie curst.
*For a full list of ingredients and measurements, visit the recipe card below.
Baker's Tips
- If you don't have a mixer, a food processor will work similarly if you don't want to make this by hand.
- Make sure your butter is cold! Cold and straight from the fridge will make the most buttery and flaky pie crust. If you get hot hands, then chop your butter ahead of time and then place it back in the fridge to chill for at least 30 minutes to ensure cold butter as this is key for using a mixer.
- Make sure to add dry ingredients into your mixer first.
- Have your water ready to go as you want everything ready to go before adding in the butter, this ensures it stays the coldest. I like to add my water to a Pyrex measuring cup with a spout, this way it’s really easy to pour into the mixer as it’s mixing.
- You can use this recipe to create 1 double crust, 2 bottom pie crusts (or galettes) or 6 mini pies (or galettes). I provide measuring instructions in the recipe card.
- Stop the mixer sooner rather than later. It’s always best to stop your mixer sooner rather than later. You can always mix in little bits by hand if you have to.
- Be sure to always wrap up pie crust tightly in plastic wrap to ensure it does not dry out before refrigerating.
How to Make Pie Crust In A Mixer

- Measure the cold water and place in the fridge. In the bowl of a stand mixer fitted with the paddle attachment (or in a large mixing bowl), add the flour and cane sugar.

- Chop the butter into small cubes by cutting each stick in half, then cutting each half in thirds, and from there chopping into small cubes.
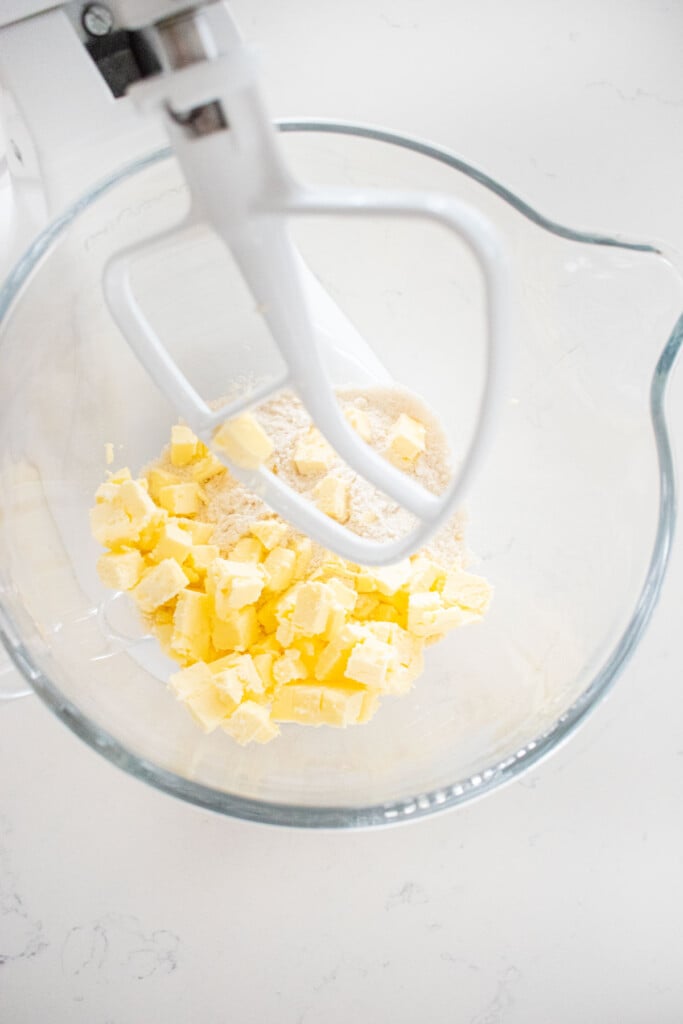
- Place the butter in the bowl with flour and sugar and place in the fridge for 15 to 30 minutes to make sure the butter is truly cold. (If new to making pie crust).

- Remove the mixing bowl and water from the fridge. Place the bowl in your stand mixer and mix on low until the mixture looks like wet sand. (If not using a mixer, use a pastry cutter, potato masher, or your hands until the mixture resembles wet sand). Immediately add all the water and mix just until the dough comes together (do not over-mix).
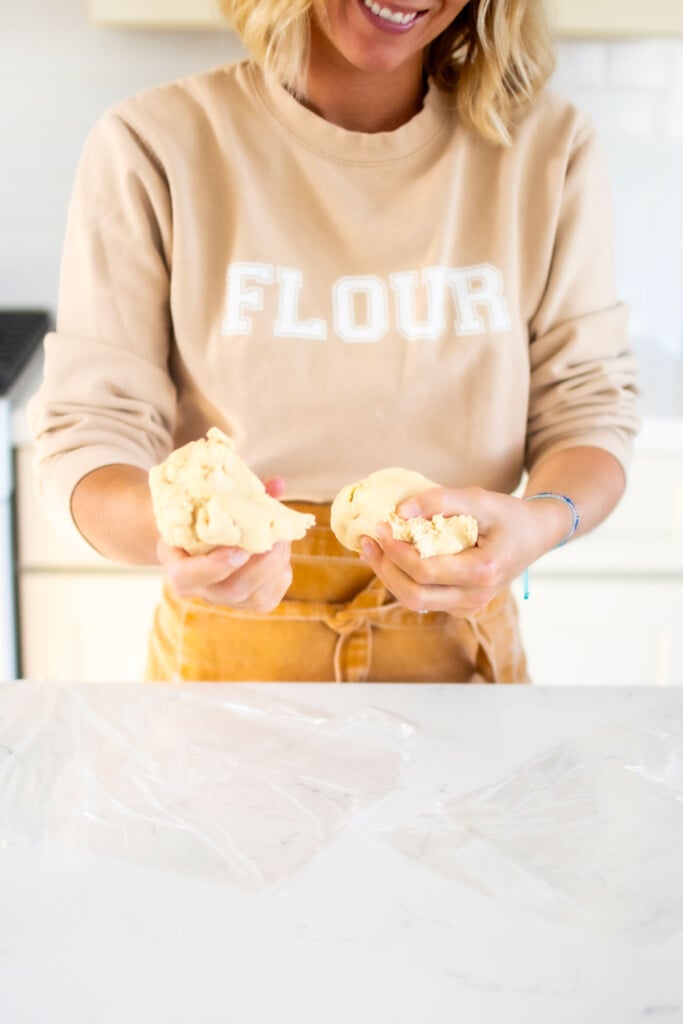
- Divide the dough into two pieces (top crust and bottom crust). The top should weigh about 6 ounces (170 grams) and the bottom should weigh about 11 ounces (312 grams). If you need two galettes or two bottom only crusts, just divide the dough in half (about 250 grams each). For mini pies, divide into 6 pieces weighing 83 grams each.
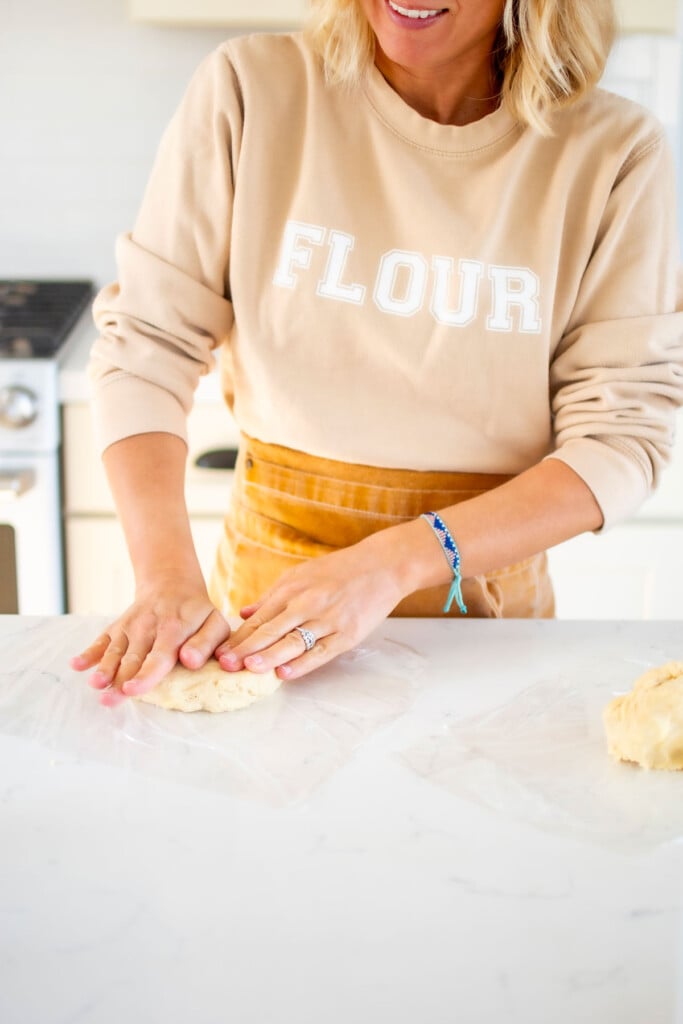
- Form the two pieces into round disks, and—one at a time—press the disks with your hands, similar to kneading, to incorporate any dry spots or butter chunks and to gently make the disks wider and flatter. The larger the disks you can form now, the less work you will do when rolling it out (and the quicker you’ll be!).
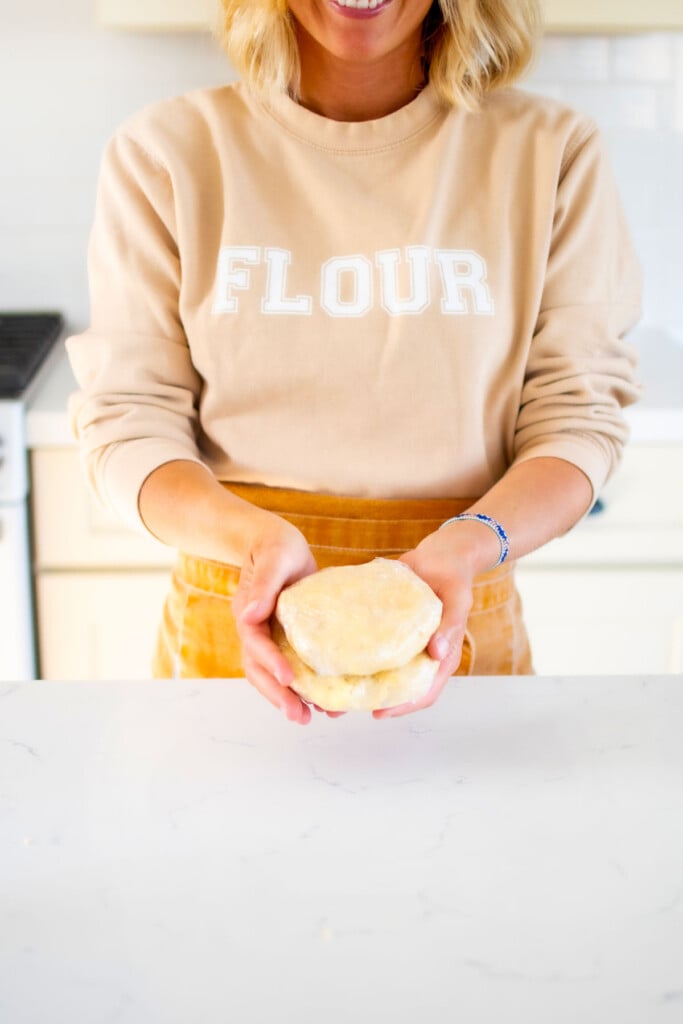
- Wrap each piece tightly in plastic wrap. Place the wrapped dough in the fridge and chill for at least 4 hours or overnight.
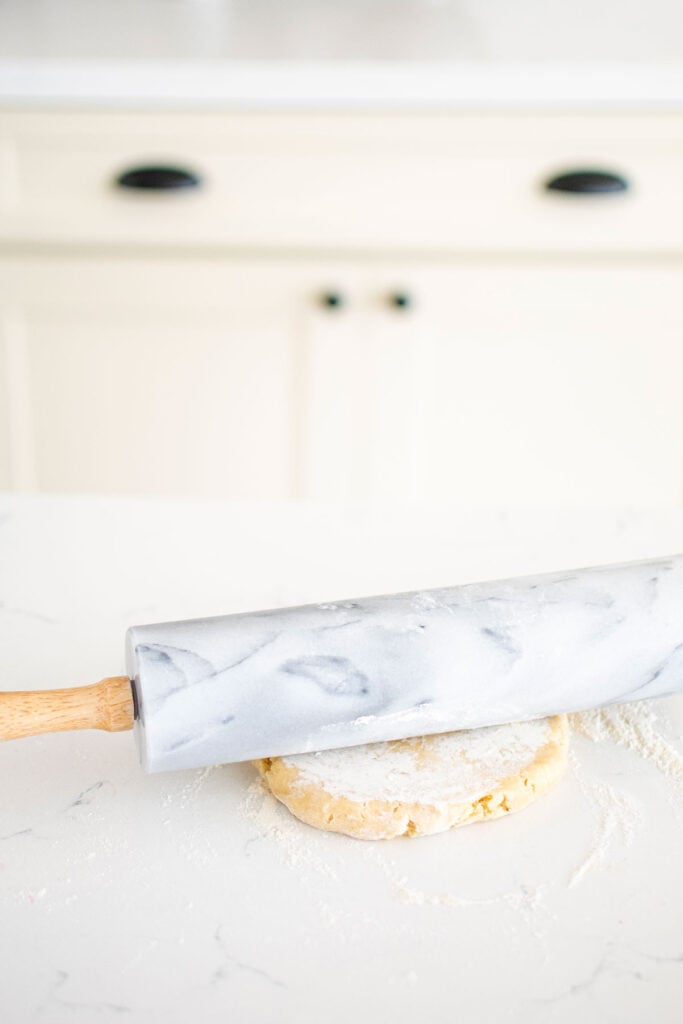
- When you’re ready to roll out your pie crust, remove the larger disc from plastic wrap and lightly sprinkle flour on the top and bottom. On a lightly floured surface, using a rolling pin, roll and then rotate your pie crust 45 degrees and then roll and rotate again. This will help you roll the disk out evenly. Roll out to ¼-inch thick; it will be about 11 inches in diameter. Set aside. Repeat with the smaller disc, which should be about 9-inches in diameter.
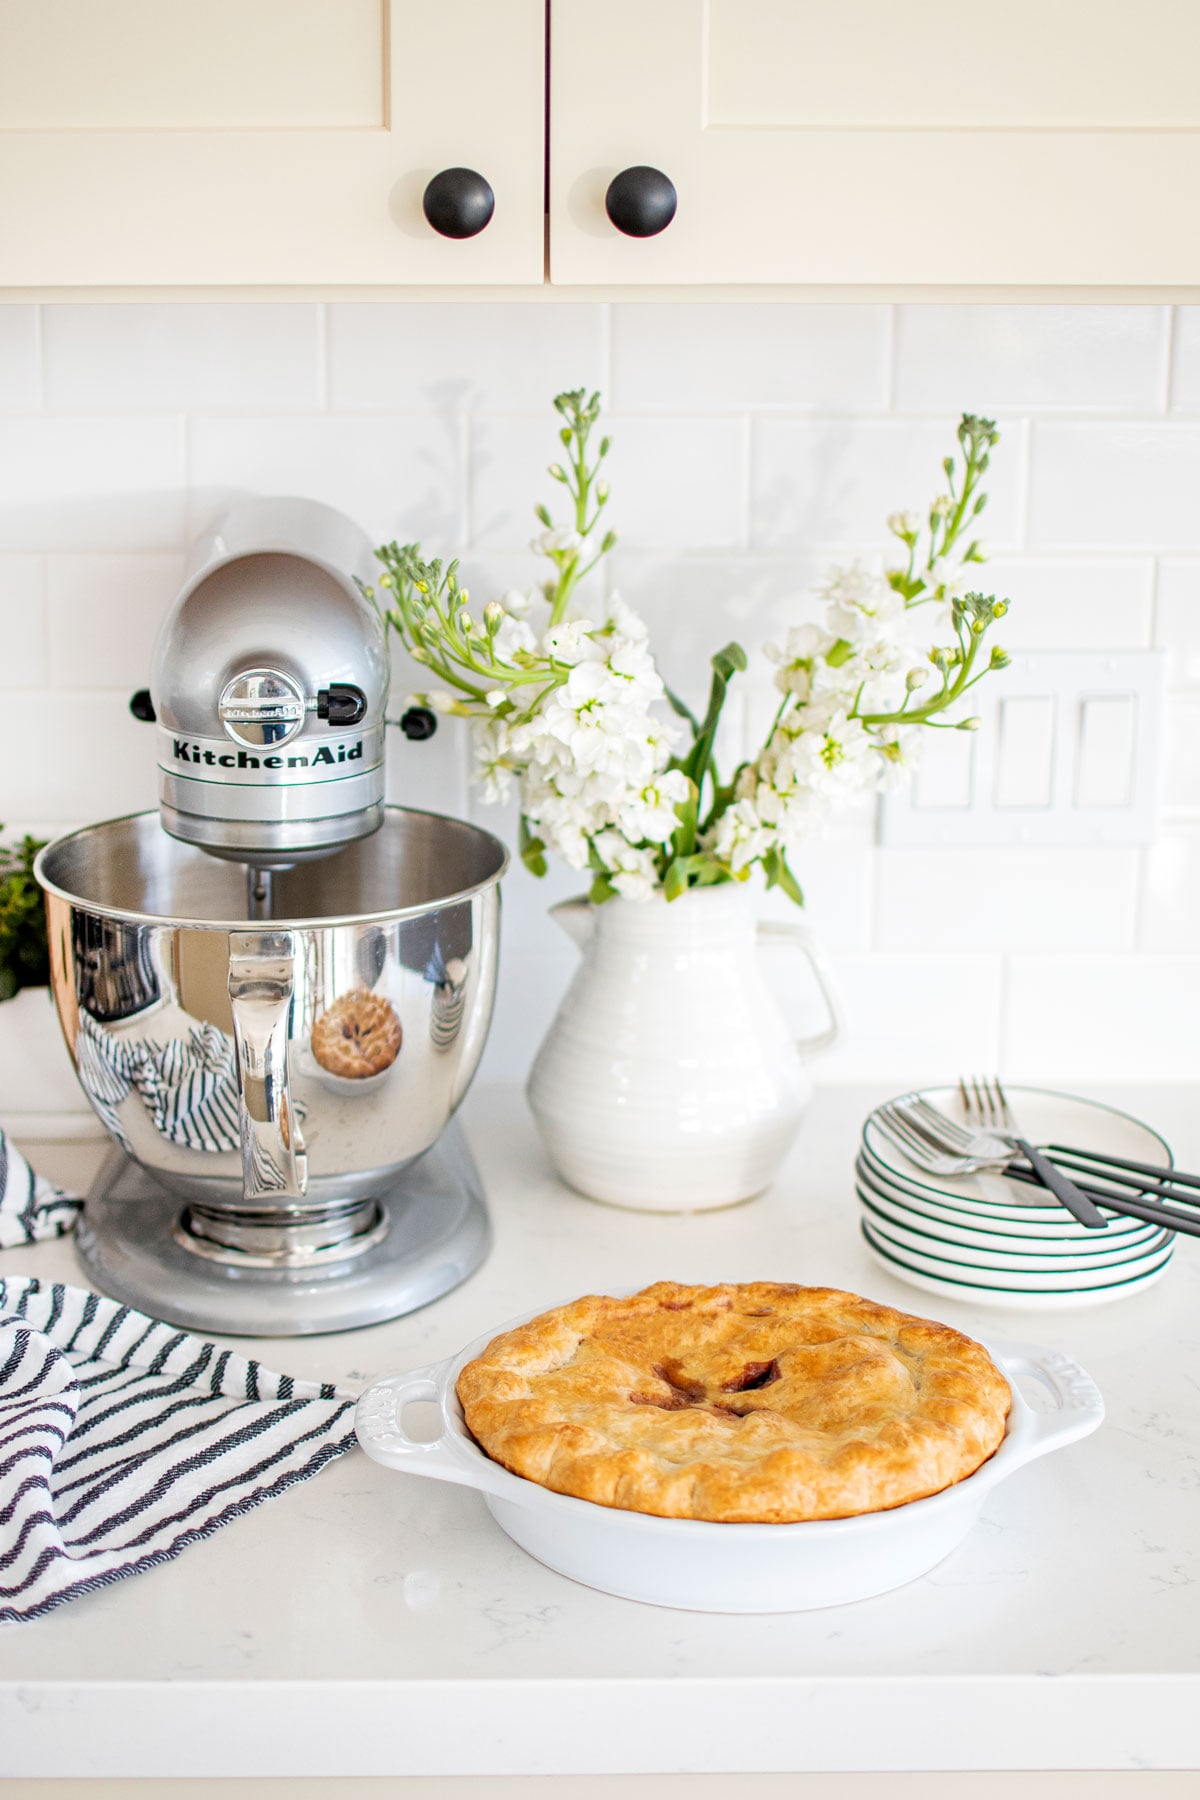
- Continue to follow your pie recipe for filling and baking.
Recipe FAQ's
Yes, you can absolutely make pie crust in a stand mixer with the paddle attachment. This makes pie crust faster and more hands free.
A stand mixer makes pie crust faster, keeps your hands from warming the butter, and creates evenly mixed dough while still producing flaky layers when mixed correctly. The stand mixer is my favorite way to make pie crust for all these reasons!
I use a low setting, between speed 2 and 4 if you have a KitchenAid stand mixer like I do.
I don't recommend it as a hand mixer has beaters, which are a little bit different than a paddle attachment. The beaters have the ability to whip more than knead.
No, don’t use your whisk attachment or dough hook. These attachments are not good for making pie crust as they don’t imitate your hands squishing the butter. The dough hook doesn’t provide enough real estate and the whisk can end up whipping butter too much if it becomes warm.
Yes, you can. I actually did an entire test for the best butter for pie crusts, you can read more about that in my post Best Salted Butter for Baking.
Yes, if you want to use unsalted butter you can do that as well. Just be sure to add 1/4 teaspoon of salt into the dry ingredients if you are using unsalted butter.
As soon as the flour coats the butter completely and it resembles a dough, then stop the mixer. You don't want to overmix. If you see some bits of flour on the bottom of your mixer, that's okay, you can mix it in by hand.
Pie dough can look crumbly at first, that's okay. You don't want to over mix it. So you can finish it by hand.
Butter needs to stay cold for pie dough because when the cold butter portions melts in the oven it creates steam pockets. This is what makes your pie crust flaky and not tough.
If your pie crust is tough, your butter probably got too soft or you over mixed the pie dough. Be sure to keep butter cold for flaky pie crust and don't over mix. If you are new to rolling out pie crust and it takes you a little bit longer, then place the pie dough on a baking sheet and put it back in the fridge for 20 to 30 minutes to let it chill. This will ensure the butter is cold when going into the oven, which is what we want. I always made new bakers at my bakery do this when learning, so try this tip if takes you more than a few minutes to roll out the pie crust.
Yes! This is why I love using my stand mixer for pie dough as you can easily double the recipe and make two crusts at once.
I have found that pie dough will stay good in the fridge for up to 24 to 48 hours. Any longer than that and I find it’s not great. If you don’t plan to roll out your pie the following day, my rule is throw the dough in the freezer. Then thaw it out when you are ready to use it.
Absolutely! Just be sure pie dough is wrapped well in plastic wrap. Just throw it in the freezer and it will be good for up to a couple months. When you’re ready to use pie dough, just thaw it in the fridge for 24 hours before using.
Pie Recipes to Try Using All Butter Pie Crust
Try some of my favorites using this all butter pie crust recipe!
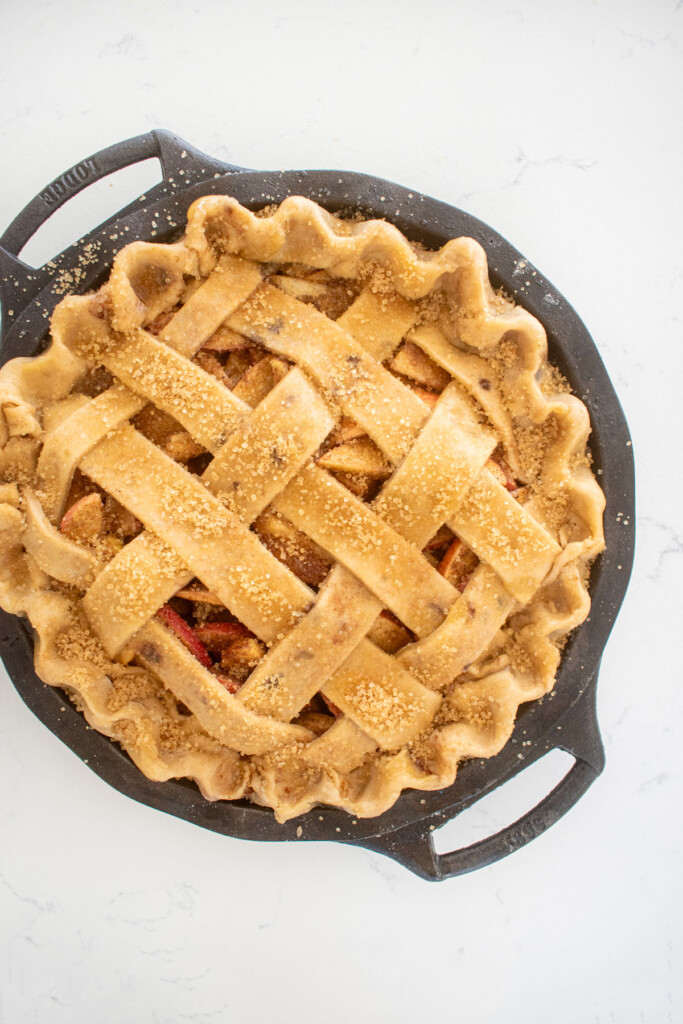
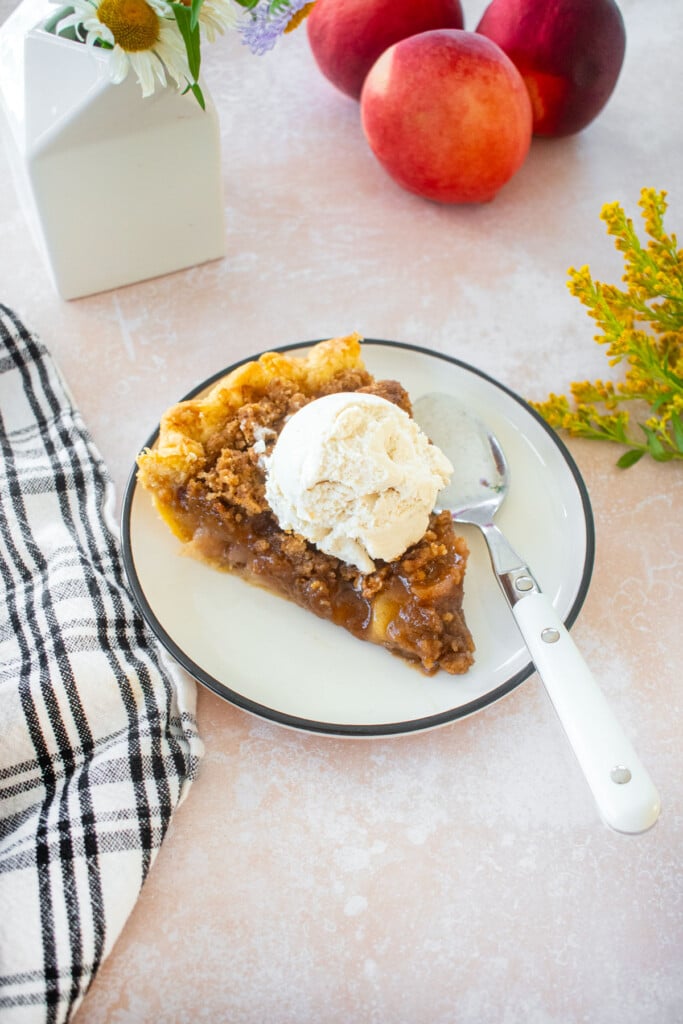
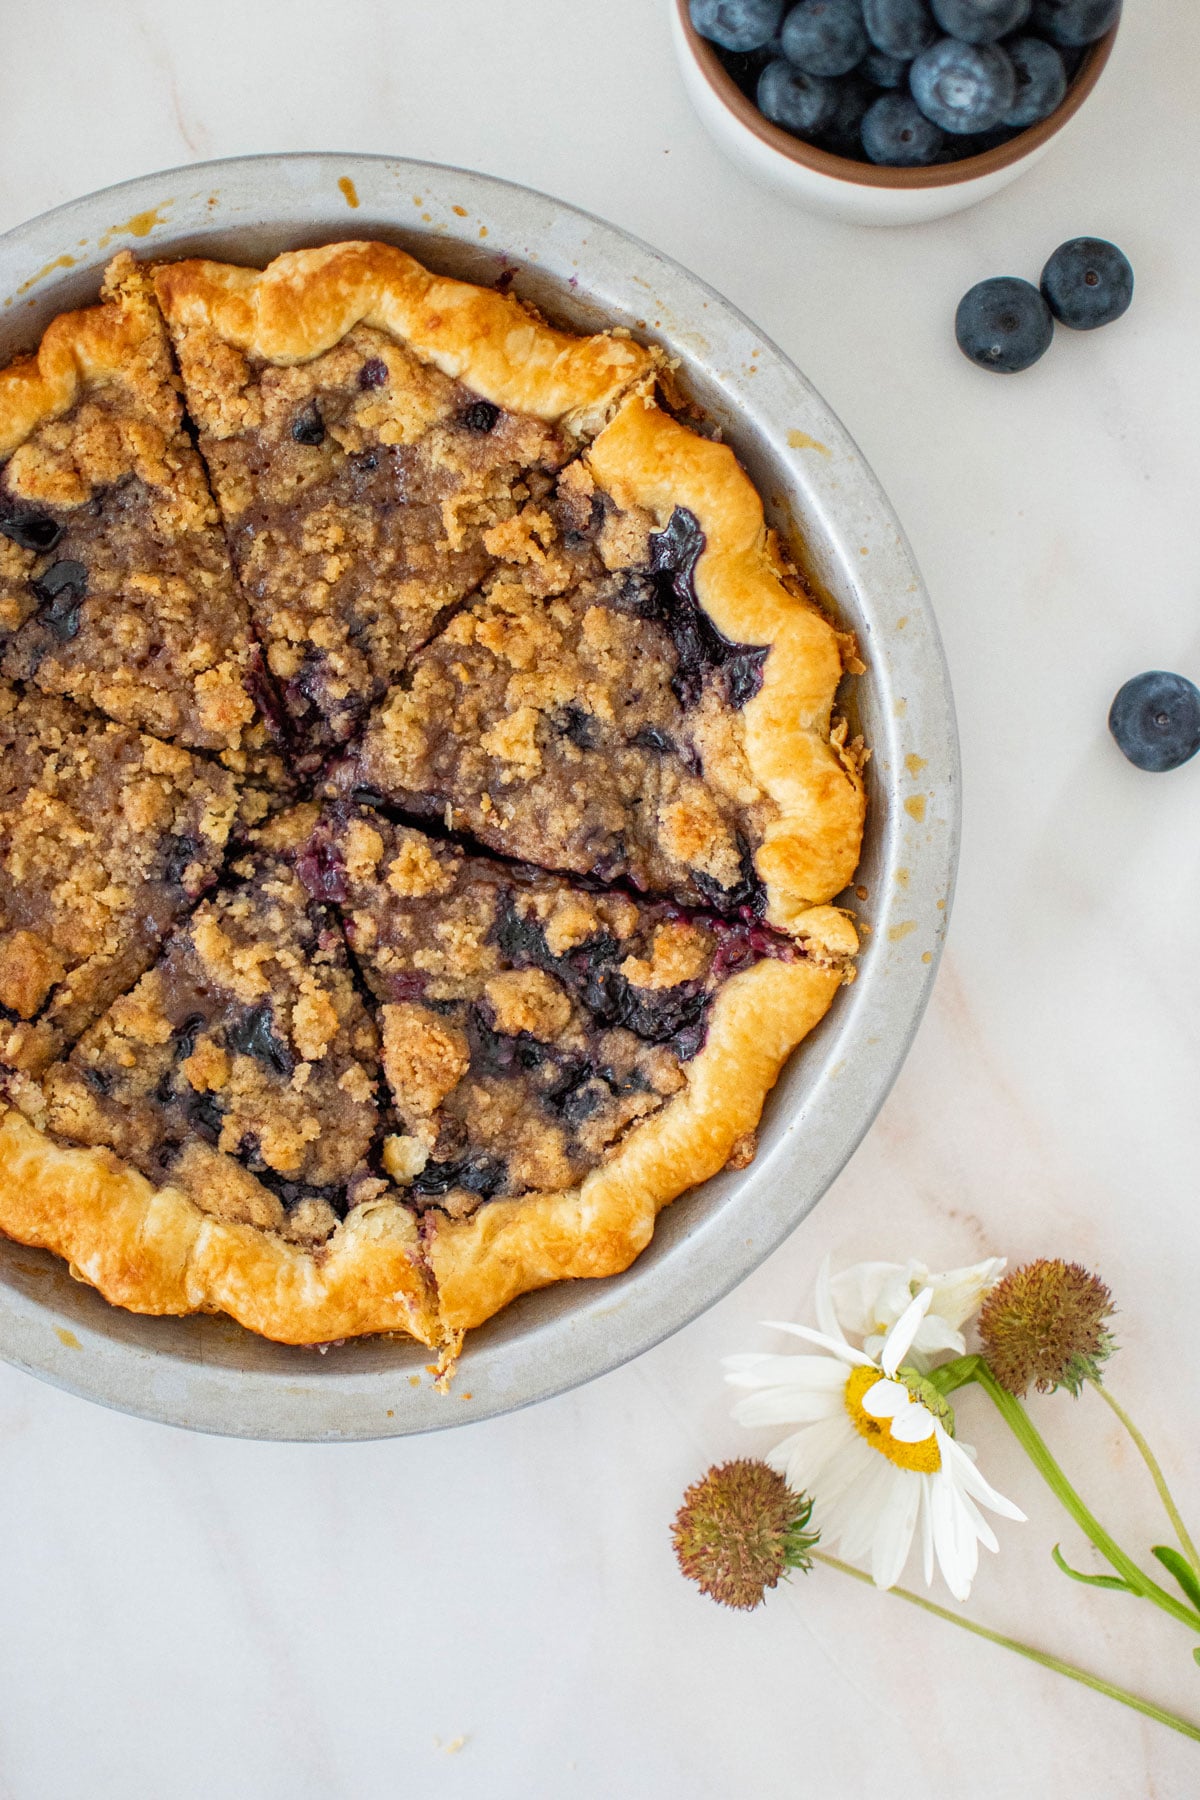
- Cherry Chocolate Chip Pie is a fun summer twist on classic cherry pie.
- Caramel Apple Pie is a reader favorite for fall gatherings and Thanksgiving!
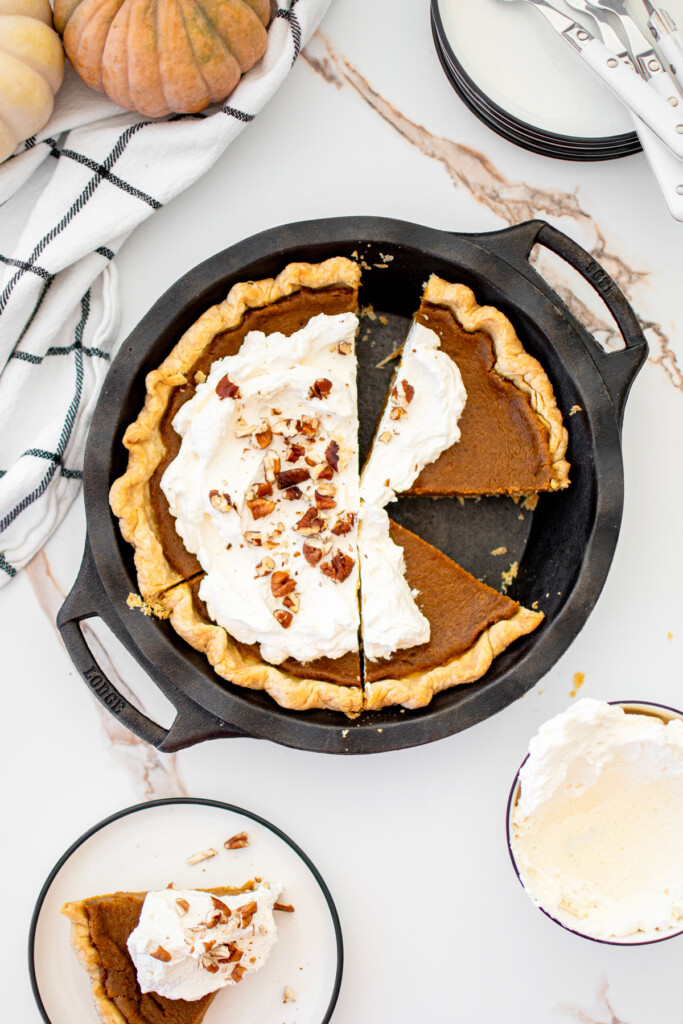
- Try Chocolate Bourbon Pecan Pie or Honey Pecan Pie this Thanksgiving for an insanely delicious chocolate twist on a classic pie.
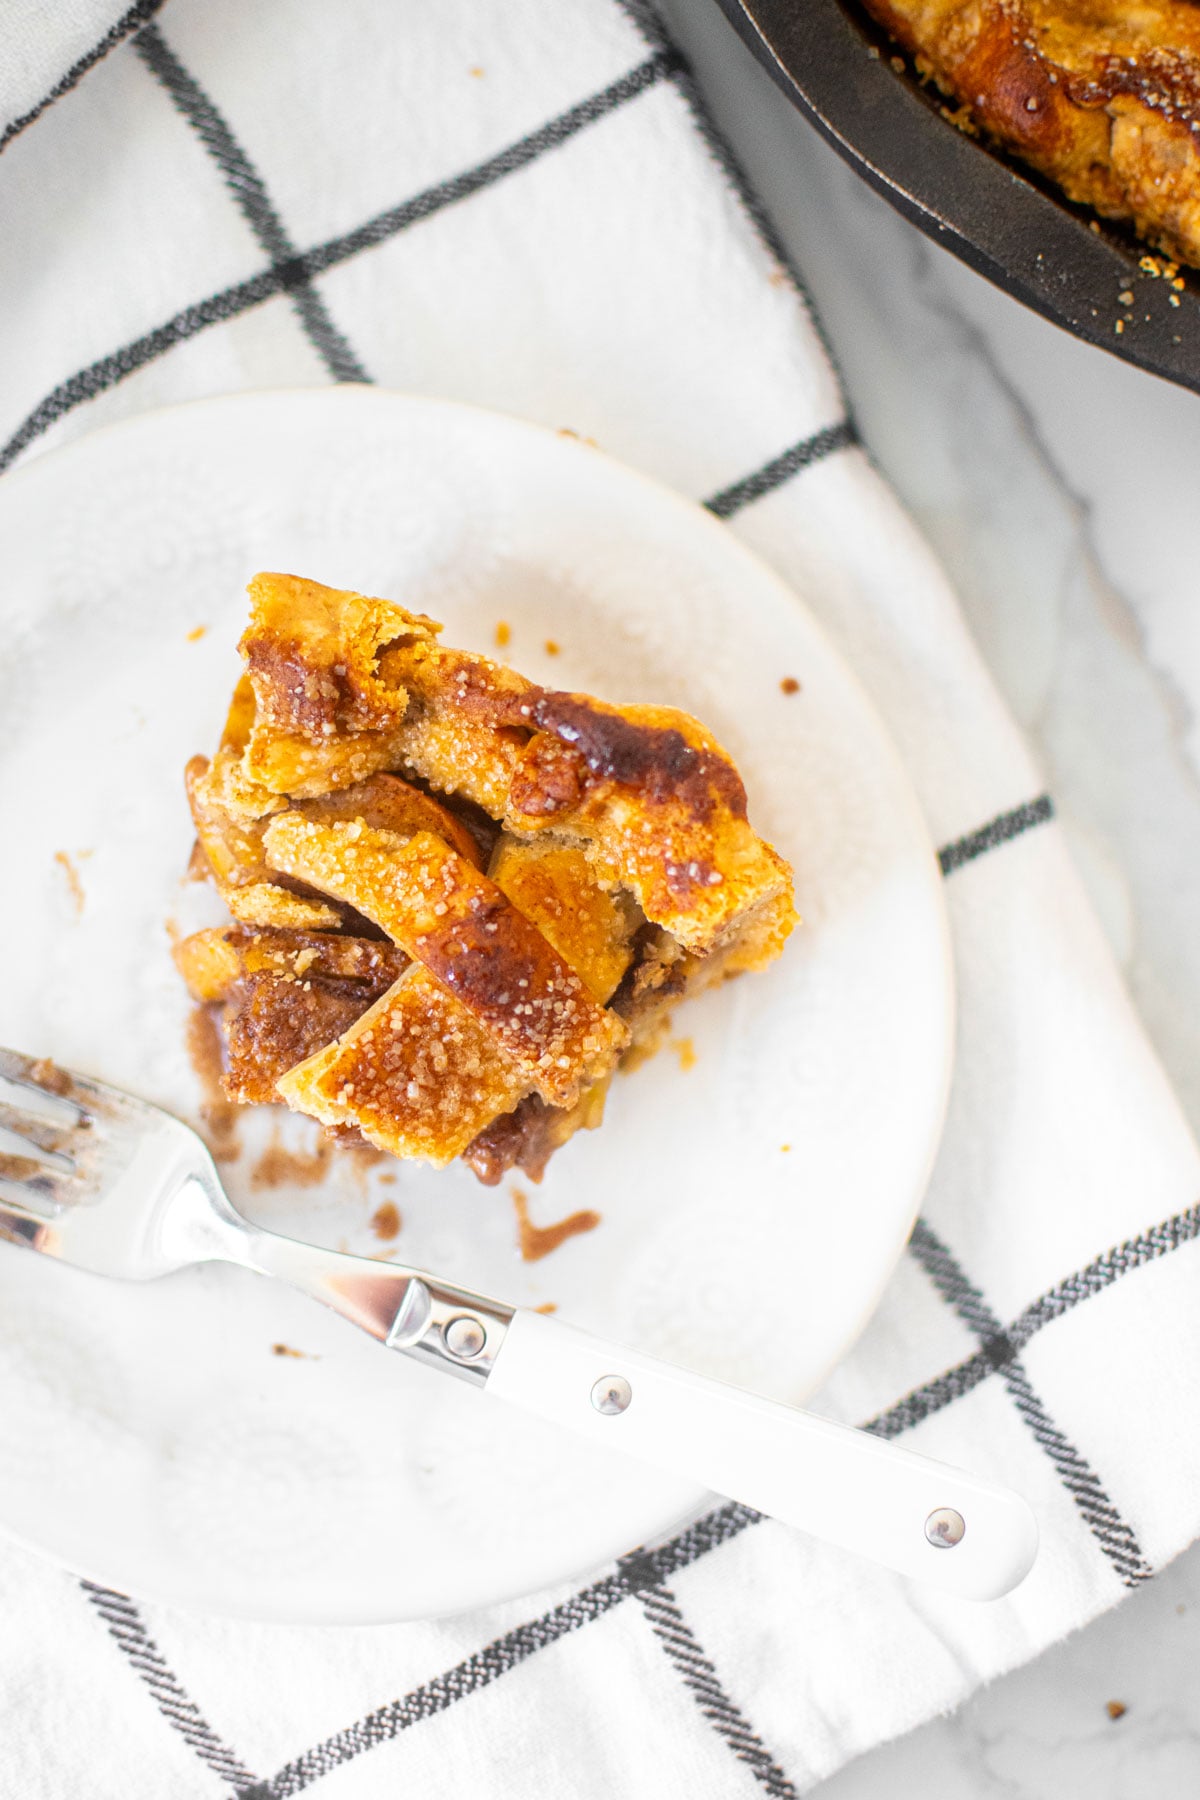
- My Eggless Honey Apple Galette is one of my favorite pies to make year round!
- Try Honey Lemon Apple Pie or Orange Blossom Honey Apple Pie for a summer favorite!
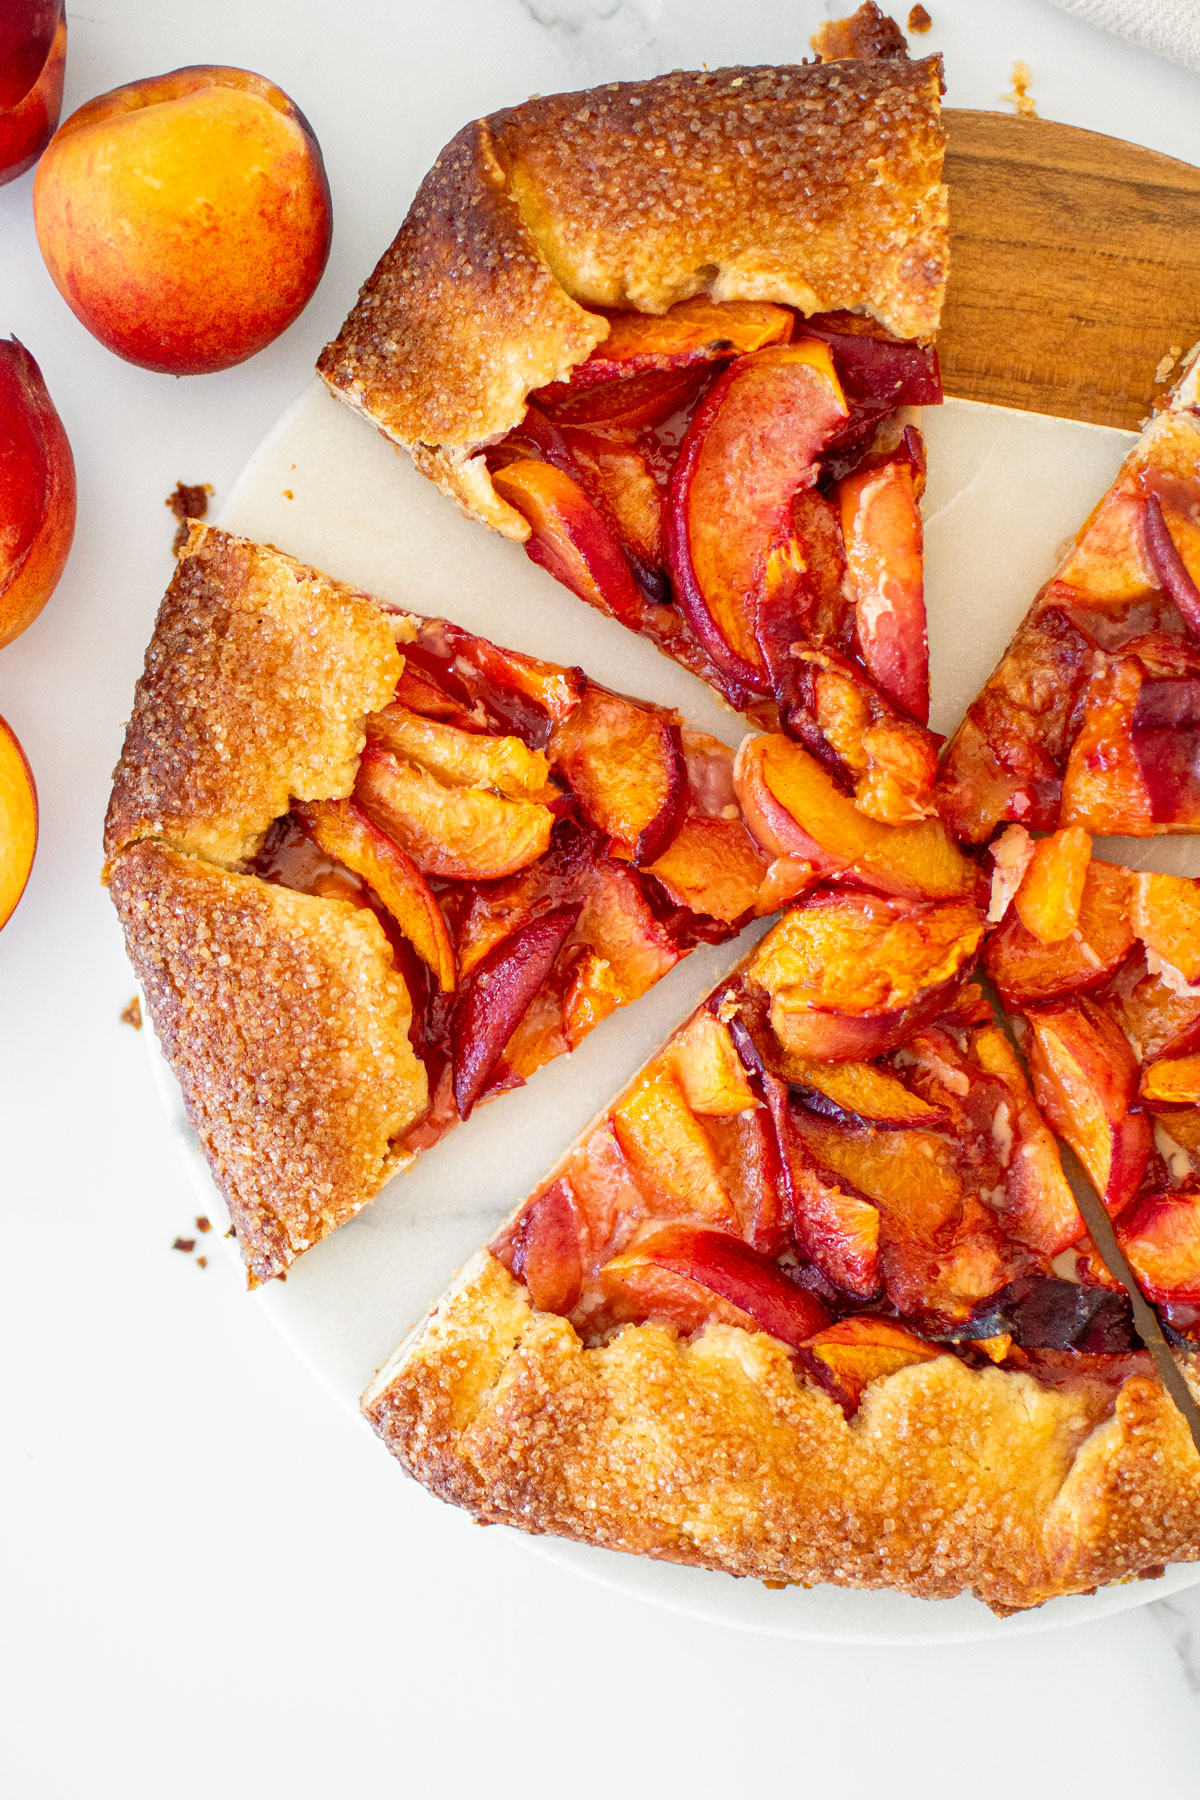
- Indulge in Eggless Mini Apricot Pies, one of my favorite pies ever!

More Pie Recipes
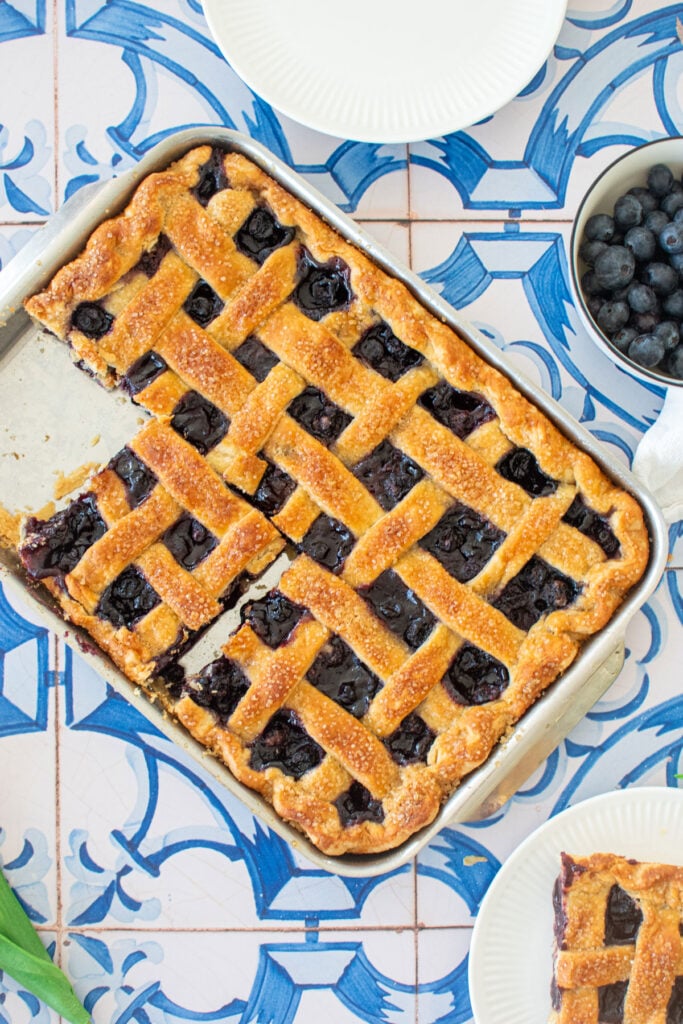
Loved it? Tell us!
Thanks a waffle lot for stopping by 🧇 If you loved this recipe, sprinkle some love by leaving a ⭐⭐⭐⭐⭐ review — it inspires others to try this recipe and helps me organically reach dog loving foodies like you! I personally read and appreciate every message!
Also, be sure to subscribe to our YouTube channel and join John John and me in the kitchen for step by step recipe videos! And subscribe to our newsletter for new and seasonal recipes!
How to Make Pie Crust in a Mixer

Equipment
- Digital Food Scale
- Stand Mixer
Ingredients
- 227 grams all purpose flour
- 1 teaspoon cane sugar
- 7 tablespoons cold water
- 170 grams salted butter (cold)
Instructions
- Measure the cold water and place in the fridge. In the bowl of a stand mixer fitted with the paddle attachment (or in a large mixing bowl), add the flour and cane sugar.
- Chop the butter into small cubes by cutting each stick in half, then cutting each half in thirds, and from there chopping into small cubes.
- Place the butter in the bowl with flour and sugar and place in the fridge for 15 to 30 minutes to make sure the butter is truly cold. (If new to making pie crust).
- Remove the mixing bowl and water from the fridge. Place the bowl in your stand mixer and mix on low until the mixture looks like wet sand. (If not using a mixer, use a pastry cutter, potato masher, or your hands until the mixture resembles wet sand). Immediately add all the water and mix just until the dough comes together (do not over-mix).
- Divide the dough into two pieces (top crust and bottom crust). The top should weigh about 6 ounces (170 grams) and the bottom should weigh about 11 ounces (312 grams). If you need two galettes or two bottom only crusts, just divide the dough in half (about 250 grams each). For mini pies, divide into 6 pieces weighing 83 grams each.
- Form the two pieces into round disks, and—one at a time—press the disks with your hands, similar to kneading, to incorporate any dry spots or butter chunks and to gently make the disks wider and flatter. The larger the disks you can form now, the less work you will do when rolling it out (and the quicker you’ll be!).
- Wrap each piece tightly in plastic wrap. Place the wrapped dough in the fridge and chill for at least 4 hours or overnight.
- When you’re ready to roll out your pie crust, remove the larger disc from plastic wrap and lightly sprinkle flour on the top and bottom. On a lightly floured surface, using a rolling pin, roll and then rotate your pie crust 45 degrees and then roll and rotate again. This will help you roll the disk out evenly. Roll out to ¼-inch thick; it will be about 11 inches in diameter. Set aside. Repeat with the smaller disc, which should be about 9-inches in diameter.
- Continue to follow your pie recipe for filling and baking.
Video

Notes
- If you don't have a mixer, a food processor will work similarly if you don't want to make this by hand.
- Make sure your butter is cold! Cold and straight from the fridge will make the most buttery and flaky pie crust. If you get hot hands, then chop your butter ahead of time and then place it back in the fridge to chill for at least 30 minutes to ensure cold butter as this is key for using a mixer.
- Make sure to add dry ingredients into your mixer first.
- Have your water ready to go as you want everything ready to go before adding in the butter, this ensures it stays the coldest. I like to add my water to a Pyrex measuring cup with a spout, this way it’s really easy to pour into the mixer as it’s mixing.
- You can use this recipe to create 1 double crust, 2 bottom pie crusts (or galettes) or 6 mini pies (or galettes). I provide measuring instructions in the recipe card.
- Stop the mixer sooner rather than later. It’s always best to stop your mixer sooner rather than later. You can always mix in little bits by hand if you have to.
- Be sure to always wrap up pie crust tightly in plastic wrap to ensure it does not dry out before refrigerating.
- High Altitude — Follow the recipe as noted.
Nutrition
The Bake Shop
Visit The Bake Shop for foodie inspired tees, sweatshirts, and accessories. Find my favorite kitchen tools (with discounts!) in the Kitchen Shop. And shop our collection of food inspired dog accessories too!

This is how I make pie crust every time, it’s so quick and easy!