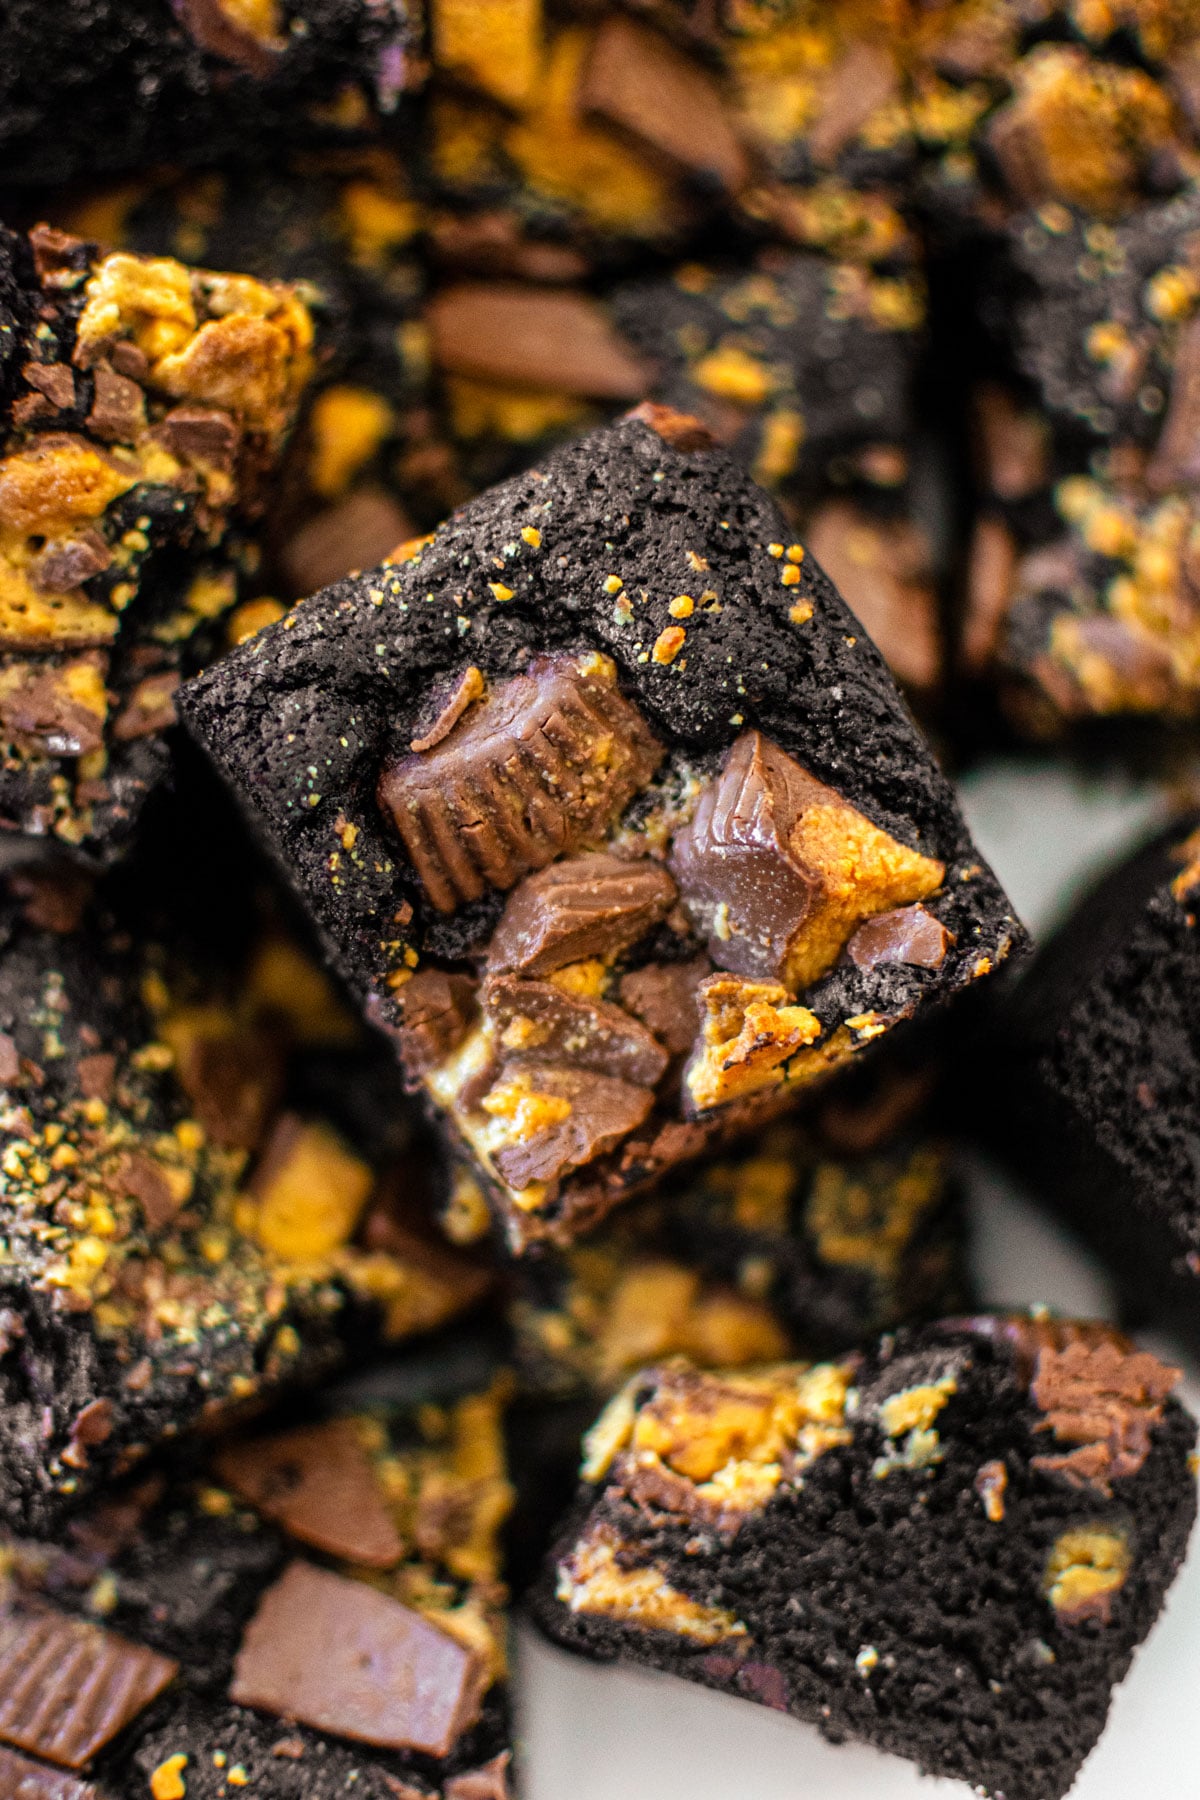
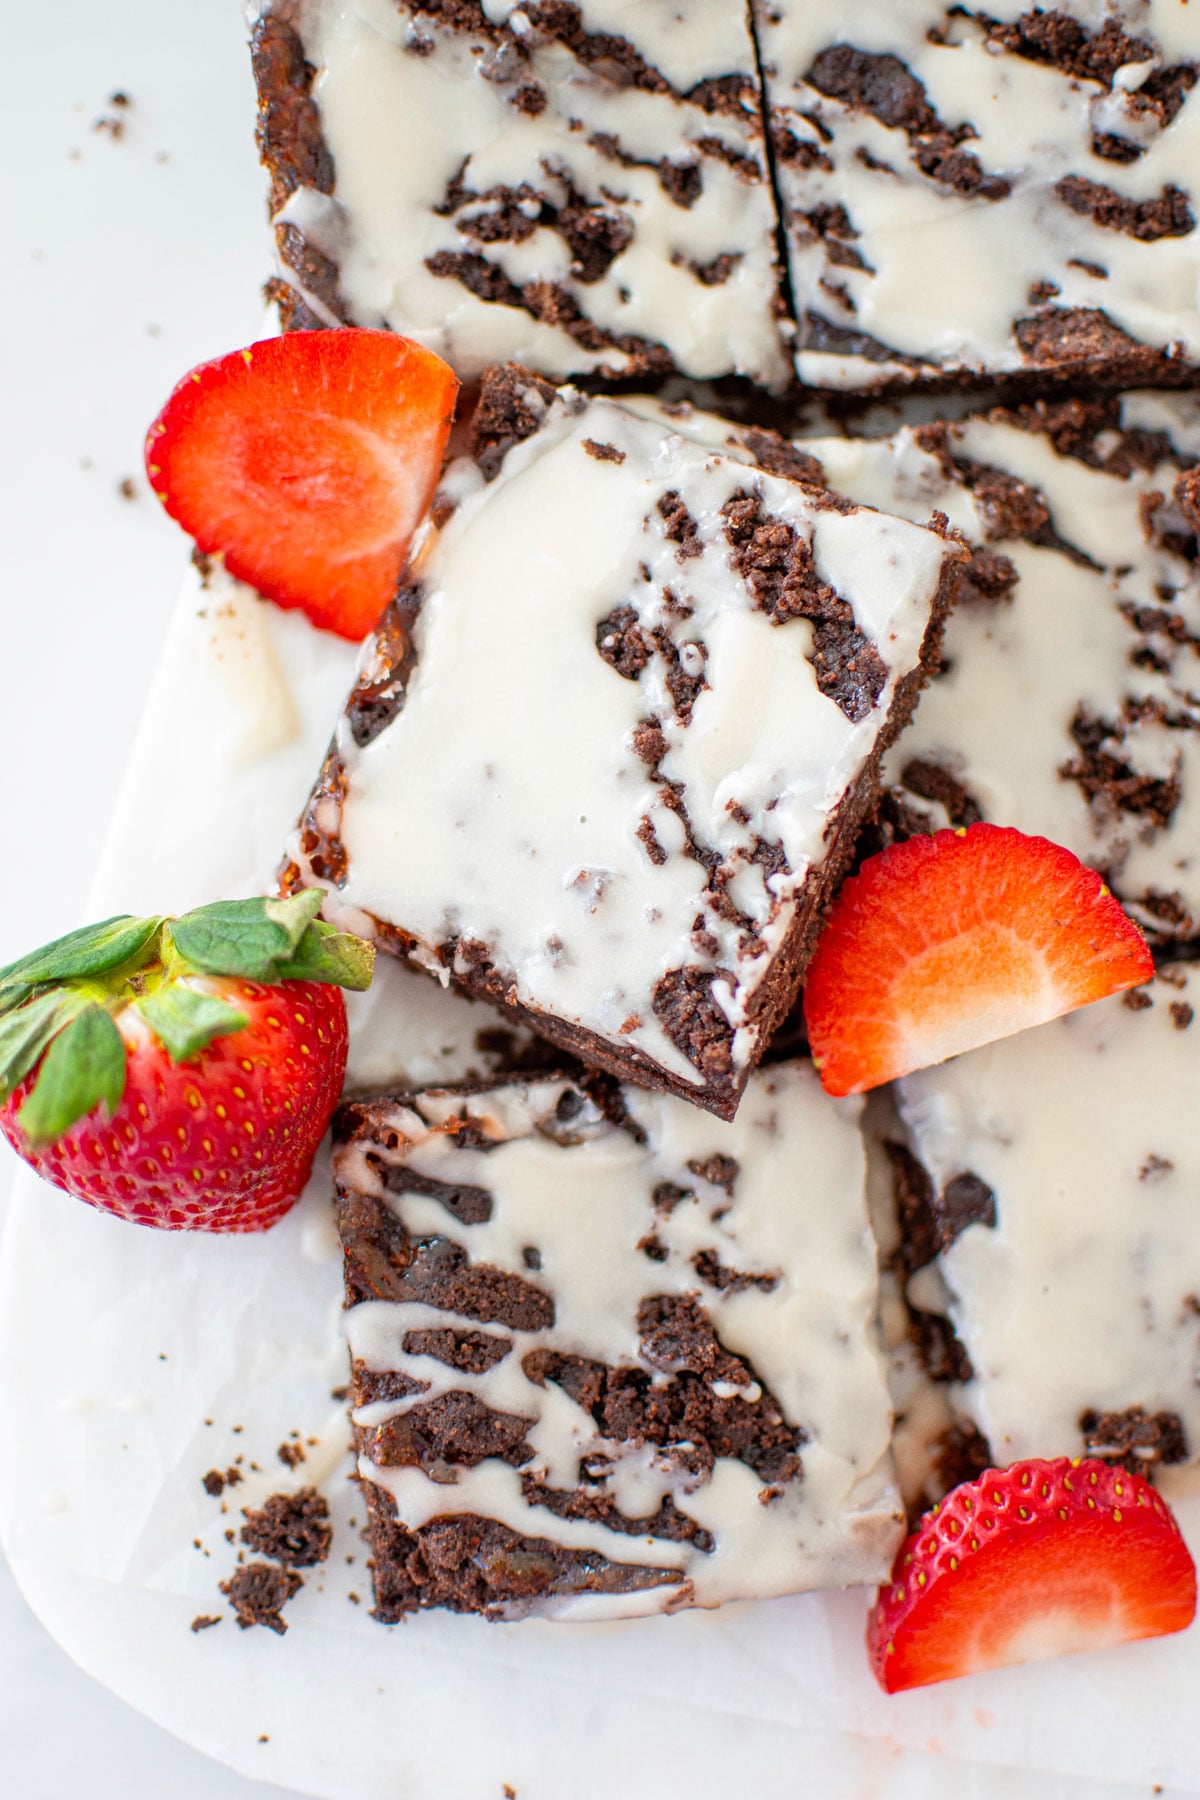
Peanut Butter Cup Brownies
These Peanut Butter Cup Brownies are rich, fudgy, and strike the perfect balance of peanut butter and chocolate! I use organic Reese’s Peanut Butter Cups in this nostalgic treat for an indulgence that you’ll love and feel good about indulging in!
If you’re looking for more chocolate and peanut butter recipes, be sure to check out some of my other favorites like Vegan Chocolate Peanut Butter Ice Cream Bars, Healthy Chocolate Peanut Butter Cups, or Chocolate Peanut Butter Cake Balls.
A Quick Look At The Recipe
- Recipe Name: Peanut Butter Cup Brownies
- Ready In: 35 minutes
- Makes: 16 bars
- Main Ingredients: canola oil, cane sugar, black cocoa, all purpose flour
- Flavor Profile: rich chocolate with bursts of peanut butter cups
- Dietary Info: gluten free swap available
- Difficulty: Easy!
- Why You’ll Love It: easy recipe for peanut butter cup brownies made organic!
Summarize & Save This Content On
Why You’ll Love This Recipe
- Chocolate and Peanut Butter: There is no better combination than chocolate and peanut butter! Rich chocolate with salty peanut butter is pure indulgence.
- Chewy and Fudgy: These homemade brownies have a fudgy center and chewy edges. I use black cocoa powder for daringly dark brownies that are perfect for Halloween.
- Organic Brownies: Indulge in a nostalgic treat but made with organic ingredients! Reese’s makes Organic Peanut Butter Cups now! So you can get all the nostalgic goodness with good ingredients in these peanut butter brownies.
- Better Than Store-Bought: Skip the box brownie mix and bake brownies at home instead, they are so quick and easy, and will taste so much better!
Ingredients
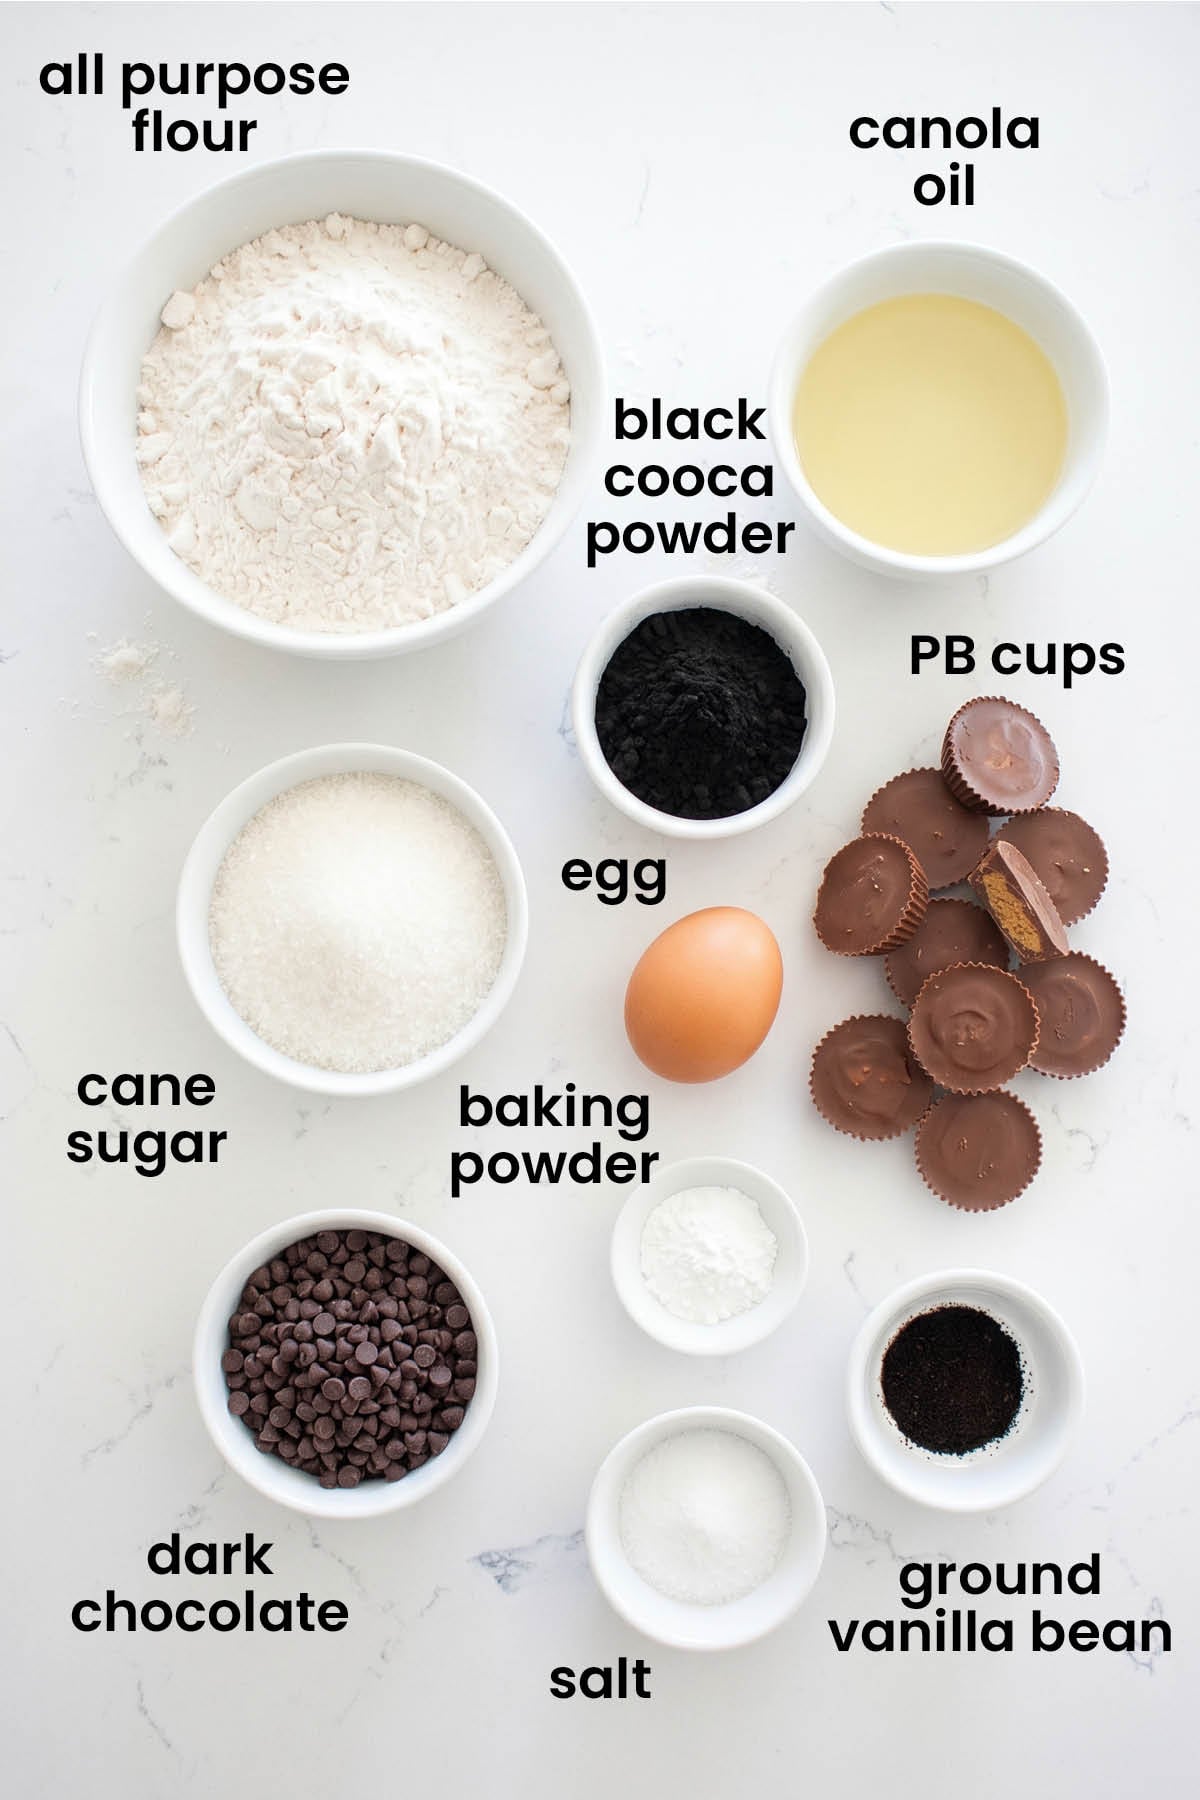
- Canola Oil: I use organic canola oil because it’s the most neutral oil. If you don't want to use seed oils, like vegetable oil, you could also use extra virgin olive oil or avocado oil too!
- Black Cocoa Powder: Organic black cocoa powder makes these brownies extra dark! They also give them a rich and chocolatey flavor, no box mix needed.
- Dark Chocolate: I use an organic dark chocolate bar, chopped up. But you can also use dark chocolate chips too.
- All Purpose Flour: I use Cairnspring Mills, they’re my favorite fresh milled flour!
- Vanilla Bean: I use organic ground vanilla bean as I like the way it provides depth of flavor. If you don’t have vanilla bean, feel free to use vanilla extract in its place, just double the amount.
- Baking Powder: Make sure to use baking powder, not soda. Check out my post Difference Between Baking Soda and Baking Powder for more info on leavening agents.
- Peanut Butter Cups: I use Reese’s Organic Peanut Butter Cups! The original peanut butter cup has an organic option now! You can use minis or regulars, either works. Justin's is also a great option and I've made these with their mini peanut butter cups before too!
*For a full list of ingredients and measurements, visit the recipe card below.
Baker’s Tips for Peanut Butter Cup Brownies
- Always use a digital food scale for the best results.
- I use canola oil for the most neutral flavor. If you’re avoiding seed oils, use avocado or olive oil in its place.
- You can use any kind of candy bars if you want, feel free to switch it up to make different flavors like Strawberry Chocolate Bars, Homemade Crunch Bars, or even Peanut Turtle Candy.
- I use my hand mixer here, but this recipe is so easy you could just use a whisk. And you can make this in your stand mixer if you prefer too.
- Make sure to store these in an airtight container.
- Gluten Free — Replace the all purpose flour with 212 grams (1 1/3 cups) gluten free flour blend, I used the Namaste Organic Perfect Flour for testing.
How to Make Peanut Butter Cup Brownies
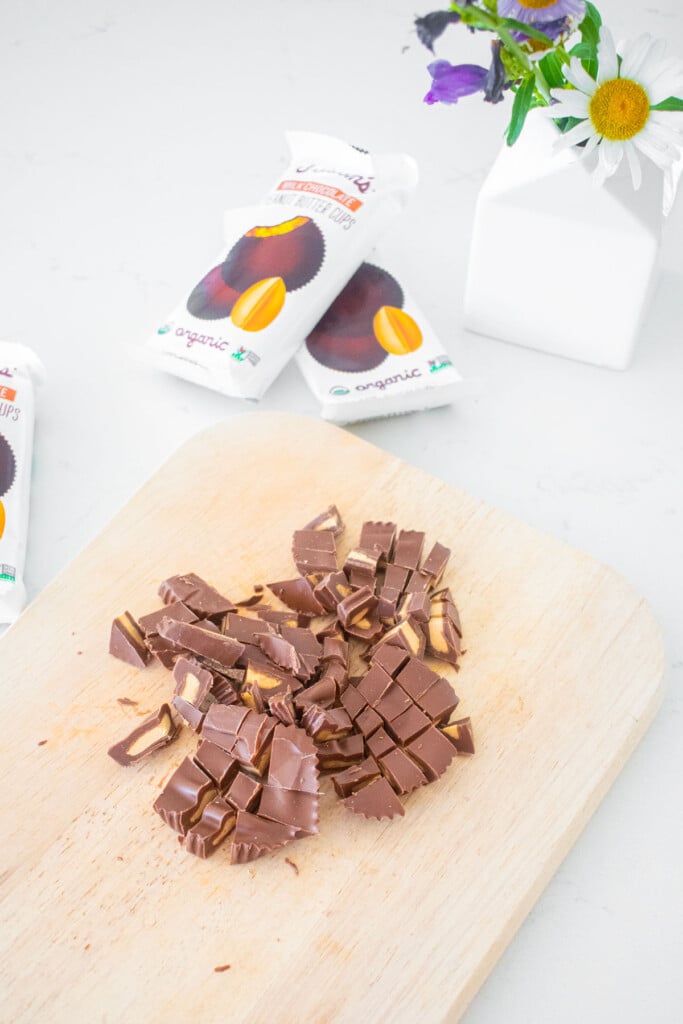
- Preheat the oven to 350°F. Line an 8×8-inch baking pan with parchment paper. Chop up the peanut butter cups.
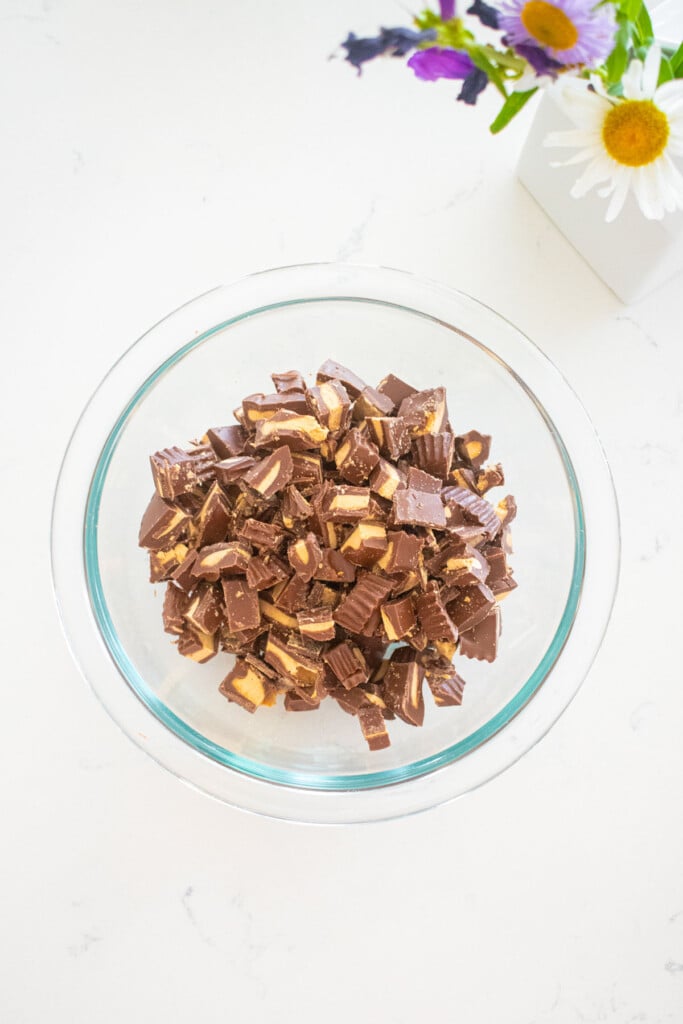
- Add them to a mixing bowl and set aside.
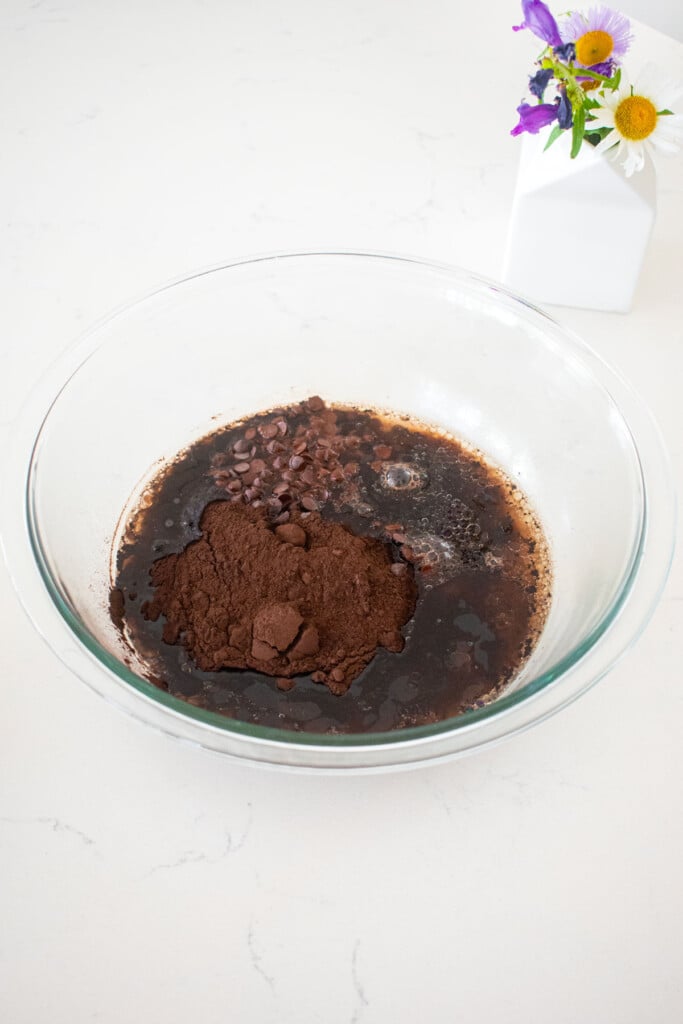
- In a large mixing bowl, add the canola oil, cane sugar, cocoa powder, and dark chocolate. Pour the boiling water directly on top of the chocolate.
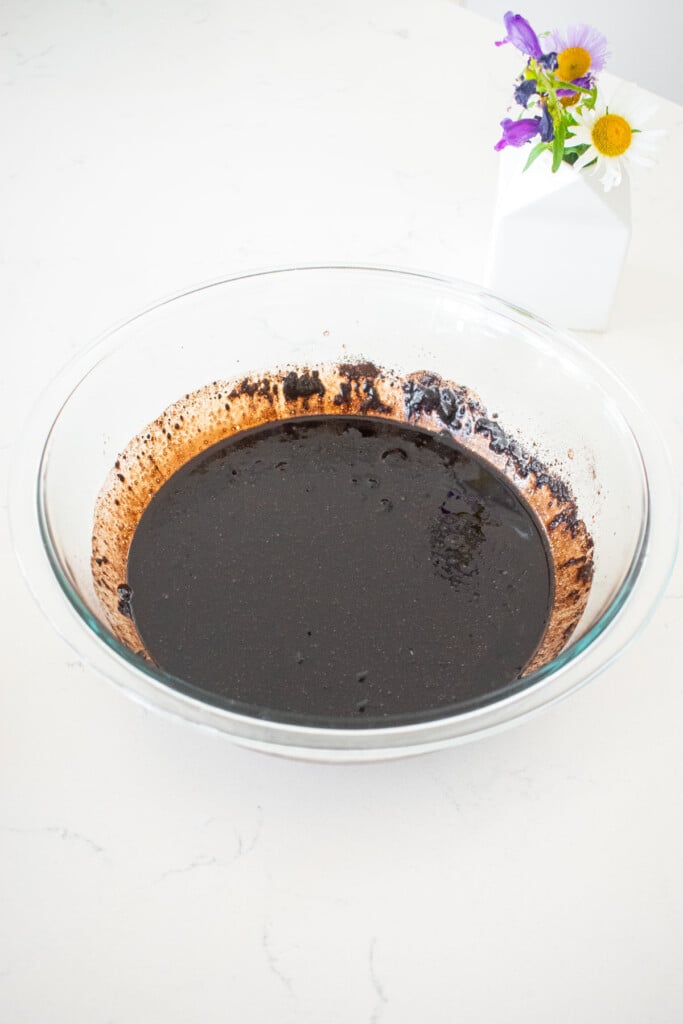
- Mix with a hand mixer on low to medium speed on until combined and the chocolate has completely melted and there are no chunks.
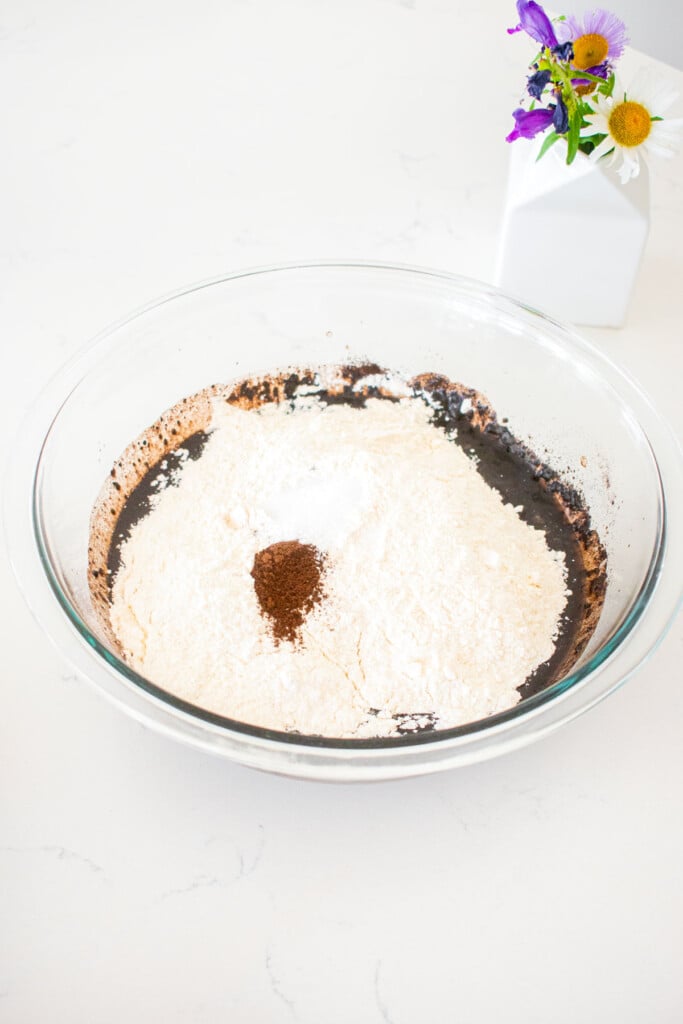
- Add the egg, flour, vanilla bean, baking powder, sand salt in that order. Mix on low until combined, don’t over mix.
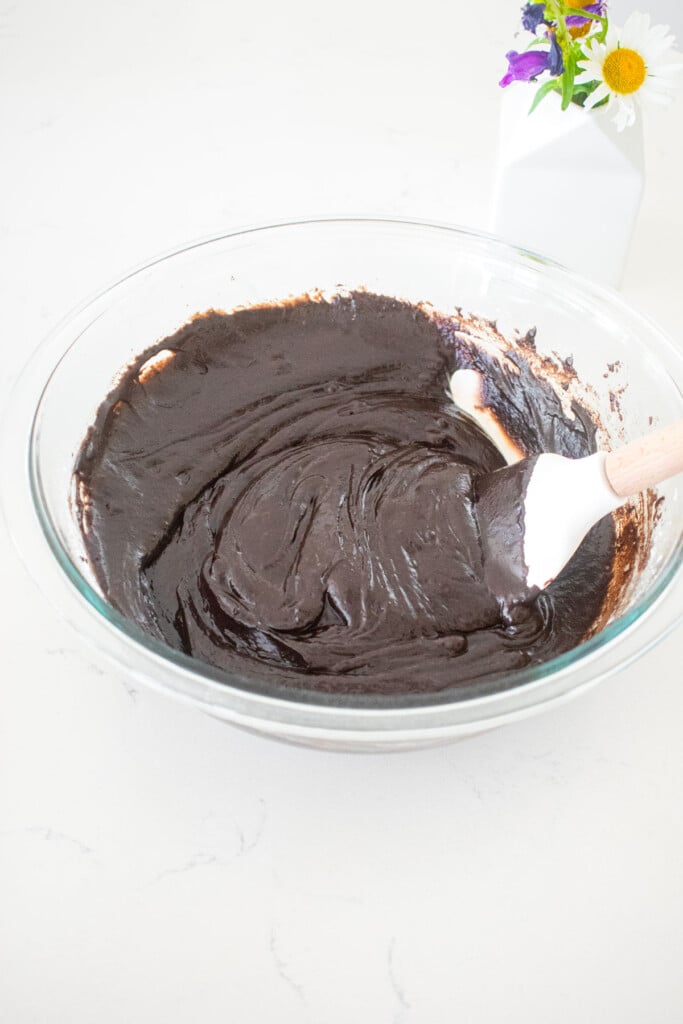
- Mix on low until combined into a smooth brownie batter.
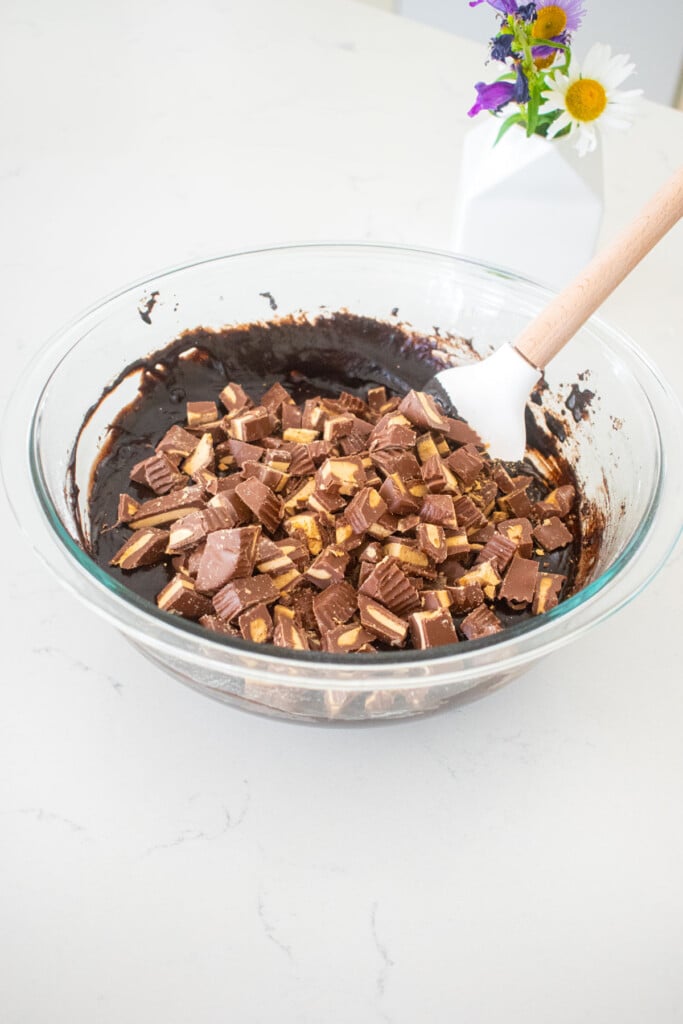
- Add the chopped peanut butter cups into the brownie batter. You can reserve some for the top, if you want, but that’s totally optional.
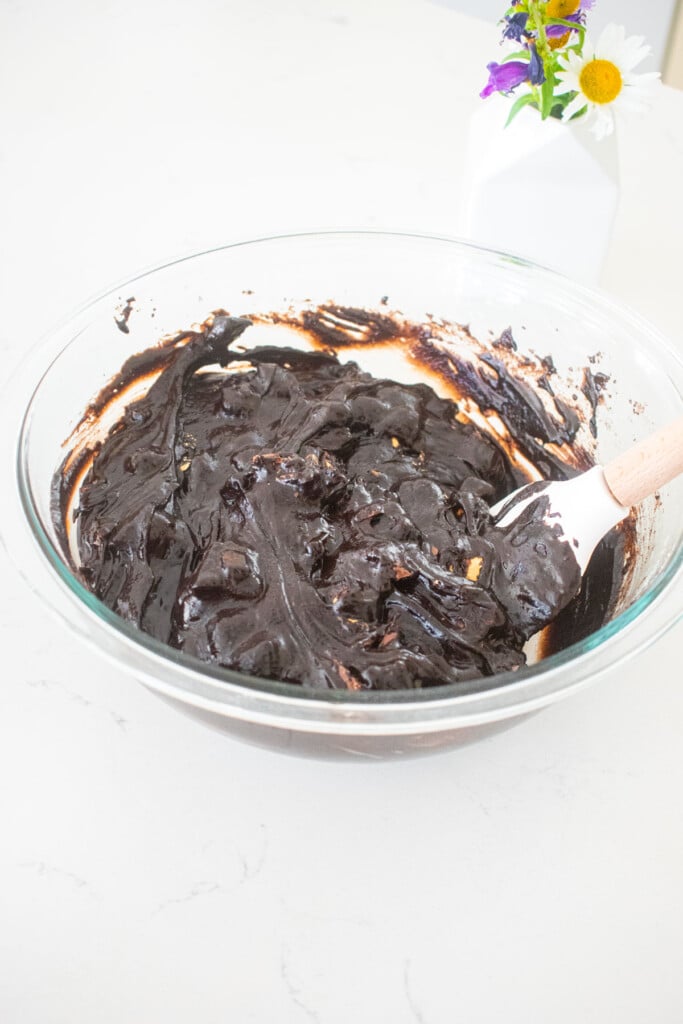
- Fold together the chopped peanut butter cups to combine into the brownie batter.
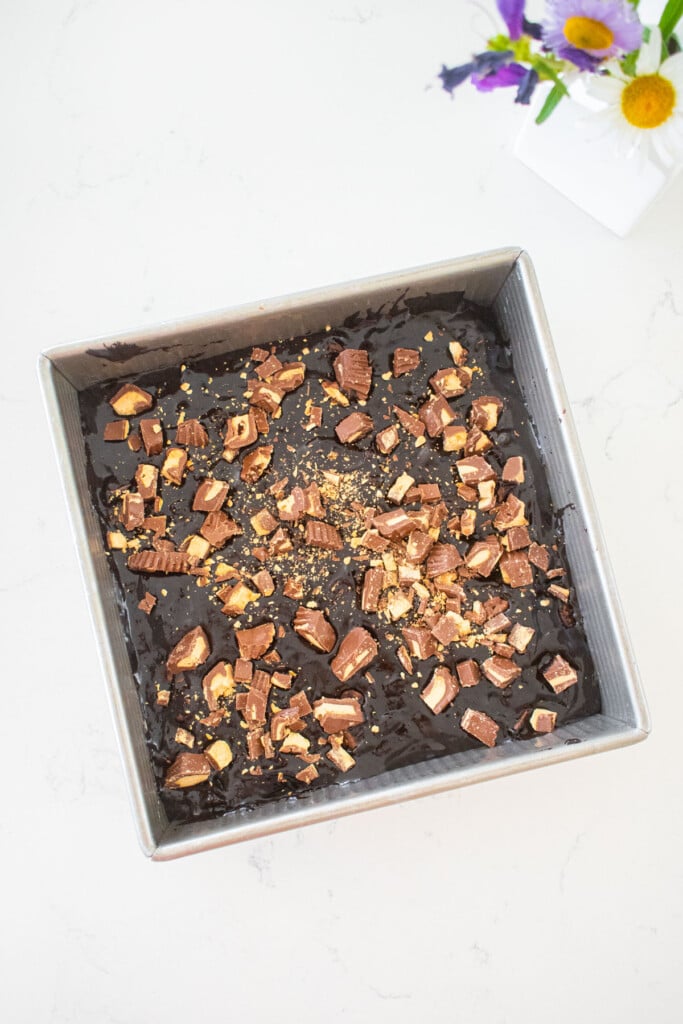
- Transfer the batter to the prepared baking pan and spread it out evenly. Add reserved chopped peanut butter cups on top, if you want.
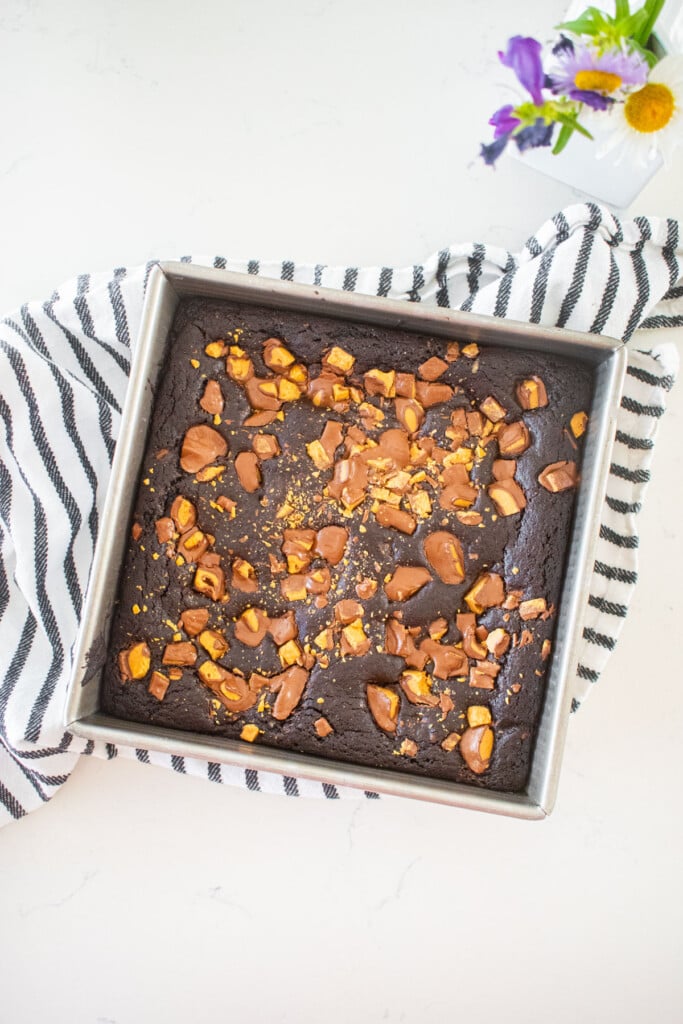
- Bake for 25 minutes to 30 minutes, or until a toothpick inserted in the center comes out clean. Allow to cool completely in the baking pan and then cut into 16 squares.

Recipe FAQ’s
Yes, you can use miniature peanut butter cups if you prefer. You’ll need twice as many.
No, they don't melt completely. They will become softer and gooey, making them a perfect addition to brownies to infuse that peanut butter cup flavor!
Black cocoa powder gives these brownies a dark black color and a richer chocolate flavor. This is because black cocoa powder is even more alkalized than Dutch cocoa, which makes it a bit sweeter and is what creates the even darker color.
It just gives these brownies a little richer and sweeter flavor. It is very similar to Dutch cocoa powder in taste, the biggest difference is its black color.
You can replace the black cocoa powder with 57 grams (2/3 cup) Dutch process cocoa powder. They won’t be black, but will still be delicious!
I use boiling water to melt the chocolate and intensify the cocoa flavor. The boiling water will meld cocoa and sugars together, giving you a richer and more tender brownie.
Yes, there's a simple adjustment for gluten free in the Notes at the bottom of the recipe.
Too much flour (measuring incorrectly), your eggs could be too large, or over baking cause cause this. Be sure to weigh ingredients for the best results. And, you can even weigh your eggs! One large egg should weigh 50 grams, if you have more than that (beat it, weigh it) then you can save it in an airtight container and use for breakfast.
Yes, brownies will be soft in the center when they are done baking. They do have to cool completely in the baking pan to set. Then you can remove them and slice for nice clean cut pieces.
The edges will be dry and the center will look set. You can test it with a toothpick or butter knife and you want moist crumbs to show, not a wet better (this indicates not done yet) or perfectly clean (this can mean over baked).
They can sink because they are heavier than the brownie batter. That shouldn't happen with this recipe as we layer half inside the batter and put the other half on top.
The brownies need to cool so they can set properly. This also helps flavors develop completely as they cool and finish cooking. You also need them to be cooled so you can cut nice, clean cuts, using a sharp knife.
Store in an airtight container so they stay soft and fudgy.
Store in an airtight container at room temperature so they stay soft and chewy. You can also freeze brownies by wrapping them in plastic wrap and placing in an airtight container. You can freeze for up to 3 months. Just simply thaw and enjoy!
Organic Halloween Inspiration
Reese's peanut butter cups are a classic Halloween candy, and it's so amazing they are making an organic option now! If you are looking for more ways to celebrate Halloween organically, check out these posts!
- This Halloween Dessert Board is an amazing quick and easy recipe for a party!
- Enjoy nostalgic candy bars made better like Healthy Almond Joy Bars, Vegan Snickers Bars, Homemade Crunch Bars, and Homemade Twix Bars.
- You can even make your own Vegan Dark Chocolate Mini Peanut Butter Cups and use these in these brownies!
- The Spooky Rose Cake for Halloween is one of my favorite Halloween cakes along with Pumpkin Chocolate Chip Cookie Cake.

More Organic Brownie Recipes

Loved it? Tell us!
Thanks a waffle lot for stopping by 🧇 If you loved this recipe, sprinkle some love by leaving a ⭐⭐⭐⭐⭐ review — it inspires others to try this recipe and helps me organically reach dog loving foodies like you! I personally read and appreciate every message!
Also, be sure to subscribe to our YouTube channel and join John John and me in the kitchen for step by step recipe videos! And subscribe to our newsletter for new and seasonal recipes!

Peanut Butter Cup Brownies
Equipment
- Digital Food Scale
- Mixing Bowl
- Hand Mixer
- 8×8-inch Baking Pan
- Parchment Paper
Ingredients
- 113 grams canola oil
- 226 grams cane sugar
- 64 grams black cocoa powder
- 57 grams dark chocolate (chopped)
- ½ cup boiling water
- 1 large egg
- 212 grams all purpose flour
- ½ teaspoon ground vanilla bean
- ½ teaspoon baking powder
- ½ teaspoon fine sea salt
- 12 peanut butter cups (chopped)
Instructions
- Preheat the oven to 350°F. Line an 8×8-inch baking pan with parchment paper. Chop up the peanut butter cups. Add them to a mixing bowl and set aside.
- In a large mixing bowl, add the cane sugar, canola oil, cocoa powder, and dark chocolate. Pour the boiling water directly on top of the chocolate.
- Mix with a hand mixer on low to medium speed on until combined and the chocolate has completely melted and there are no chunks.
- Add the egg, flour, vanilla bean, baking powder, sand salt in that order. Mix on low until combined, don’t over mix.
- Mix on low until combined into a smooth brownie batter.
- Add the chopped peanut butter cups into the brownie batter. You can reserve some for the top, if you want, but that’s totally optional.
- Fold together the chopped peanut butter cups to combine into the brownie batter.
- Transfer the batter to the prepared baking pan and spread it out evenly. Add reserved chopped peanut butter cups on top, if you want.
- Bake for 25 minutes to 30 minutes, or until a toothpick inserted in the center comes out clean.
- Allow to cool completely in the baking pan and then cut into 16 squares.
Video

Notes
- Always use a digital food scale for the best results.
- I use canola oil for the most neutral flavor. If you’re avoiding seed oils, use avocado or olive oil in its place.
- You can use any kind of candy bars if you want, feel free to switch it up to make different flavors like Strawberry Chocolate Bars, Homemade Crunch Bars, or even Peanut Turtle Candy.
- I use my hand mixer here, but this recipe is so easy you could just use a whisk. And you can make this in your stand mixer if you prefer too.
- Make sure to store these in an airtight container.
- Gluten Free — Replace the all purpose flour with 212 grams (1 1/3 cups) gluten free flour blend, I used the Namaste Organic Perfect Flour for testing.
- High Altitude — Follow the recipe as noted.
Nutrition
The Bake Shop
Visit The Bake Shop for foodie inspired tees, sweatshirts, and accessories. Find my favorite kitchen tools (with discounts!) in the Kitchen Shop. And shop our collection of food inspired dog accessories too!

Love that I can make a nostalgic treat like this, but with organic ingredients!
OMG! These are so good! This is the best brownie recipe I have ever tried. Top with a little vanilla ice cream for extra points!
One of the best brownies I’ve had – absolutely delicious!