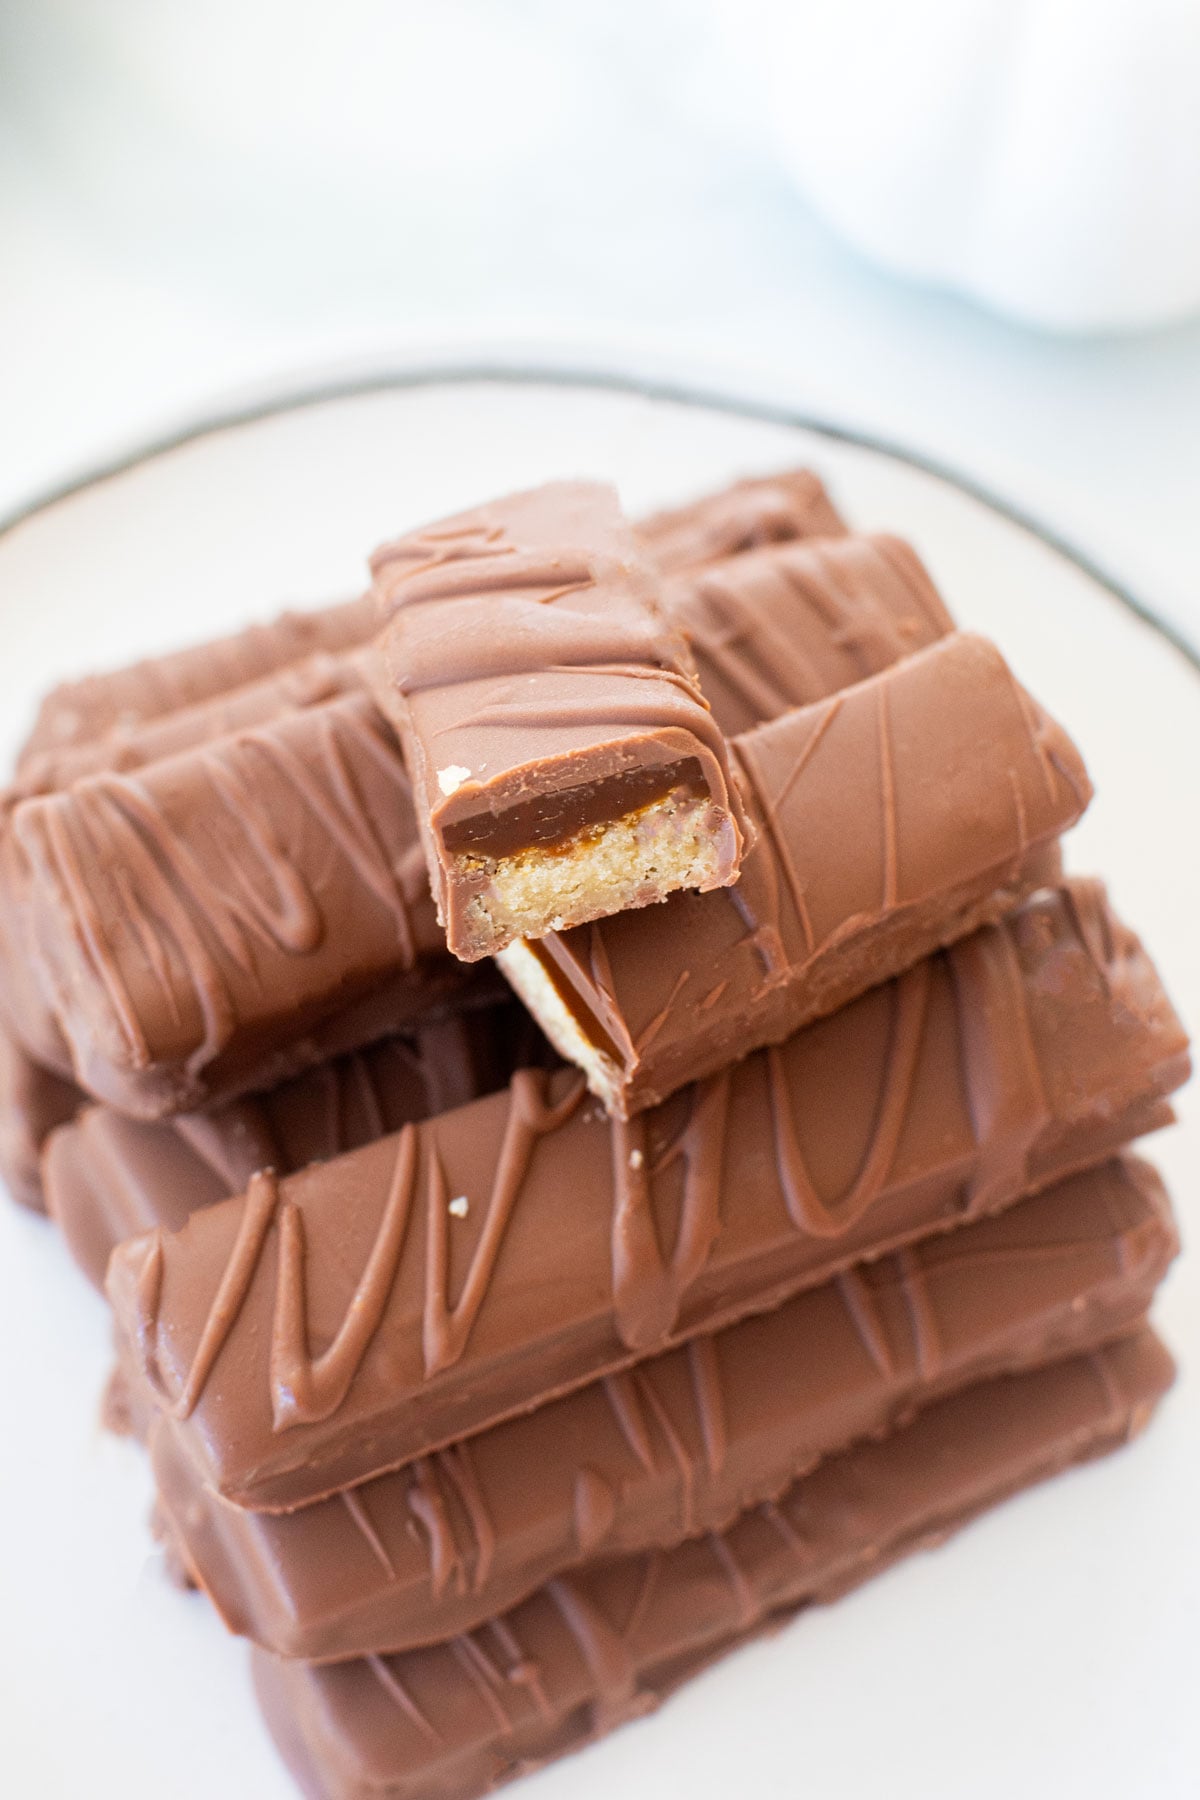
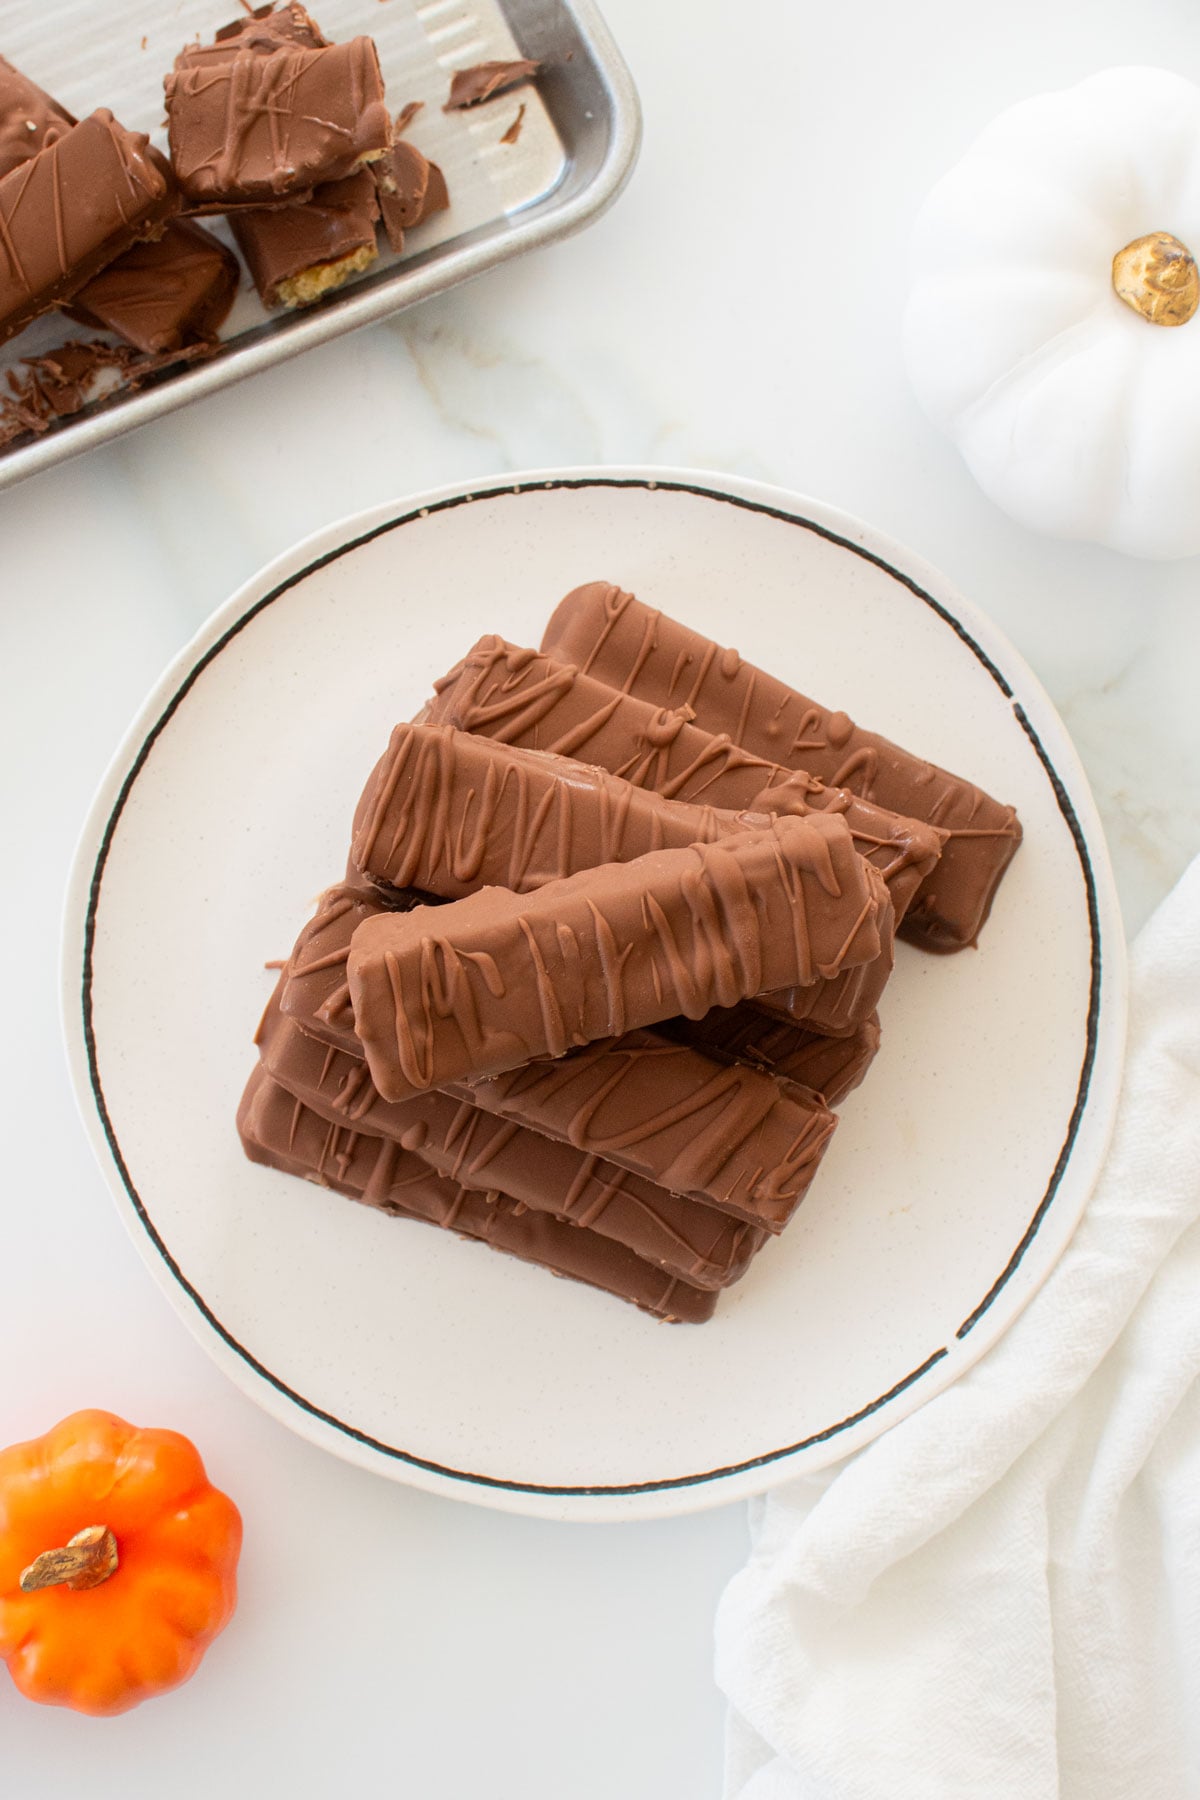
Homemade Twix Bars
These Homemade Twix Bars taste just like the nostalgic candy you remember, but without all the crap! With only 7 ingredients, you’ll feel good before and after indulging in this classic caramel covered cookie bar dipped in chocolate!
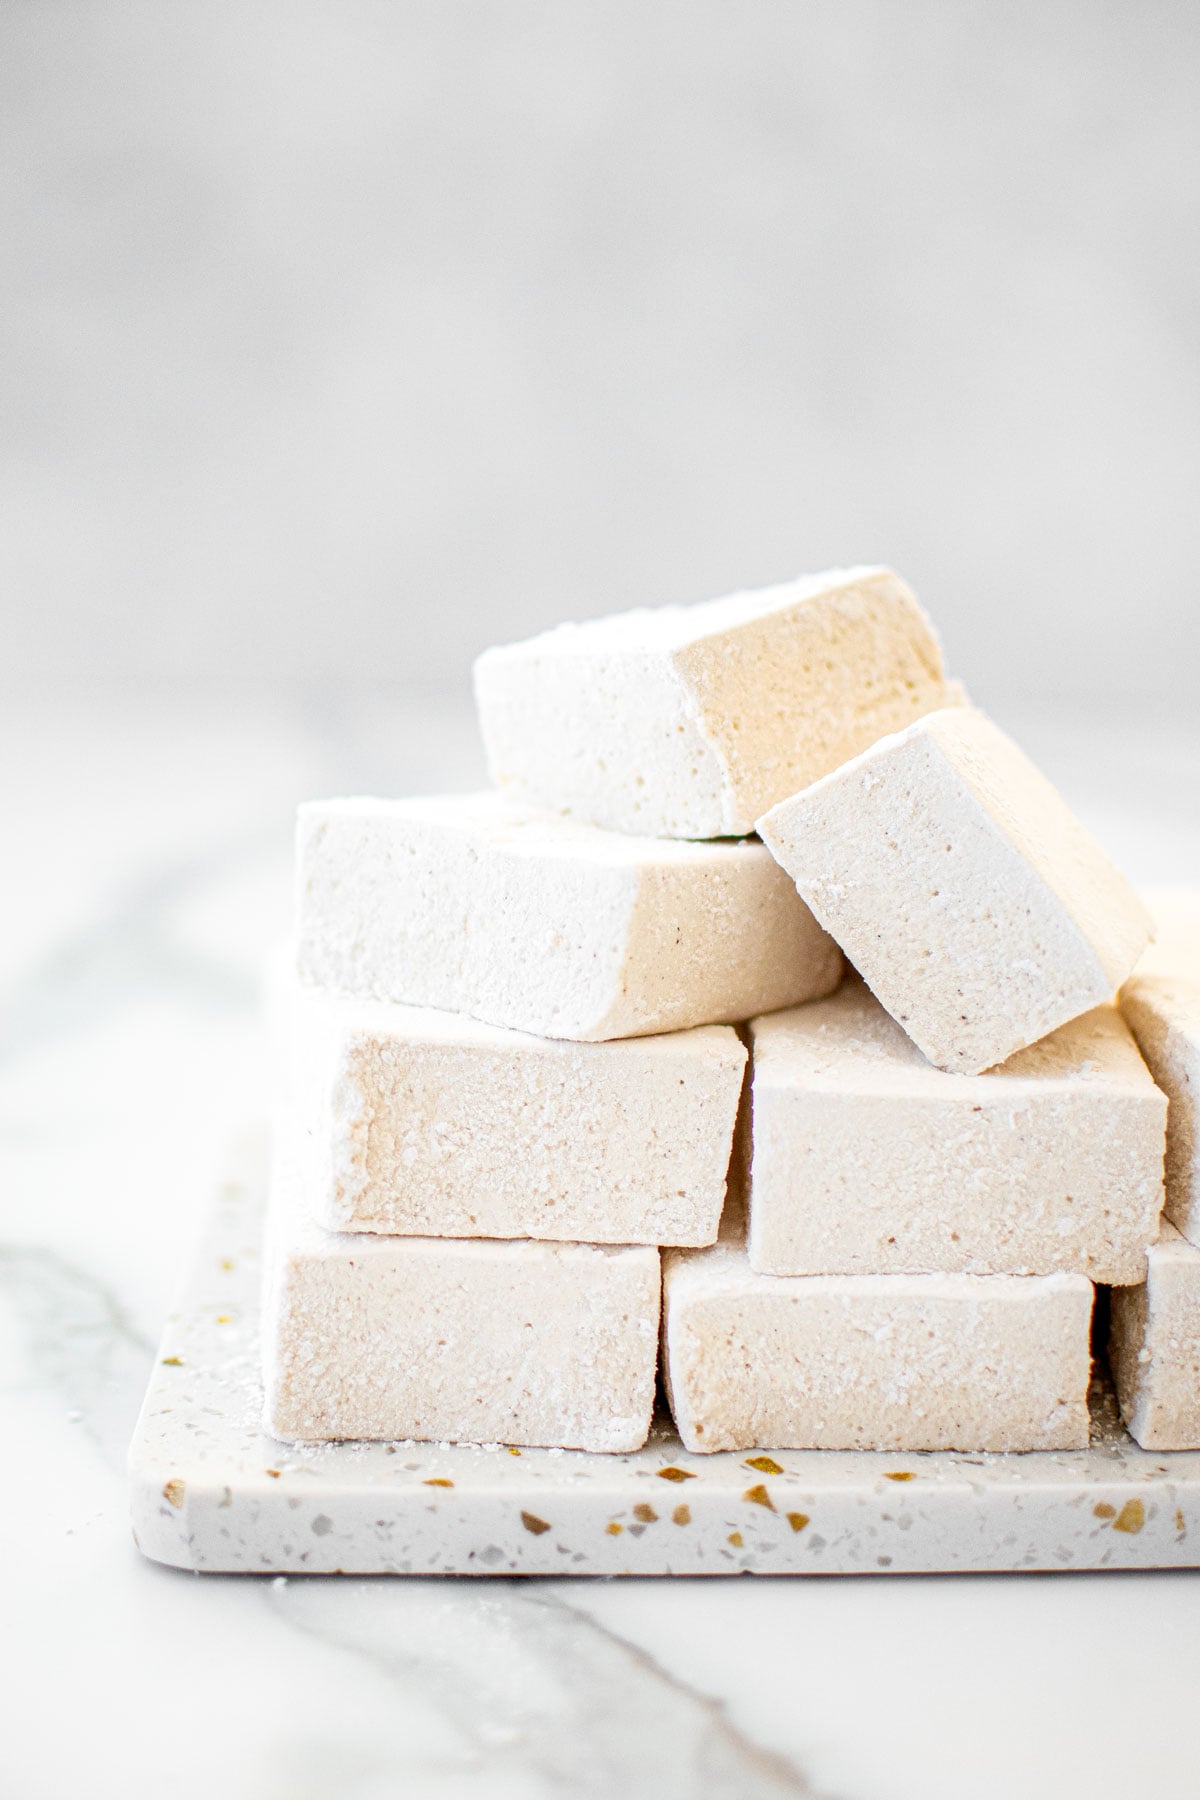
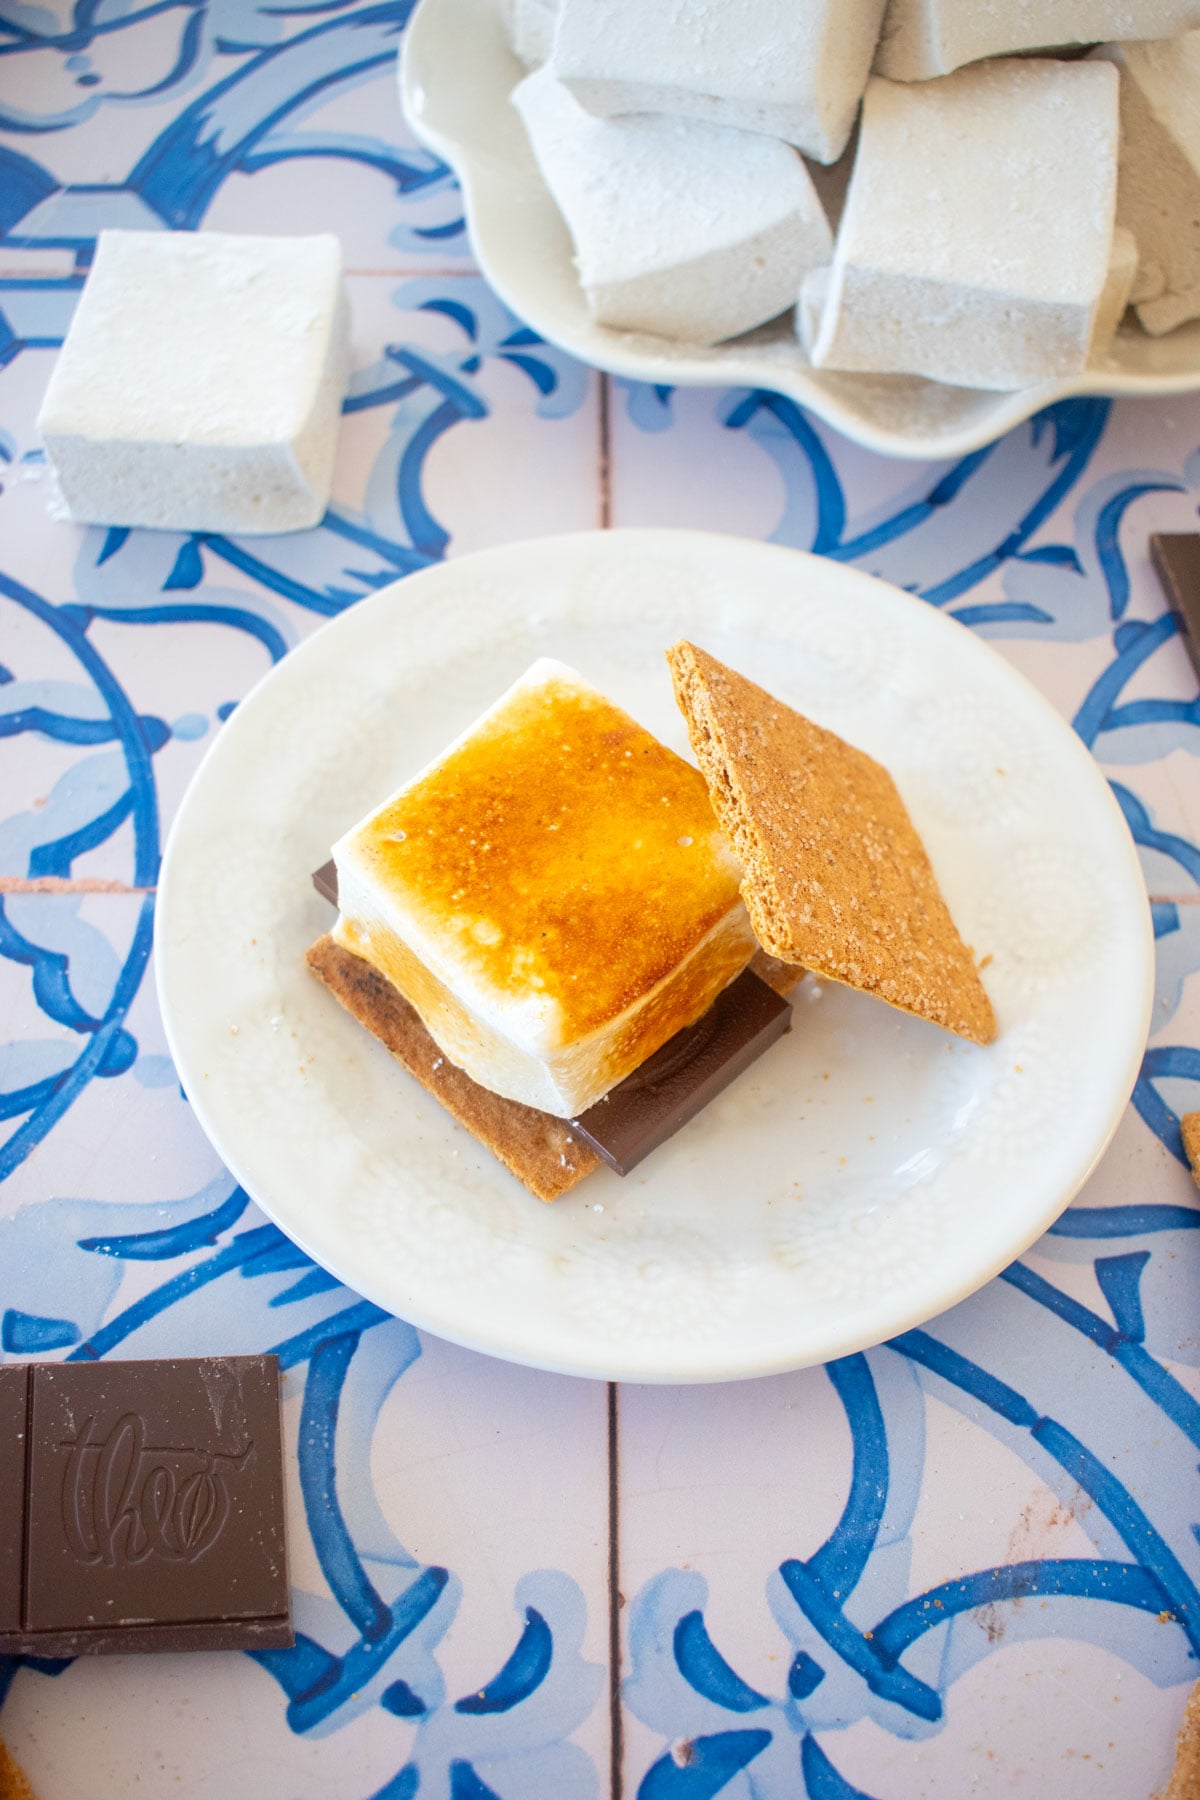
If you’re looking for more homemade candy, try some of my other favorites like Vegan Dark Chocolate Mini Peanut Butter Cups, Pumpkin Spice Marshmallows Without Corn Syrup, Caramel Lollipops, or Mint Meltaways.
A Quick Look At The Recipe
- Recipe Name: Homemade Twix Bars
- Ready In: 4 hours 35 minutes
- Makes: 16 candy bars
- Main Ingredients: salted butter, cane sugar, all purpose flour, milk chocolate
- Flavor Profile: crispy, crunchy cookies and caramel with smooth milk chocolate
- Dietary Info: eggless, no seed oils
- Difficulty: Medium
- Why You’ll Love It: no corn syrup, no artificial additives, just 7 simple, pronounceable ingredients
Summarize & Save This Content On
Why You'll Love This Recipe
- Nostalgic: Indulge in nostalgia with this homemade twix bar recipe. Most store-bought candy has preservatives, artificial flavors, and other unnecessary ingredients that you don’t want to indulge in. Thank goodness for these Homemade Twix Bars!
- 7 Ingredients: I only use 7 ingredients in these homemade candy bars, so you get the best tasting candy with the best ingredients for you. These Homemade Twix Bars without corn syrup are an easy and fun recipe to make this Halloween!
- True Caramel: I make a homemade chewy caramel candy for the caramel layer that makes these Homemade Twix Bars without corn syrup both nostalgic and easy. True caramel only has three ingredients: sugar, butter, and heavy cream which makes for the best tasting caramel ever!
What is true caramel?
True caramel means that the cane sugar is dry burned and it caramelizes as it cooks. This is what provides caramel its flavor – caramelized sugar. Many recipes will call for sugar and corn syrup to be added to a pan together, possibly with other ingredients. Some recipes may even call for brown sugar. But if you are not dry burning the sugar alone – then it is not true caramel. And in my opinion, it’s not even real caramel! I’m a caramel snob over here, but this method is the only way I will make caramel as it requires fewer ingredients, no corn syrup, and the best tasting true caramel! Read more in my post Homemade True Caramel or try a twist with Homemade Caramel Sauce with Bone Broth.
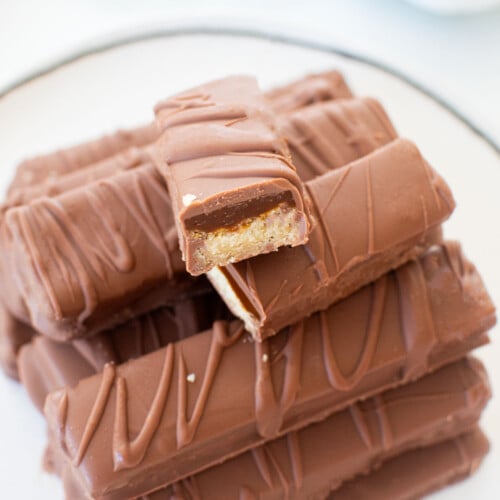
These Homemade Twix Bars with a shortbread layer as a base are topped with my true caramel candy that is chewy! You need to make a chewy caramel (not sauce) for Homemade Twix Bars so the caramel stays somewhat solid. And, I love using a shortbread crust as it is dense, buttery, and crisp – just like the classic Twix Bars!
Ingredients
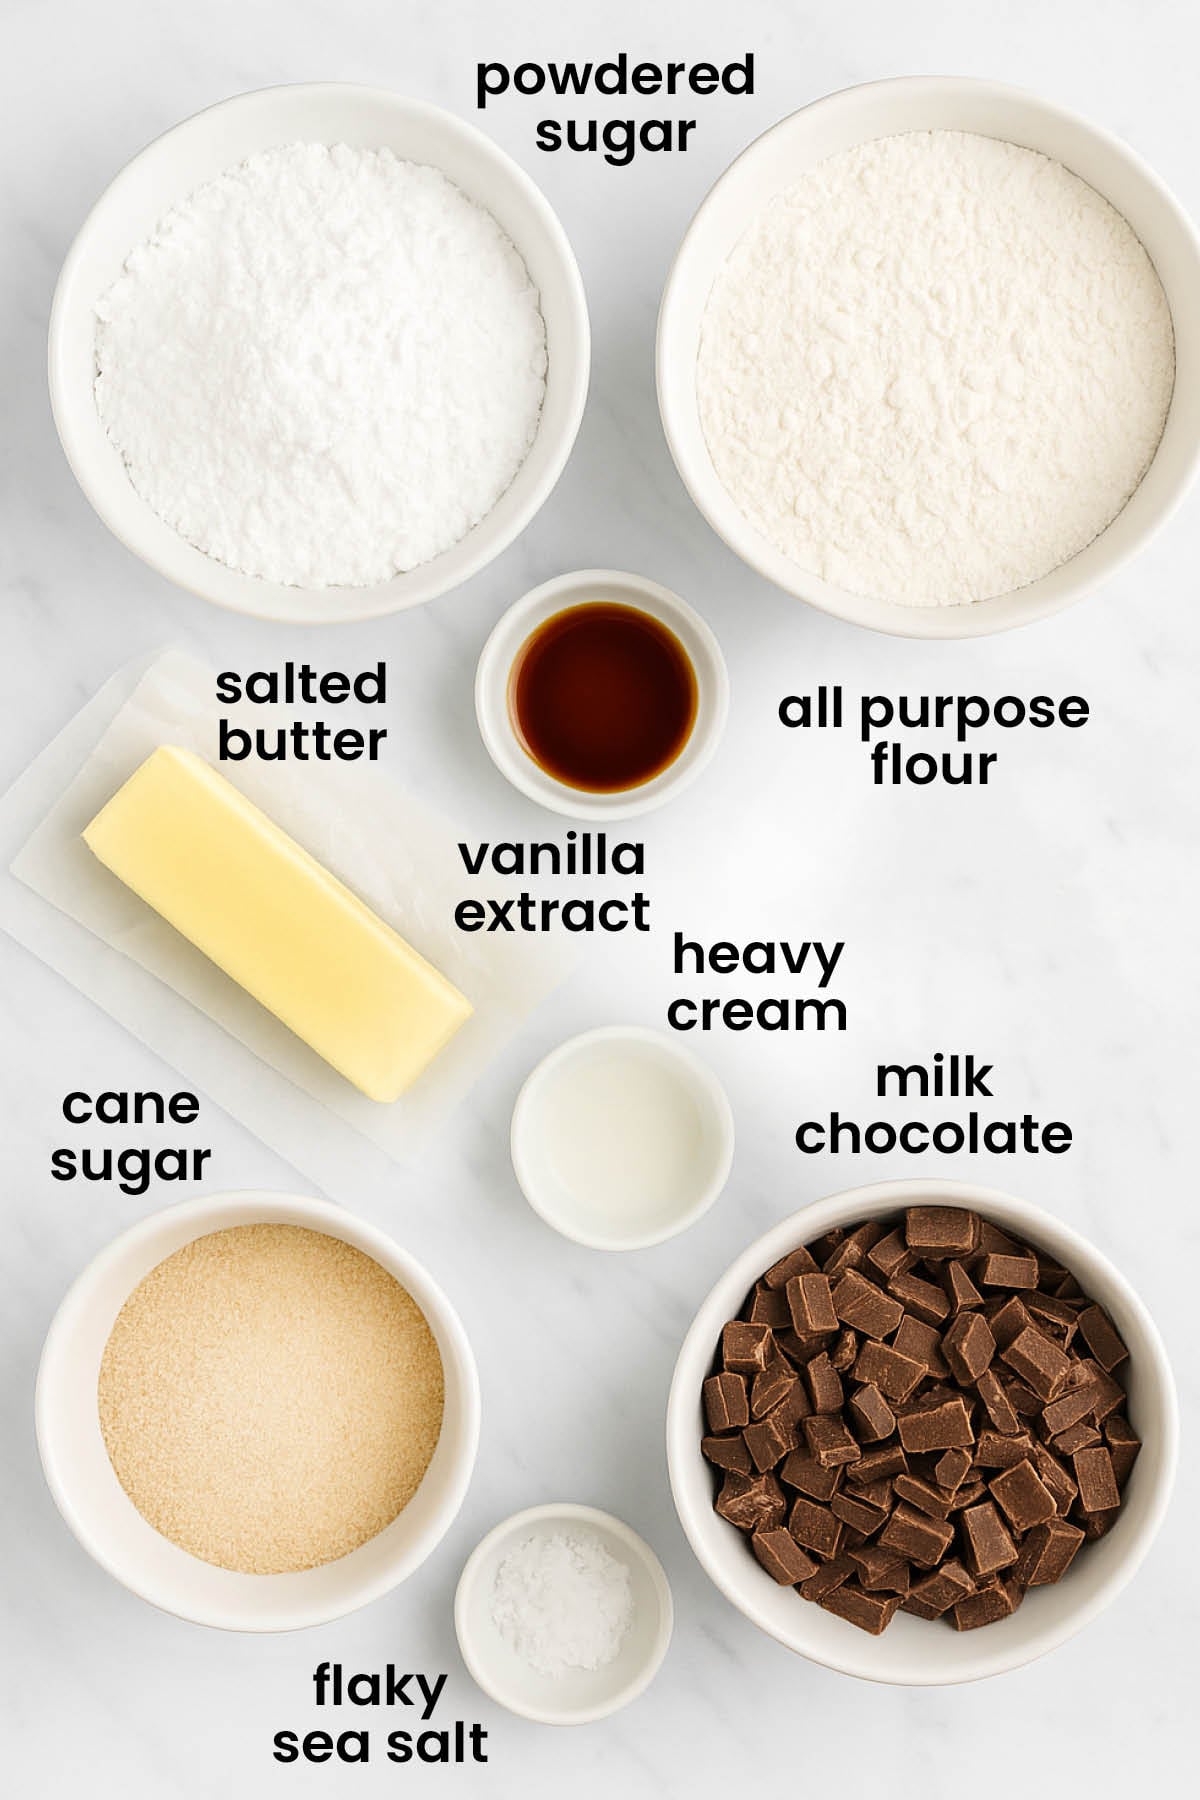
- Butter: I use Organic Valley Salted Butter, you can use your favorite. Just be sure your butter is soft.
- Vanilla Extract: Be sure to use a high quality organic vanilla extract, not imitation.
- All Purpose Flour: My favorite is Cairnspring Mills.
- Milk Chocolate: I use milk chocolate for the chocolate coating, just like classic Twix Bars. But, if you want to use semi sweet chocolate chips or dark chocolate, you can also do that too. Just be sure you are using a high quality chocolate that was meant for melting. Most semi-sweet chocolate chips are not meant for melting as they have stabilizers in them.
- Heavy Whipping Cream: You'll need organic heavy whipping cream for the caramel, my favorite is Organic Valley.
- Flaky Sea Salt: The flaky sea salt is optional, but if you love sweet and salty desserts (like me) then this is a must!
*For a full list of ingredients and measurements, visit the recipe card below.
Baker's Tips
- Always weigh ingredients for the best results.
- Make sure to use an 8×8-inch baking pan. While some recipes are interchangeable and you can use 9×9-inch or 8×8-inch and it doesn't make a huge difference. But, with these, you really need the 8×8-inch pan as the cookie layer is thin as it is, so it may be difficult to get into a 9 x 9-inch pan easily. Also, if you want straight sides, be sure to use a straight sided pan.
- Make sure your butter is soft for the shortbread cookie layer. I prefer to leave butter out on the counter to soften naturally as it provides the best results. If you need to microwave it straight from the fridge, be sure to only do 10 second intervals to prevent pockets of it melting.
- I make a homemade true caramel here, so it’s best to use a high heat spatula so you don’t warp your spatula! Check out my post Homemade True Caramel if you are new to making caramel for lots of tips.
- Make sure to use a sharp knife to cut these so your bars have clean lines. I like to cut mine right out of the fridge so everything is nice and firm.
- I drizzled more chocolate on top, this is optional. If you don’t have extra chocolate, you can totally skip this step. I used a piping bag, but drizzling with a spoon also works!
- I topped these with flaky sea salt as I love sweet and salty chocolate candy! But you can also skip this step if you want them more traditional.
- Be sure to store these in a cool dry place as the chocolate is not tempered. But, if you’d like to temper the chocolate, you can also do that as well! Check out How to Temper Chocolate for Candy Making.
How to Make Homemade Twix Bars
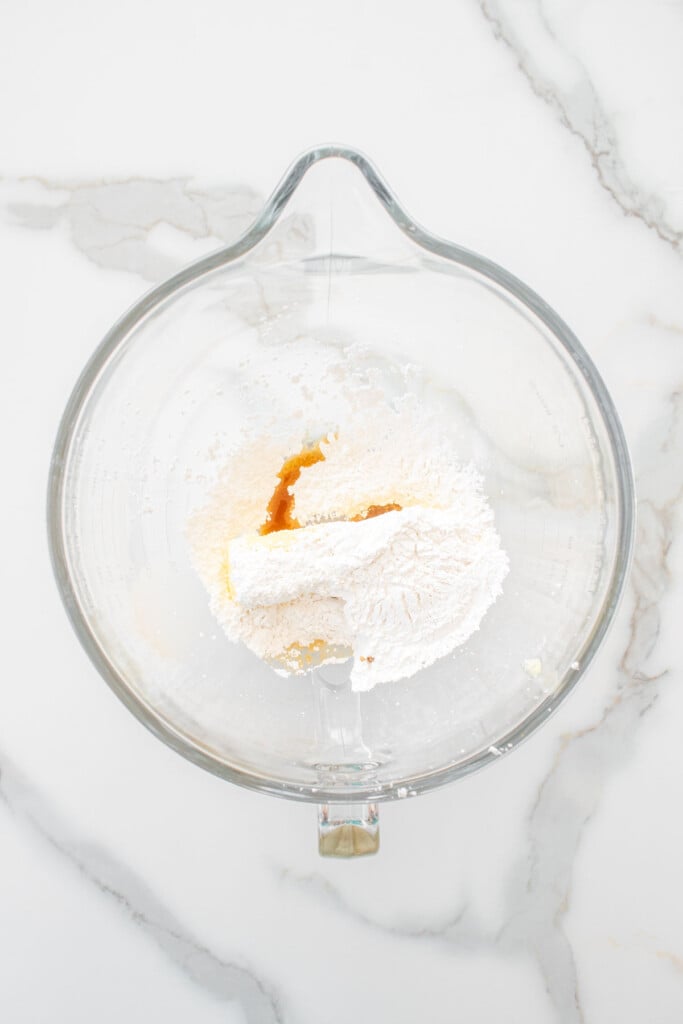
- Preheat the oven to 350°F. Line a 8×8-inch pan with parchment paper. To make the cookie: In the bowl of a stand mixer fitted with the paddle attachment add the butter, powdered sugar, and vanilla.

- Mix on low until combined.

- Add the flour and mix to combine completely.

- Transfer the dough to the prepared pan and press it evenly into the pan with your hands.

- Bake for 15 to 20 minutes or until it looks set slightly golden brown. When it comes out of the oven, use a spatula and flatten the sides and middle as it may rise just a little or you may not have flattened perfectly. By doing this immediately after it comes out of the oven will ensure an even cookie layer.

- To make the caramel: In a small pot, add the cane sugar. Once the sugar on the bottom starts to melt, stir with a high heat spatula to keep from burning.

- The dry sugar will then sink to the bottom, so it can melt. Sugar clumps will form until the sugar turns into a liquid.
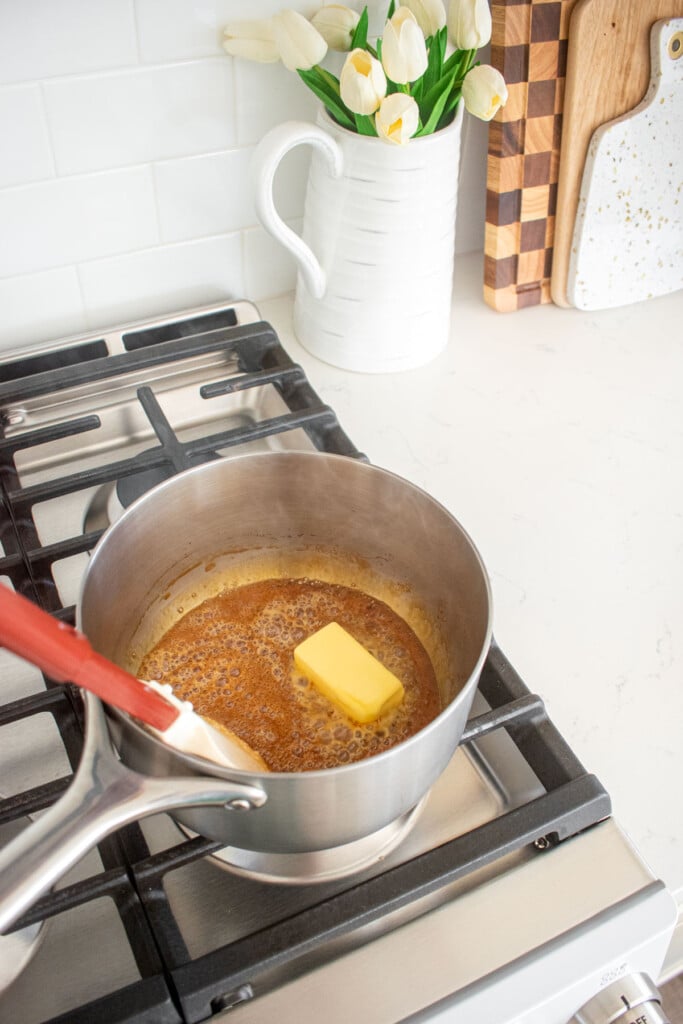
- Once the sugar has completely melted into a liquid, add the butter. Be careful because steam will rise up quickly. Stir rapidly until the mixture is combined.

- Once the butter is completely combined, add in the cream a little at a time. Be careful, because the cream is colder than the sugar mixture so more steam will rise up quickly. Stir rapidly to combine completely when each amount of cream is added.
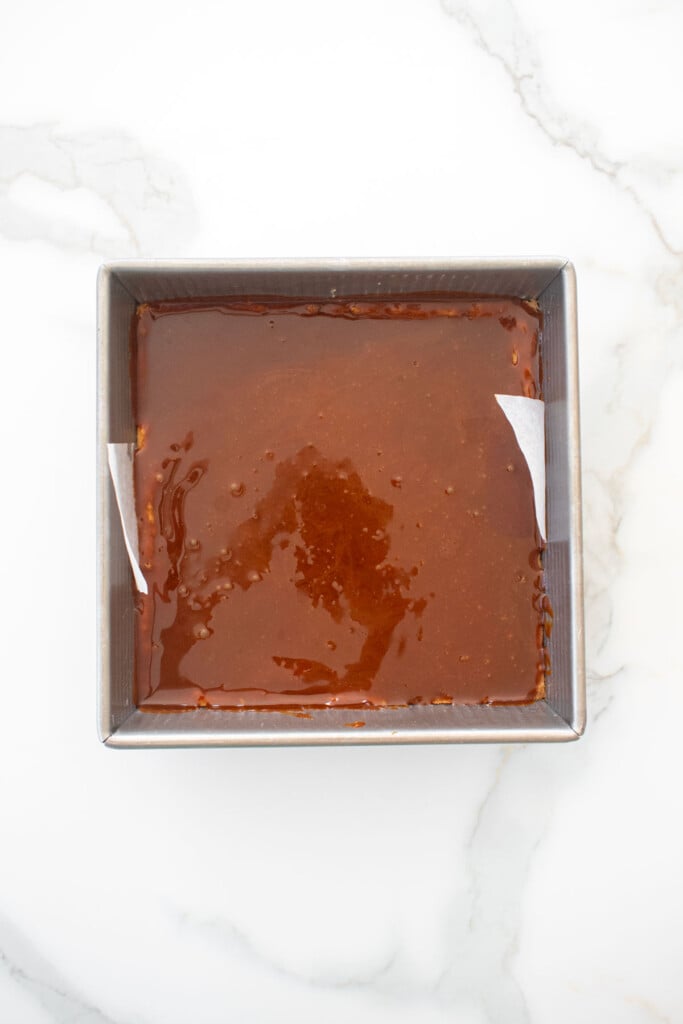
- Pour the caramel over the top of the cookie base. Allow to set until the caramel has cooled completely or overnight. Or store in the fridge to speed up the process. (I prefer to do this so the caramel cuts easily and smoothly when cutting the bars.)

- Cut the bars into 16 bars, cut in half, then cut each side into 8 bars.Line a baking sheet with parchment paper or grease a cooling rack and place on top of a baking sheet (this can help the excess chocolate drip off).

- To make the topping: In a microwave safe bowl or using a double boiler, melt the chocolate. If using a microwave be sure to only do 30 second intervals, stirring between each one, to prevent burning.

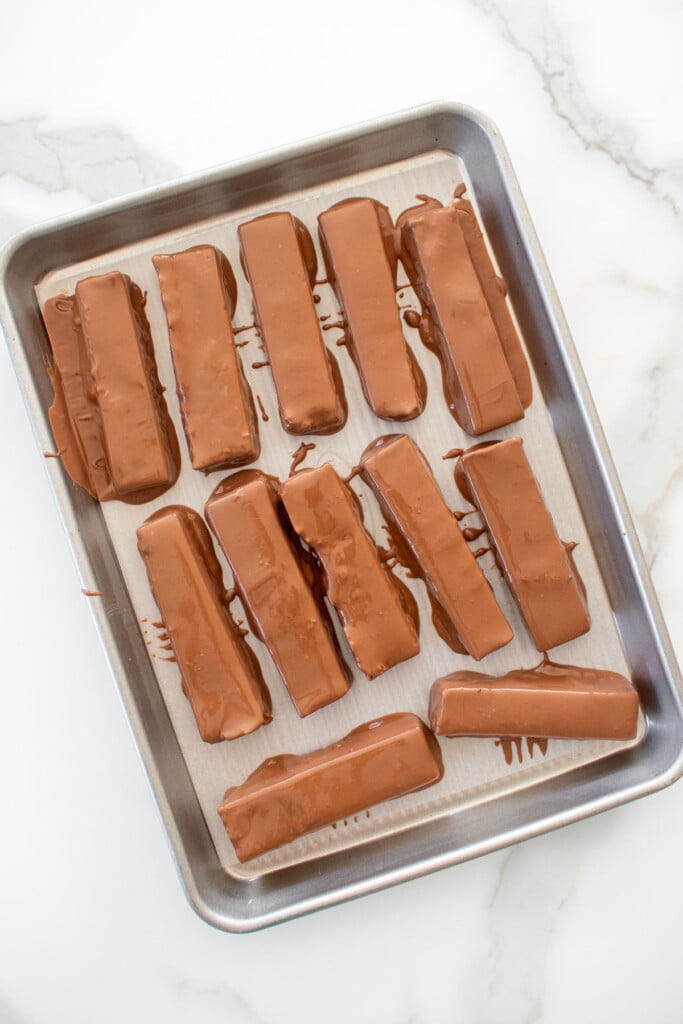
- Dip each bar into the melted chocolate and place on the baking sheet or cooling rack so the excess choose can drop off.
- Continue to cover all the bars. Place the bars in the freezer for a few minutes, until chocolate is set.
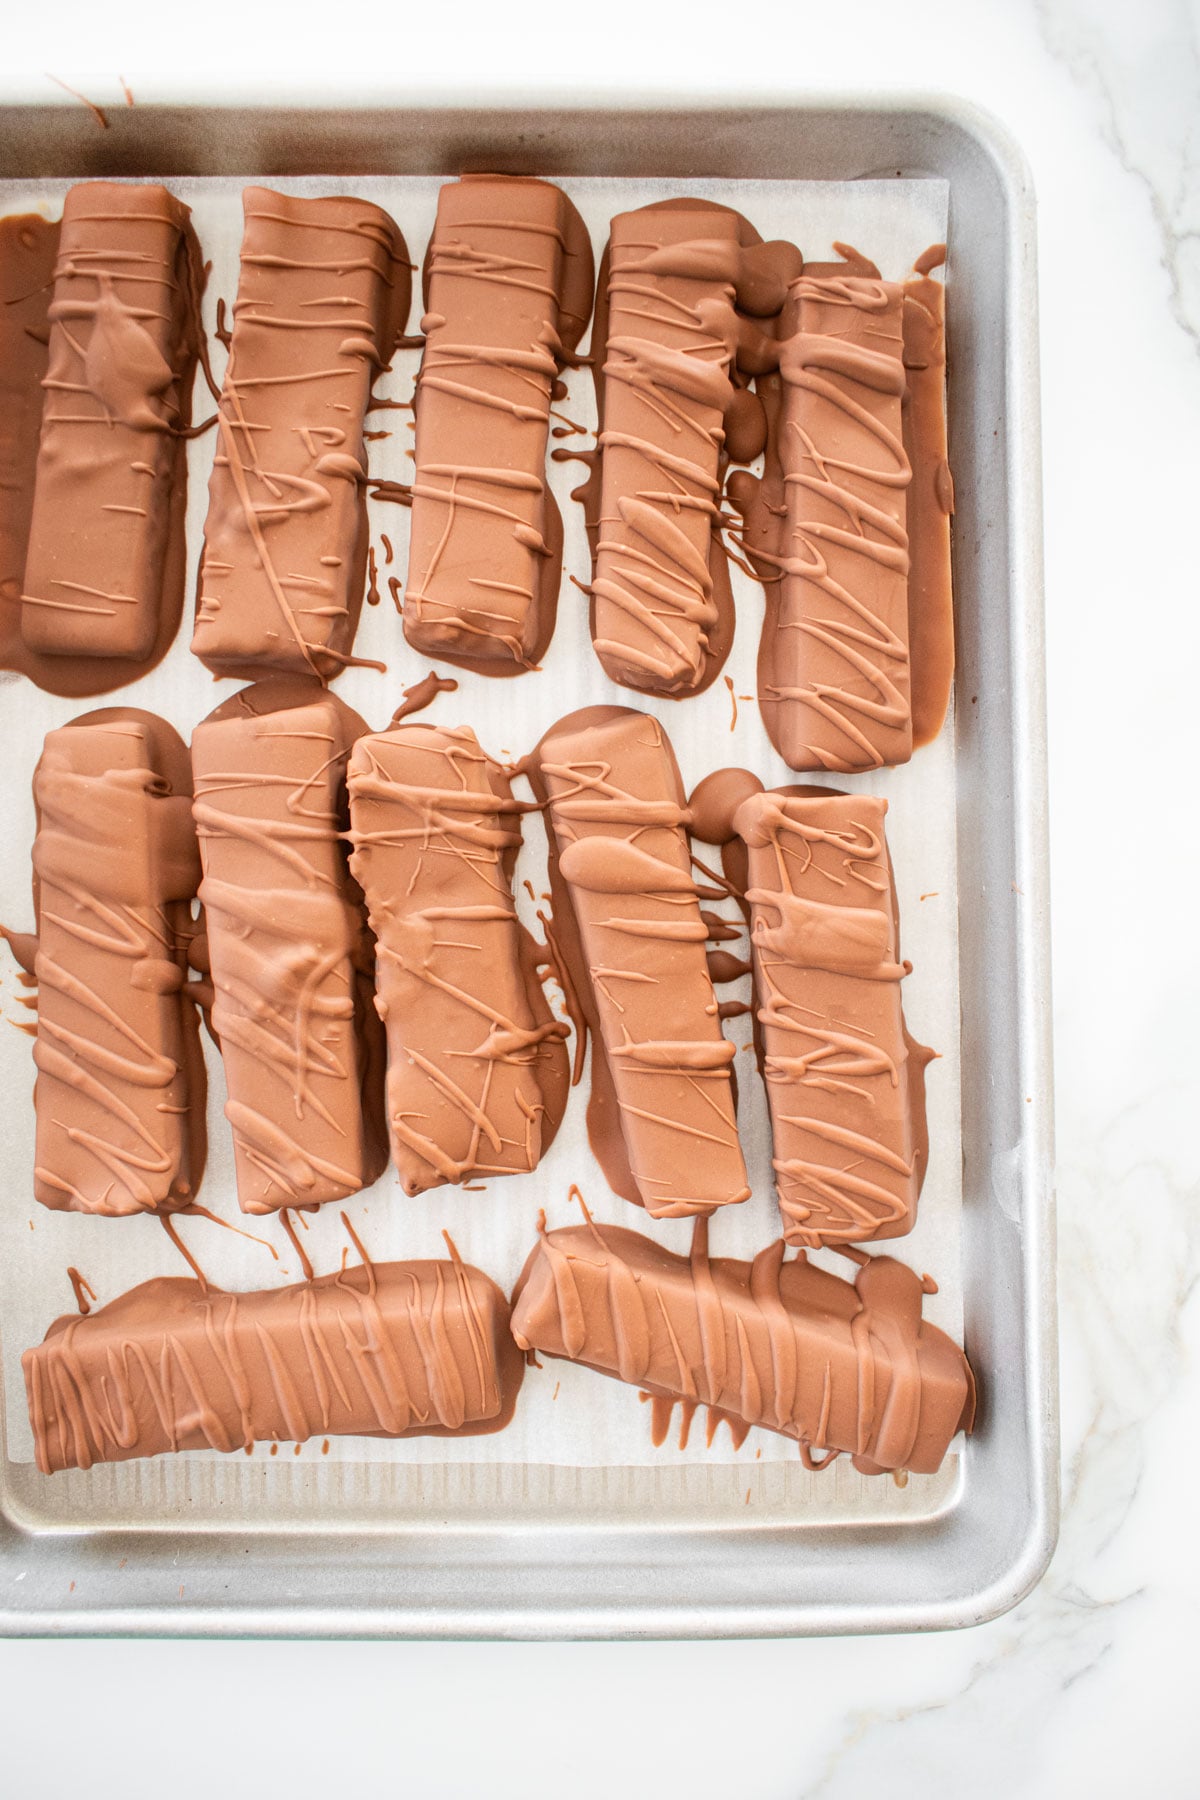
- Remove and drizzle the remaining chocolate on top. You can add to a piping bag or just drizzle with a spoon. Sprinkle with flakey sea salt (optional).
Homemade Twix Bars FAQ's
Yes! These taste just like the classics, but even better! With soft chewy caramel, crunchy cookie layer and milk chocolate coating, I use minimal organic ingredients for a clean eating chocolate bar.
No, caramel sauce is a sauce so the texture of caramel sauce versus the candy caramel I make here is completely different. If you use caramel sauce, it will never freeze completely as it's too runny so you won't be able to cover the bars in chocolate if you do this. That's why making your own caramel candy is necessary, and totally worth it! And that's what makes these homemade Twix Bars without corn syrup so special!
If you are not weighing the ingredients for your caramel, the ratios can be off. This can lead to caramel that is too hard or too soft. Always weigh ingredients for the best results.
As soon as the cream is fully incorporated into the caramel and it's smooth, then it's done.
Yes! If you prefer dark chocolate you can cover the bars with dark chocolate in place of milk chocolate.
Melt doing 30 second intervals in the microwave and be sure to stir between each one. Stirring between each interval will ensure the chocolate won't burn as it will help evenly heat it.
You can, but you do not have to. If you don't temper the chocolate you may just want to store in the refrigerator to prevent the chocolate from sweating.
Slice using a sharp knife to ensure nice clean cuts.
These are best stored in the fridge. If you decide to temper the chocolate, then you can store at room temperature for a few days. But, they are best stored in the fridge or even in the freezer in an airtight container.
Yes! Store in an airtight container in the freezer for up to 3 months. You can transfer to the fridge or leave out at room temperature to thaw. Then they are ready to enjoy!
Better Than Store Bought
These Homemade Twix Bars are so much better than store bought! The real Twix have palm oil, corn syrup, dextrose, soy lecithin and other ingredients that are sub par (in my opinion). Easily avoid these when making this homemade version!
If you are looking for more better than store bought homemade candy, be sure to check out some of my other favorites like Healthy Chocolate Peanut Butter Cups, Vegan Snickers Bars, Healthy Almond Joy Bars, Homemade Marshmallows Without Eggs, or Homemade Crunch Bars.
More Chocolate Candy Recipes


Loved it? Tell us!
Thanks a waffle lot for stopping by 🧇 If you loved this recipe, sprinkle some love by leaving a ⭐⭐⭐⭐⭐ review — it inspires others to try this recipe and helps me organically reach dog loving foodies like you! I personally read and appreciate every message!
Also, be sure to subscribe to our YouTube channel and join John John and me in the kitchen for step by step recipe videos! And subscribe to our newsletter for new and seasonal recipes!
Homemade Twix Bars
Equipment
- Digital Food Scale
- Stand Mixer
- 8×8-inch Baking Pan
- Parchment Paper Sheets
- Heatproof Mixing Bowl
Ingredients
Cookie
- 113 grams salted butter (softened)
- 71 grams powdered sugar (sifted)
- 1 teaspoon vanilla extract
- 127 grams all purpose flour
Caramel
- 170 grams cane sugar
- 57 grams salted butter
- ¼ cup heavy whipping cream
Topping
- 12 ounces milk chocolate (chopped)
- Flaky sea salt (optional)
Instructions
- Preheat the oven to 350°F. Line a 8×8-inch pan with parchment paper.
- To make the cookie: In the bowl of a stand mixer fitted with the paddle attachment add the butter, powdered sugar, and vanilla. Mix on low until combined. Add the flour and mix to combine completely.
- Transfer the dough to the prepared pan and press it evenly into the pan with your hands.
- Bake for 15 to 20 minutes or until it looks set slightly golden brown. When it comes out of the oven, use a spatula and flatten the sides and middle as it may rise just a little or you may not have flattened perfectly. By doing this immediately after it comes out of the oven will ensure an even cookie layer.
- To make the caramel: In a small pot, add the cane sugar. Once the sugar on the bottom starts to melt, stir with a high heat spatula to keep from burning. The dry sugar will then sink to the bottom, so it can melt. Sugar clumps will form until the sugar turns into a liquid.
- Once the sugar has completely melted into a liquid, add the butter. Be careful because steam will rise up quickly. Stir rapidly until the mixture is combined.
- Once the butter is completely combined, add in the cream a little at a time. Be careful, because the cream is colder than the sugar mixture so more steam will rise up quickly. Stir rapidly to combine completely when each amount of cream is added.
- Pour the caramel over the top of the cookie base. Allow to set until the caramel has cooled completely or overnight. Or store in the fridge to speed up the process. (I prefer to do this so the caramel cuts easily and smoothly when cutting the bars.)
- Cut the bars into 16 bars, cut in half, then cut each side into 8 bars.
- Line a baking sheet with parchment paper or grease a cooling rack and place on top of a baking sheet (this can help the excess chocolate drip off).
- To make the topping: In a microwave safe bowl or using a double boiler, melt the chocolate. If using a microwave be sure to only do 30 second intervals, stirring between each one, to prevent burning.
- Dip each bar into the melted chocolate and place on the baking sheet or cooling rack so the excess choose can drop off. Continue to cover all the bars.
- Place the bars in the freezer for a few minutes, until chocolate is set. Remove and drizzle the remaining chocolate on top. You can add to a piping bag or just drizzle with a spoon. Sprinkle with flakey sea salt (optional).
- Store in a cool dry place or in the fridge for up to 1 week.
Video

Notes
- Always weigh ingredients for the best results.
- Make sure to use an 8×8-inch baking pan. While some recipes are interchangeable and you can use 9×9-inch or 8×8-inch and it doesn't make a huge difference. But, with these, you really need the 8×8-inch pan as the cookie layer is thin as it is, so it may be difficult to get into a 9 x 9-inch pan easily. Also, if you want straight sides, be sure to use a straight sided pan.
- Make sure your butter is soft for the shortbread cookie layer. I prefer to leave butter out on the counter to soften naturally as it provides the best results. If you need to microwave it straight from the fridge, be sure to only do 10 second intervals to prevent pockets of it melting.
- I make a homemade true caramel here, so it’s best to use a high heat spatula so you don’t warp your spatula! Check out my post Homemade True Caramel if you are new to making caramel for lots of tips.
- Make sure to use a sharp knife to cut these so your bars have clean lines. I like to cut mine right out of the fridge so everything is nice and firm.
- I drizzled more chocolate on top, this is optional. If you don’t have extra chocolate, you can totally skip this step. I used a piping bag, but drizzling with a spoon also works!
- I topped these with flaky sea salt as I love sweet and salty chocolate candy! But you can also skip this step if you want them more traditional.
- Be sure to store these in a cool dry place as the chocolate is not tempered. But, if you’d like to temper the chocolate, you can also do that as well!
Nutrition
The Bake Shop
Visit The Bake Shop for foodie inspired tees, sweatshirts, and accessories. Find my favorite kitchen tools (with discounts!) in the Kitchen Shop. And shop our collection of food inspired dog accessories too!

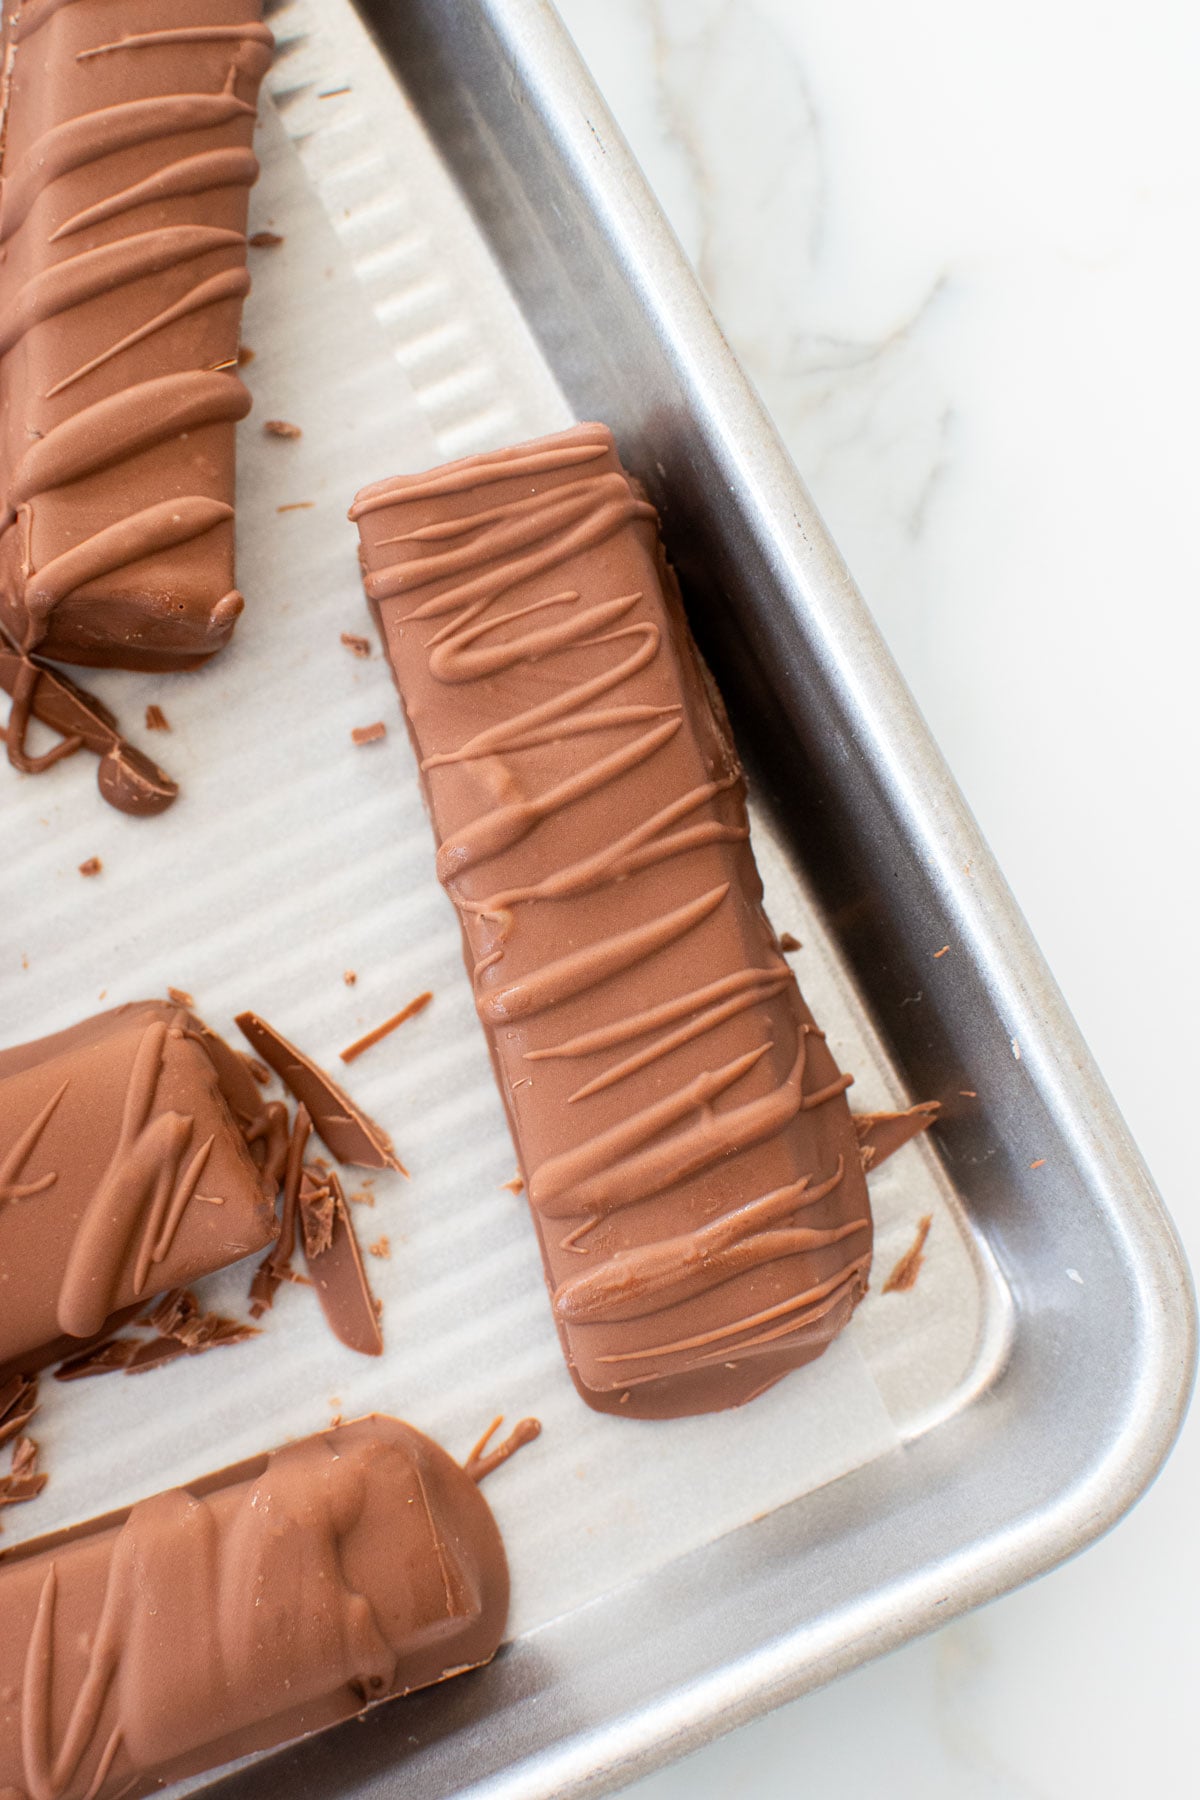
My friends go nuts for these every time I make them!