Pumpkin Chocolate Chip Graveyard Halloween Cake
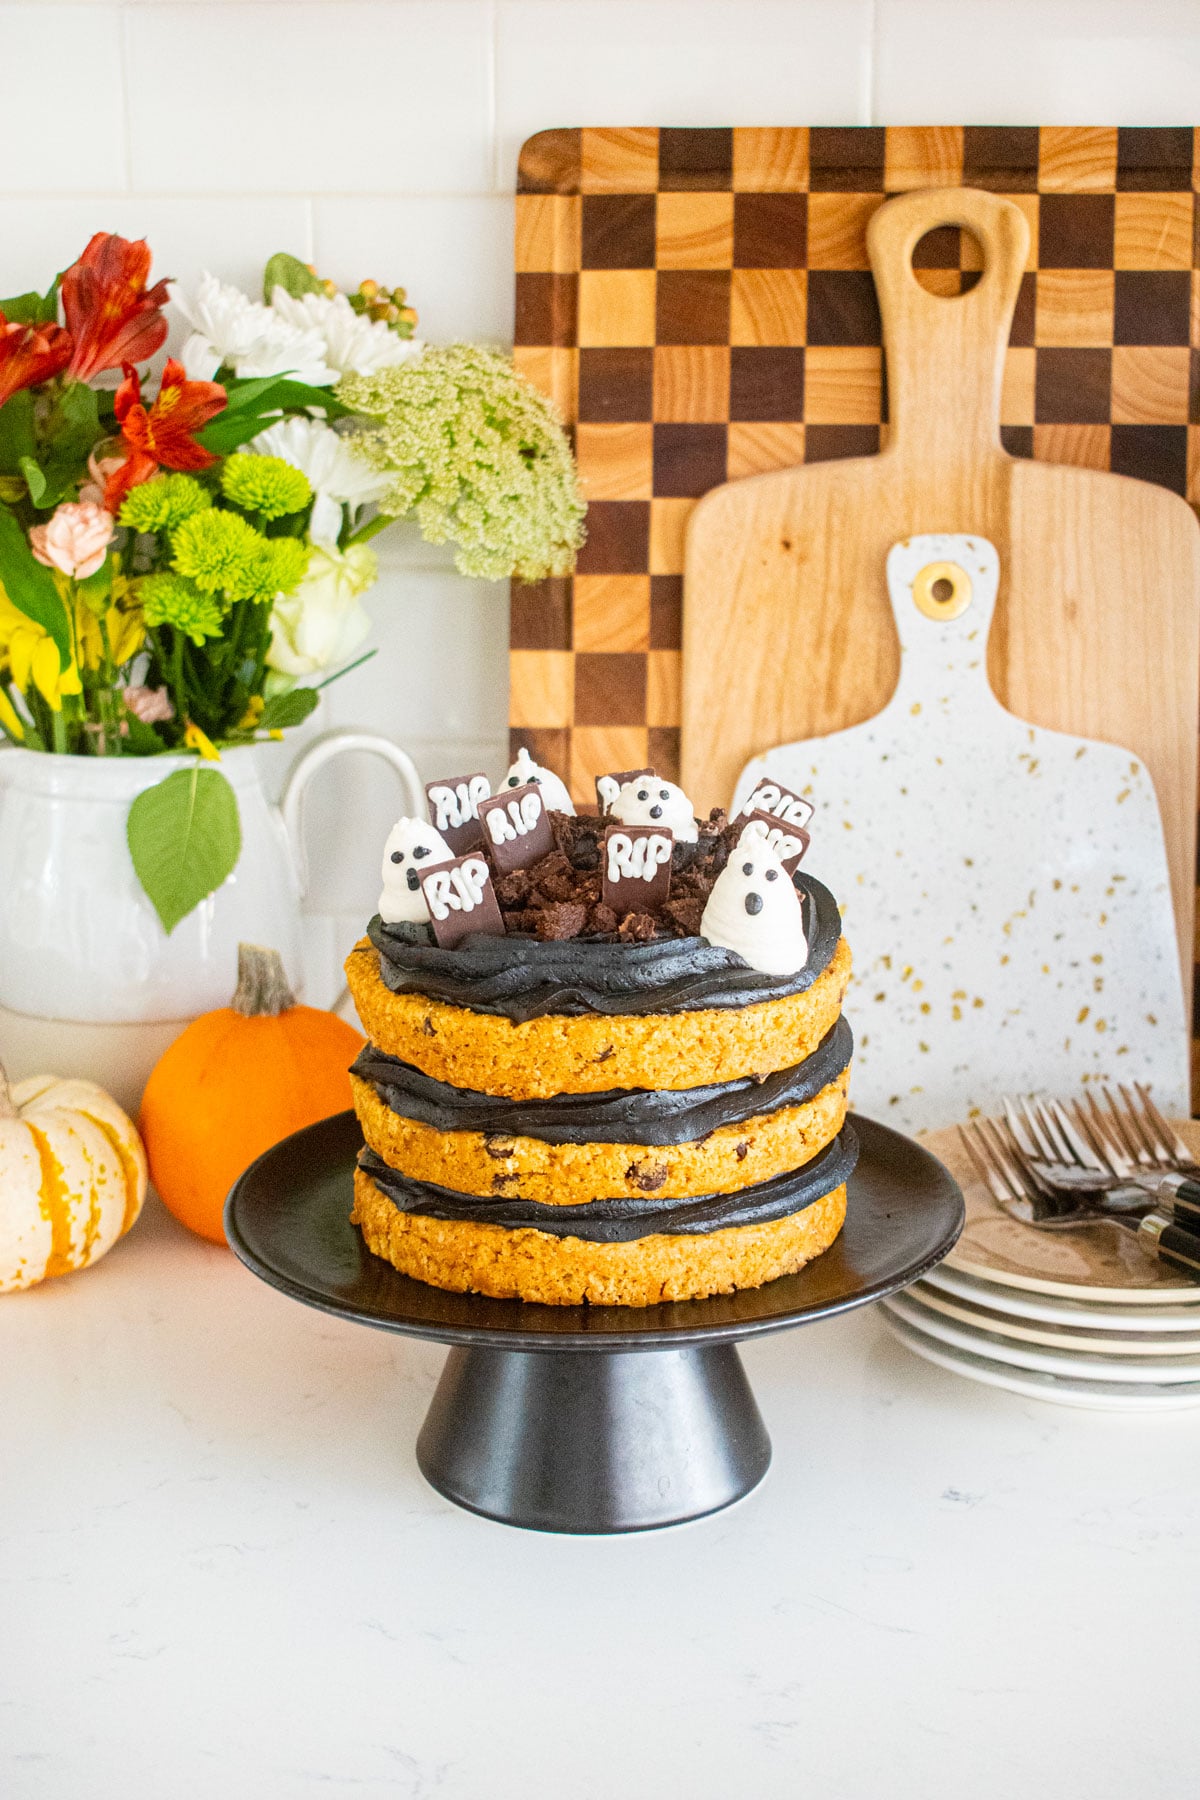
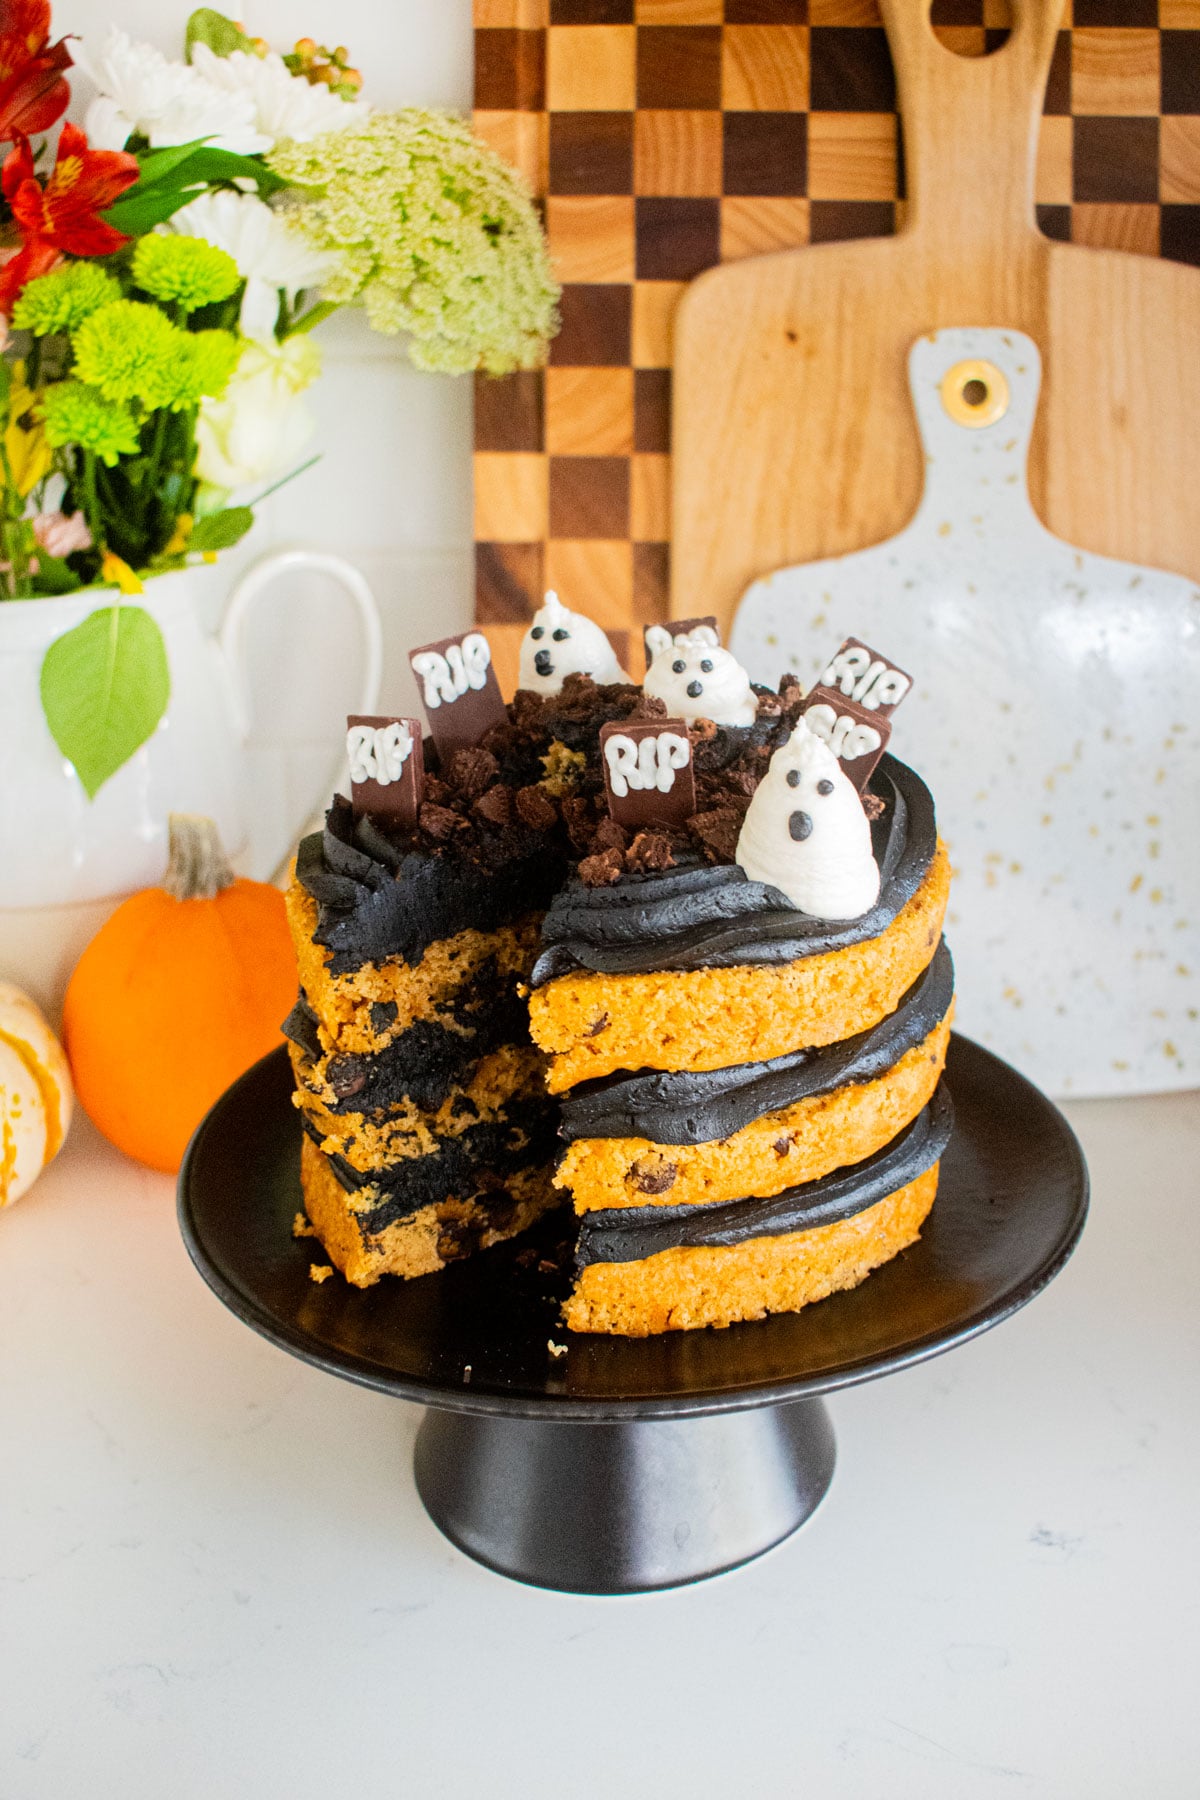
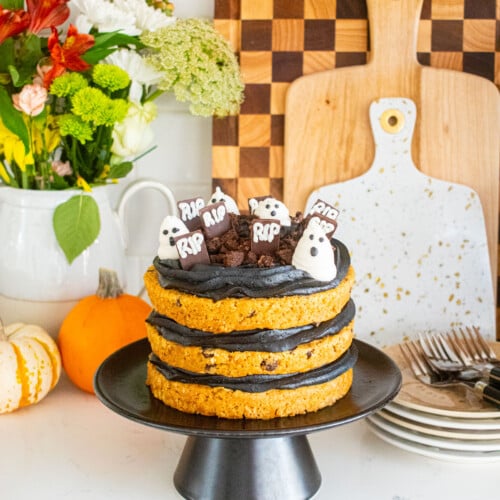
This Pumpkin Chocolate Chip Graveyard Halloween Cake is an easy decorated Halloween party cake. A soft and fluffy pumpkin chocolate chip cake with daringly dark black frosting is sure to be a hit!
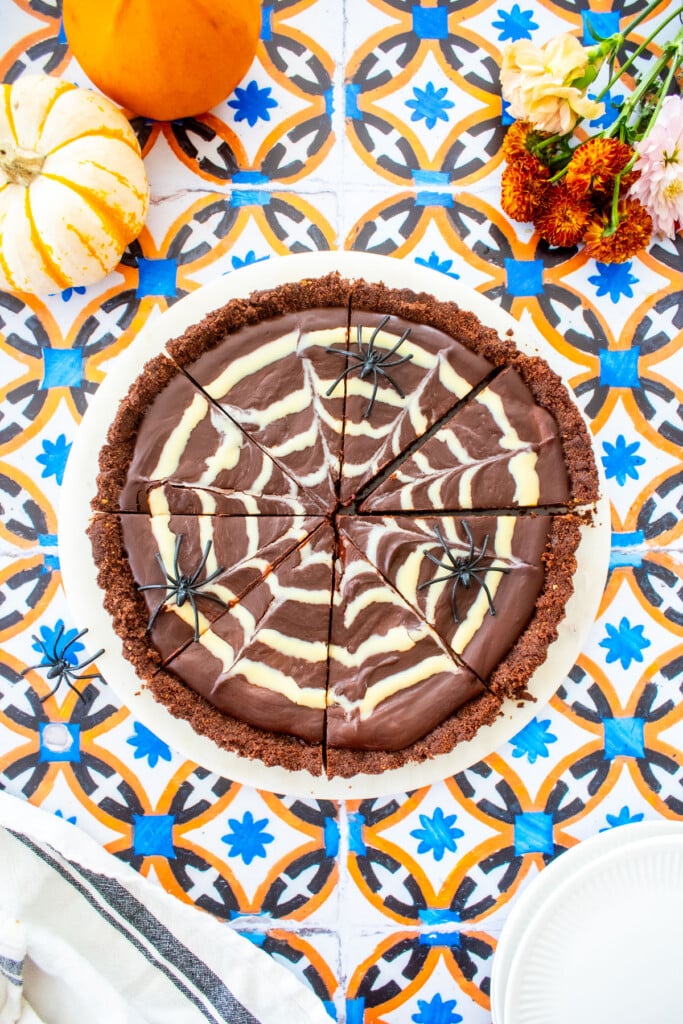
If you’re looking for more Halloween recipes, be sure to check out some of my other favorites like Spider Web Chocolate Strawberry Tart, Halloween Dessert Board, Organic Halloween Cookies With Sprinkles, Organic Halloween Cookies With Sprinkles, Spooky Rose Cake for Halloween or Peanut Butter Cup Brownies.
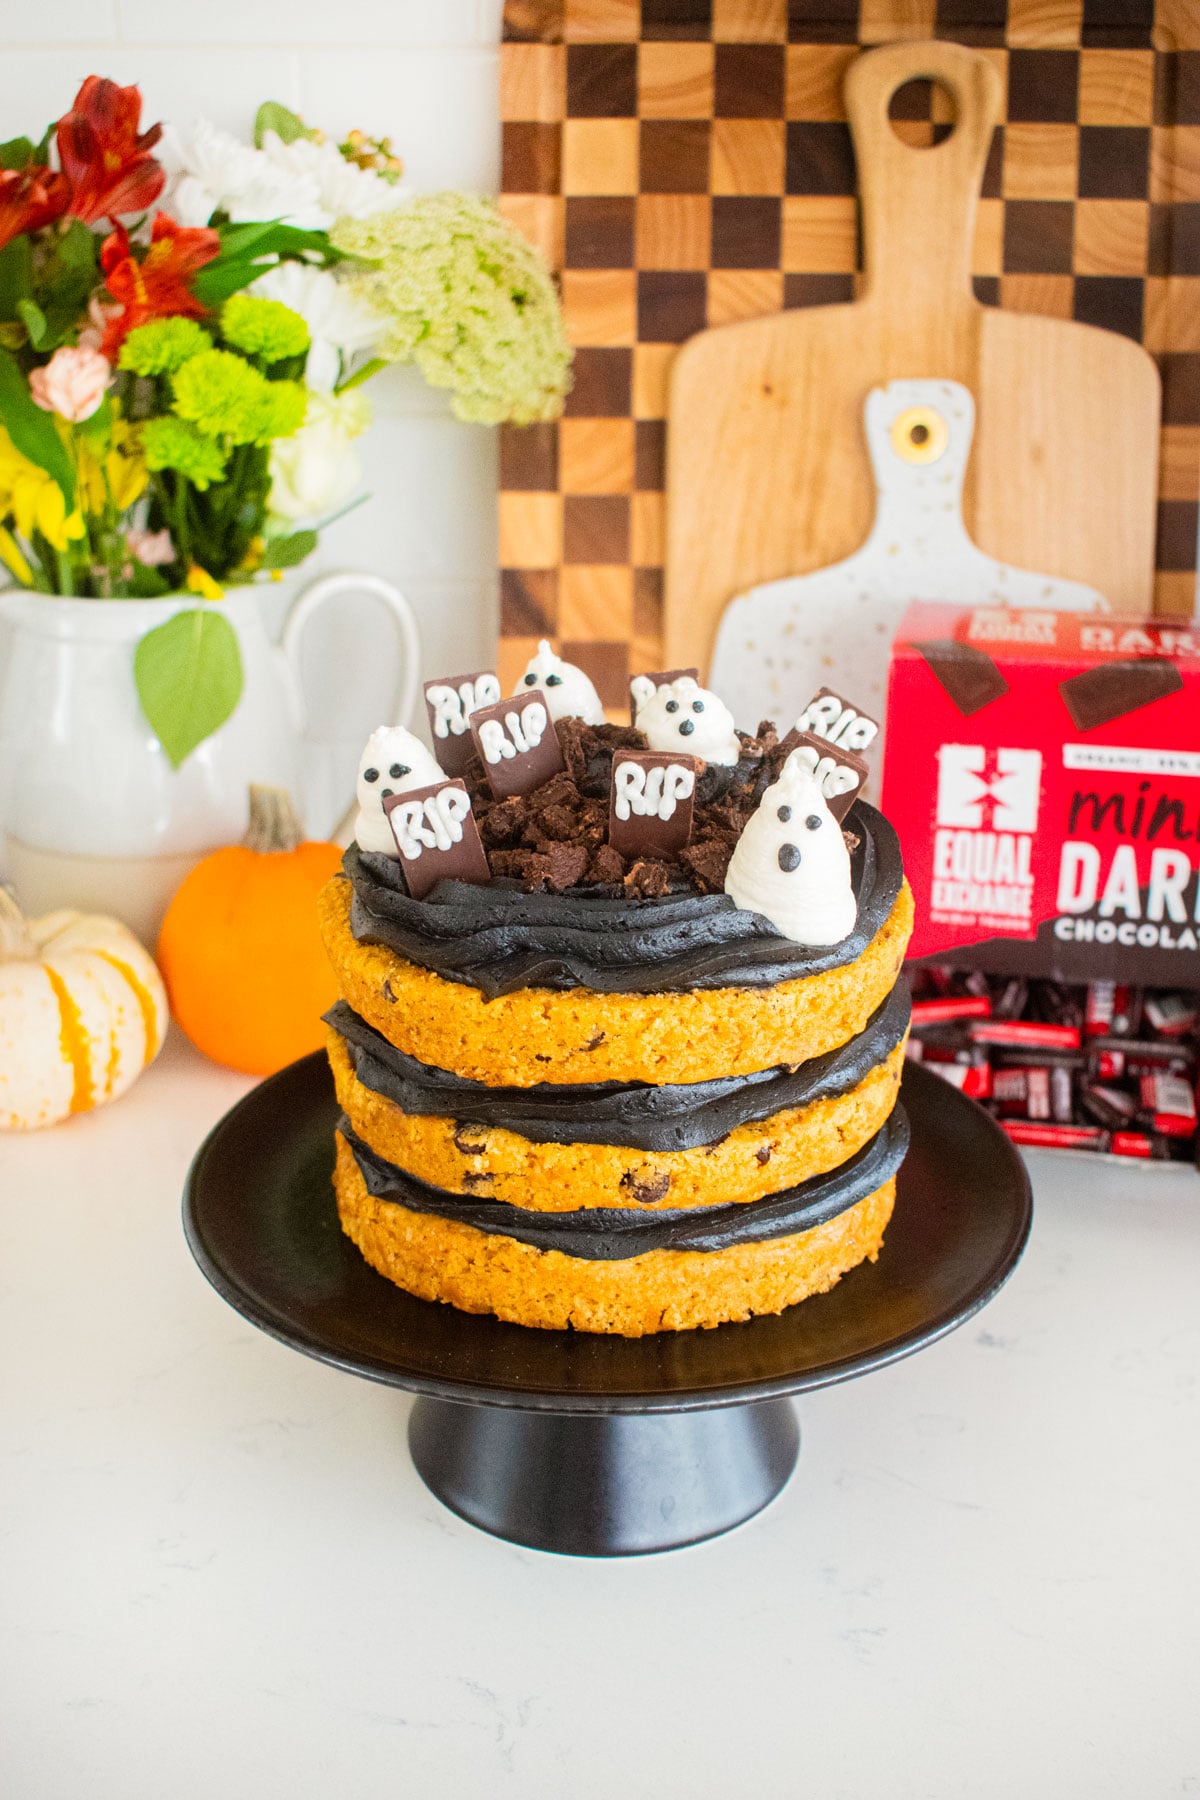
A Quick Look At The Recipe
- Recipe Name: Pumpkin Chocolate Chip Graveyard Halloween Cake
- Ready In: 1 hour 5 minutes
- Makes: 6-inch layer cake
- Main Ingredients: butter, pumpkin, all purpose flour, chocolate chips
- Flavor Profile: lightly pumpkin spiced, creamy buttercream, rich dark chocolate
- Dietary Info: eggless, vegan swap available
- Difficulty: Medium
- Why You’ll Love It: naturally decorated halloween party dessert!
Summarize & Save This Content On
Why You'll Love This Recipe
- Naturally Decorated: No artificial colors needed to make a festive Halloween dessert!
- Spooky Dessert: This graveyard cake is a fun and spooky dessert for a halloween party.
- Moist & Fluffy: This pumpkin chocolate chip cake is moist and fluffy with a hint of pumpkin spice.
- Eggless: This pumpkin cake is naturally eggless, making it a great option for allergy friendly guests.
Jump to:
- A Quick Look At The Recipe
- Why You’ll Love This Recipe
- Ingredients
- Baker’s Tips for Pumpkin Chocolate Chip Graveyard Halloween Cake
- How to Make Pumpkin Chocolate Chip Graveyard Halloween Cake
- Recipe FAQ’s
- Halloween Party Inspiration
- Halloween Party Recipes
- Pumpkin Chocolate Chip Graveyard Halloween Cake
- The Bake Shop
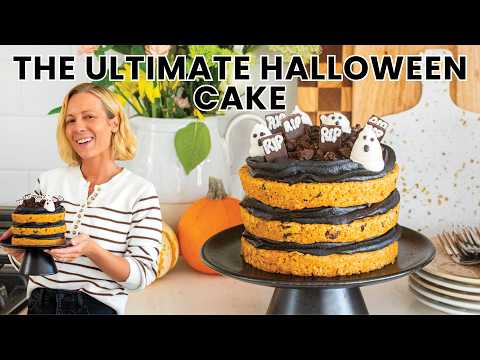
I created this cake with my friends at Equal Exchange for a spooky yet incredibly easy decorated Halloween dessert. While this cake looks incredibly festive, it's really quite easy to decorate this graveyard cake. Plus, I have an entire video below with the full tutorial!
I've been buying Equal Exchange chocolate chips since I opened my bakery when I did many taste tests and comparisons of many organic ingredients. Equal Exchange stood out to me not only because of their amazing taste, but because they are naturally vegan and soy free. These chocolate chips were what we bought at my bakery for over a decade and still what I use in my home kitchen today.
Plus, their new dark chocolate minis make the perfect tombstone size for this graveyard Halloween cake! And, if I'm being honest, I have been eating them on their own as they are a per one bite treat when you just need a little chocolate. Use code MIMI15 for 15% off Equal Exchange!
Ingredients
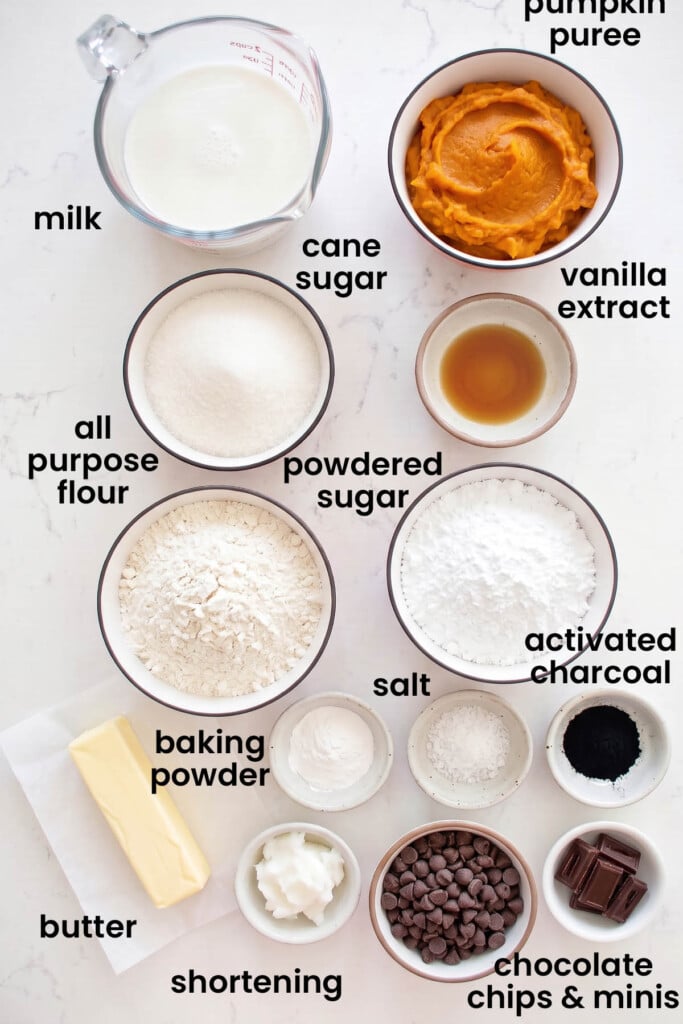
- Butter: I use organic salted butter, but if you prefer to use unsalted butter you can too, just add a pinch of salt. If you are vegan and want to make this dairy free, you can use vegan butter (or shortening) in place of traditional butter.
- Vegetable Shortening: I use organic vegetable shortening for the decorating frosting because we’re making ghosts and vegetable shortening will result in a whiter frosting than if you use butter.
- Pumpkin: Use plain organic pumpkin puree, don’t use pumpkin pie filling as that has spices and sugars, which we don’t need because we’re already adding those in.
- Activated Charcoal: Using a food grade activated charcoal is how I get this super black frosting without artificial dyes!
- Chocolate Chips: I’m using my favorite Equal Exchange organic semi sweet chocolate chips, these are the chocolate chips I used at my bakery for over a decade and still what I buy today!
- Dark Chocolate Minis: To make the headstones, we’re using Equal Exchange dark chocolate minis which make the perfect tombstone size!
*For a full list of ingredients and measurements, visit the recipe card below.
Baker's Tips for Pumpkin Chocolate Chip Graveyard Halloween Cake
- Always weigh ingredients for the best results, using a digital food scale will always ensure you get accurate measurements.
- If you want to make this vegan, simply replace the butter with vegan butter and the milk with a nondairy milk like coconut milk, almond milk or oat milk.
- I’m baking this in 6-inch cake pans, but if you want to make this larger, you can double the recipe and use 8-inch or 9-inch cake pans. You will have to bake the cake a little bit longer too, start with 5 minutes, check it and go from there.
- I use Newman’s Own Organic O’s for the organic chocolate cookies to create the dirt, this works well, or you could also use chocolate graham crackers as well.
- Because this is a naked cake, the sides of the cake are exposed. So, it can dry out if it sits out for an extended period of time, depending on your climate. Storing it under a cake dome is the best way to keep it fresh.
- If you want to make this in advance, it’s best to bake the cake in advance, let it cool completely and wrap the layers in plastic wrap and freeze. Then, you can remove from the freezer and assemble the cake the day of your party.
How to Make Pumpkin Chocolate Chip Graveyard Halloween Cake
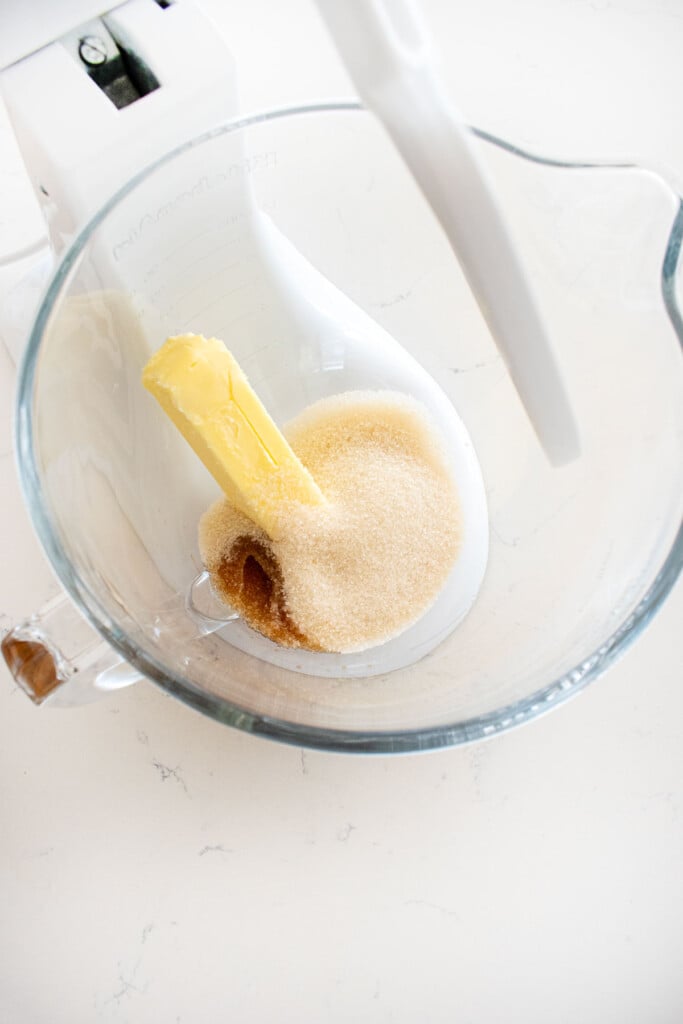
- Preheat the oven to 350°F. Line three 6-inch cake pans with parchment paper. To make the batter: In the bowl of a stand mixer fitted with the paddle attachment, add the butter, cane sugar and vanilla extract.
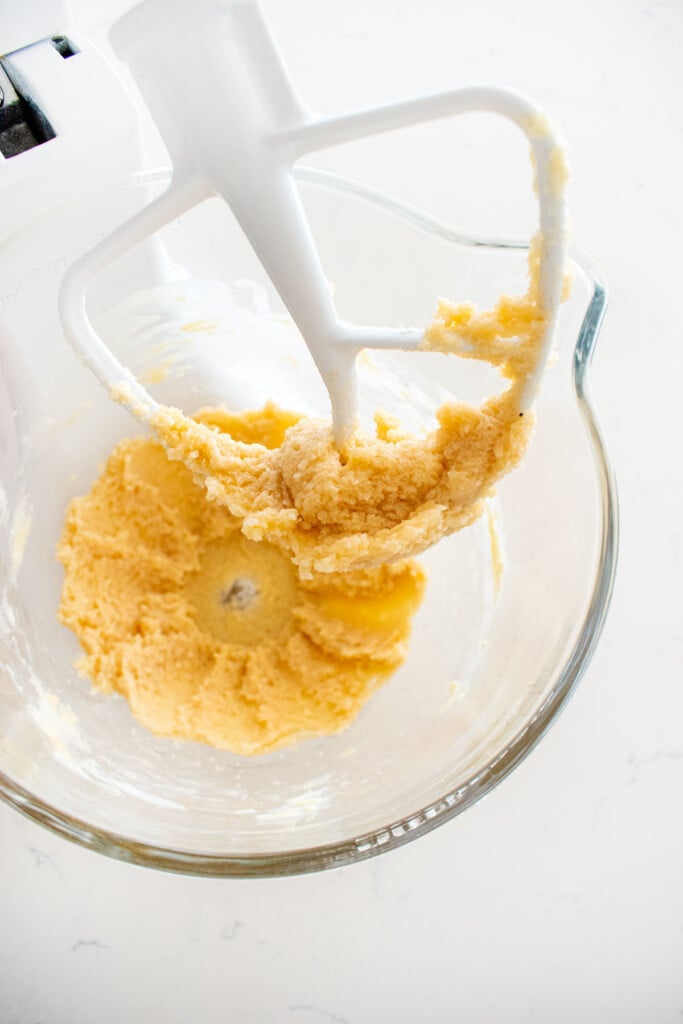
- Mix on low until combined and there are no butter chunks.
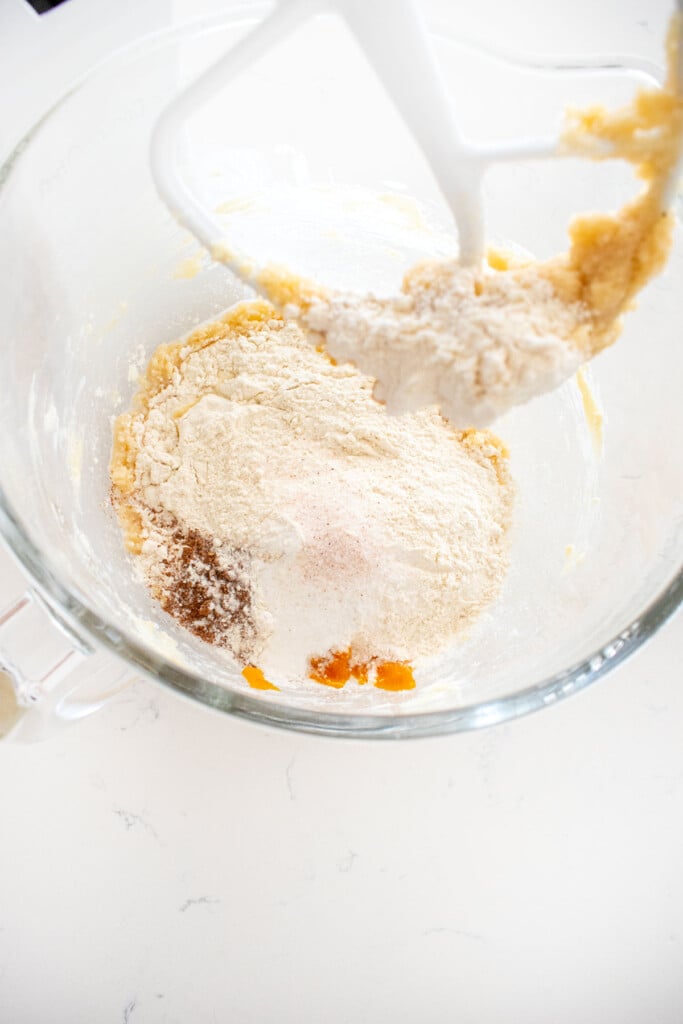
- Add the pumpkin puree, milk, all purpose flour, baking powder, pumpkin spice, and salt.
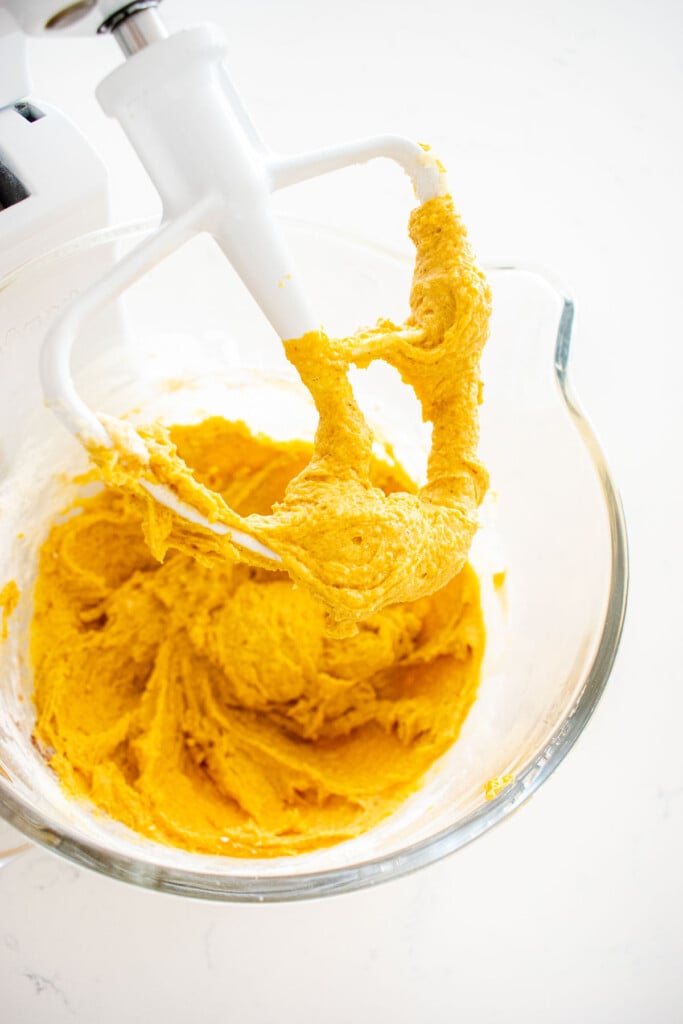
- Mix on low until combined into a smooth cake batter. Be sure to scrape down the sides of the bowl part way through mixing, this will ensure everything mixes together evenly.
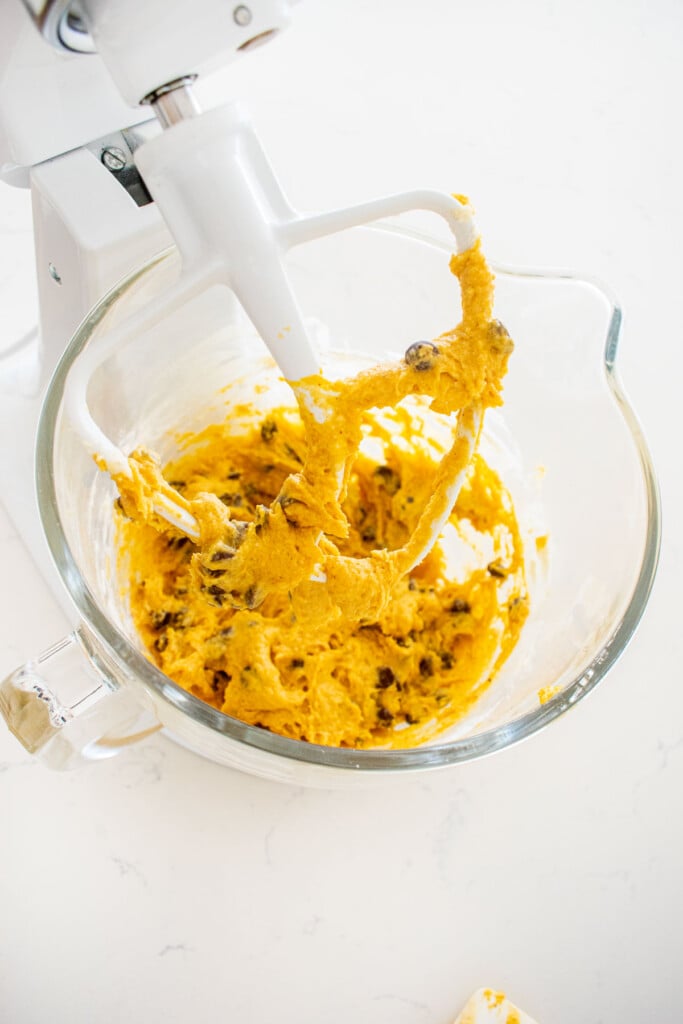
- Add in the chocolate chips and mix to combine completely.
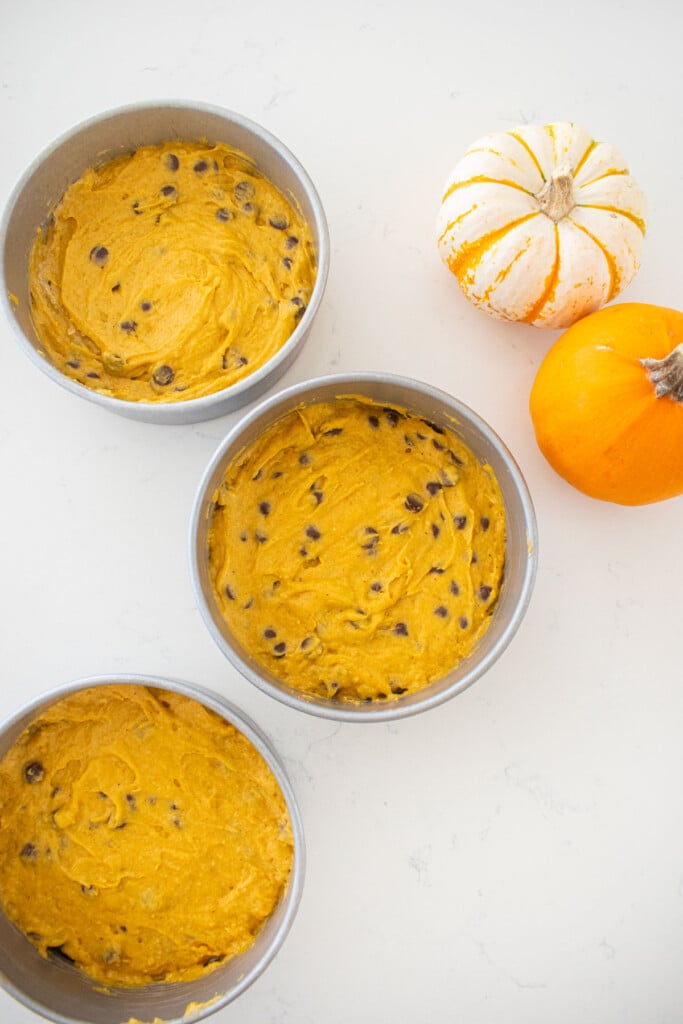
- Transfer the cake batter to the prepared baking pans. It’s best to weigh them so they are even since this is a naked cake design. They will weigh about 270 grams each. Spread out the batter evenly.
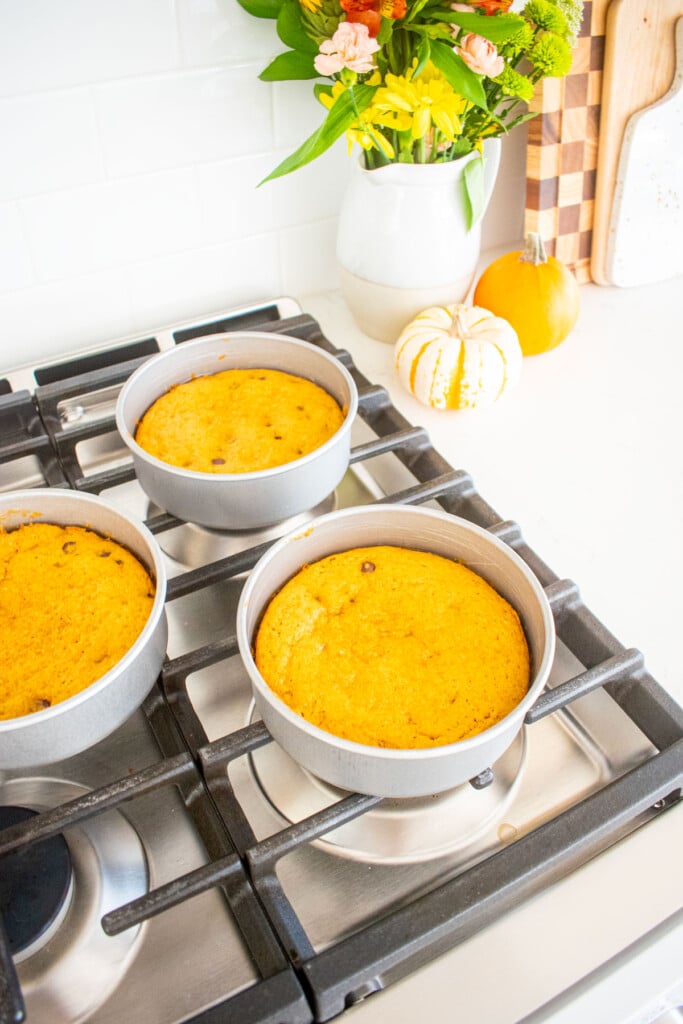
- Bake at 350°F for 20 minutes or until a toothpick inserted in the center comes out clean. Let the cakes cool completely in the cake pans before removing.
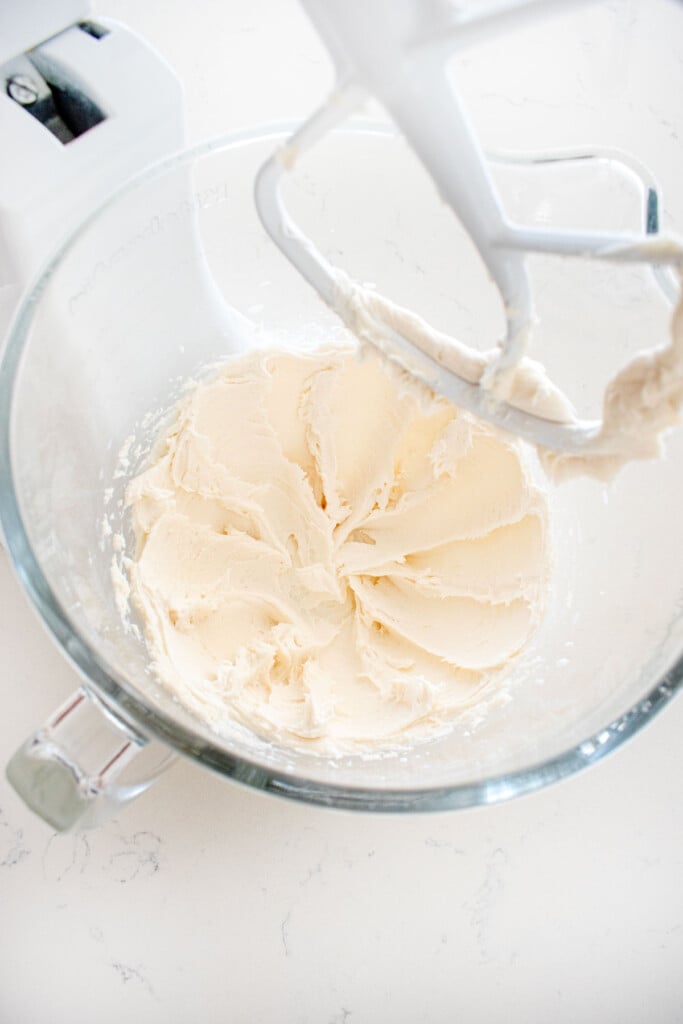
- To make the decorating frosting: In the bowl of a stand mixer fitted with the paddle attachment, add the shortening, powdered sugar and milk.
Mix on low until combined, then speed the mixer up to high and whip for 2 to 3 minutes, or until light and fluffy. Be sure to scrape down the sides of the bowl part way through mixing to ensure the frosting is smooth and everything is mixed well.
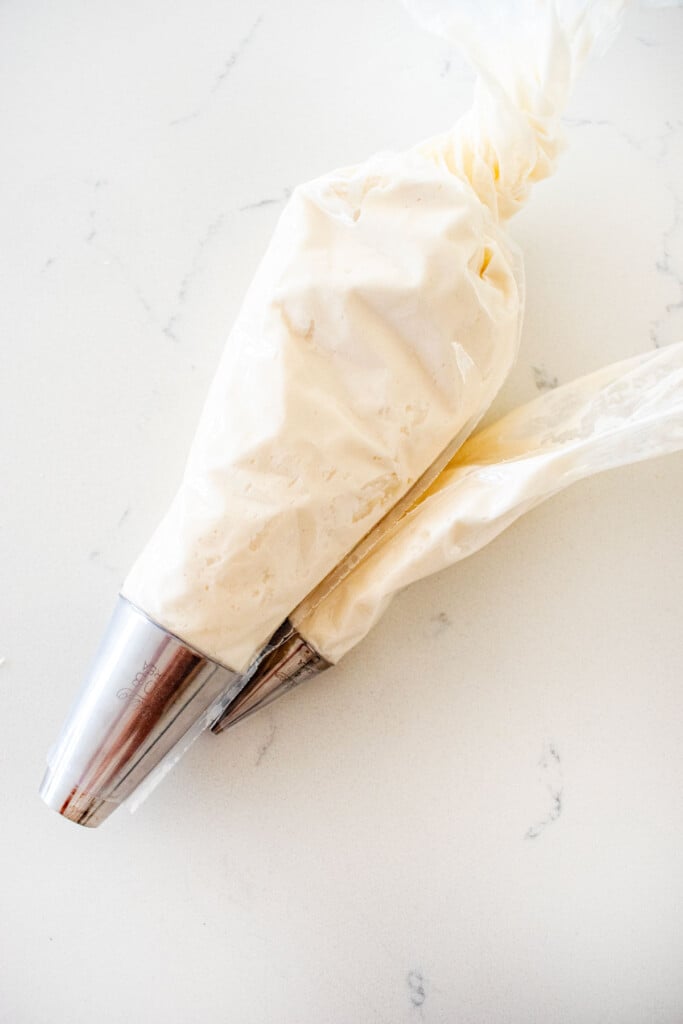
- Transfer a small amount of frosting, only a few tablespoons, to a piping bag with Ateco tip #4. This is going to be the writing for the RIP so we don’t need a lot of frosting here, you can just eyeball this. Transfer the remaining bulk of the frosting into a piping bag with Ateco tip #808, this is for the ghosts. Set aside the piping bags.
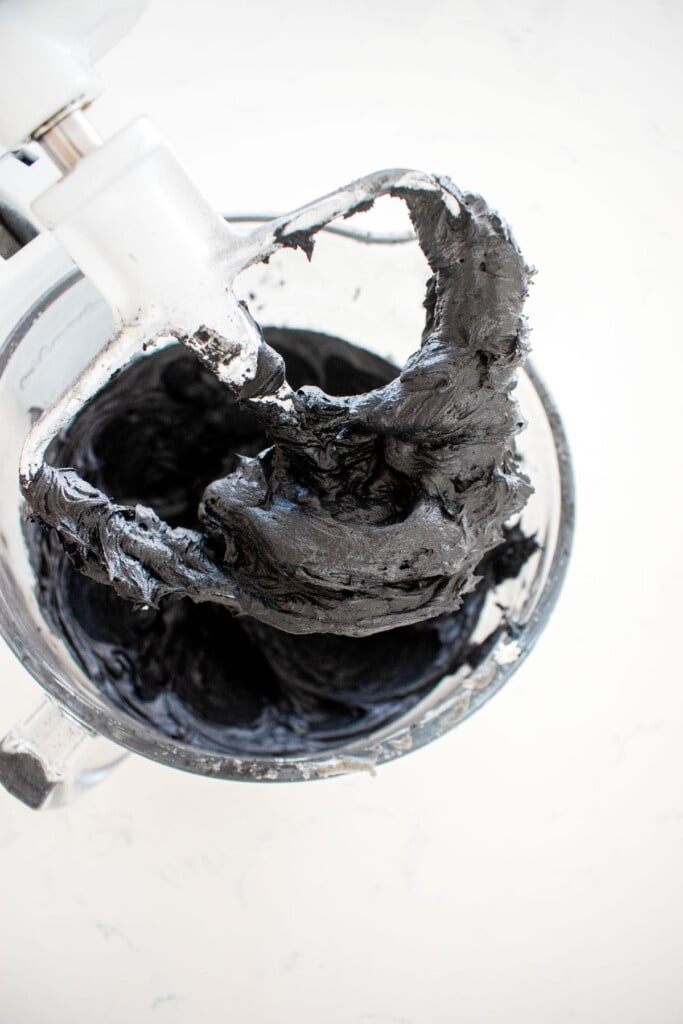
- To make the black frosting: No need to wash the mixing bowl, add in the butter, powdered sugar, vanilla extract and milk. Mix on low until combined and then speed mixer up to high and whip for 2 to 4 minutes or until light and fluffy. Be sure to scrape down the sides of the bowl part way through mixing to ensure you have a smooth and creamy frosting. Transfer the frosting to a piping bag with Ateco tip #827.
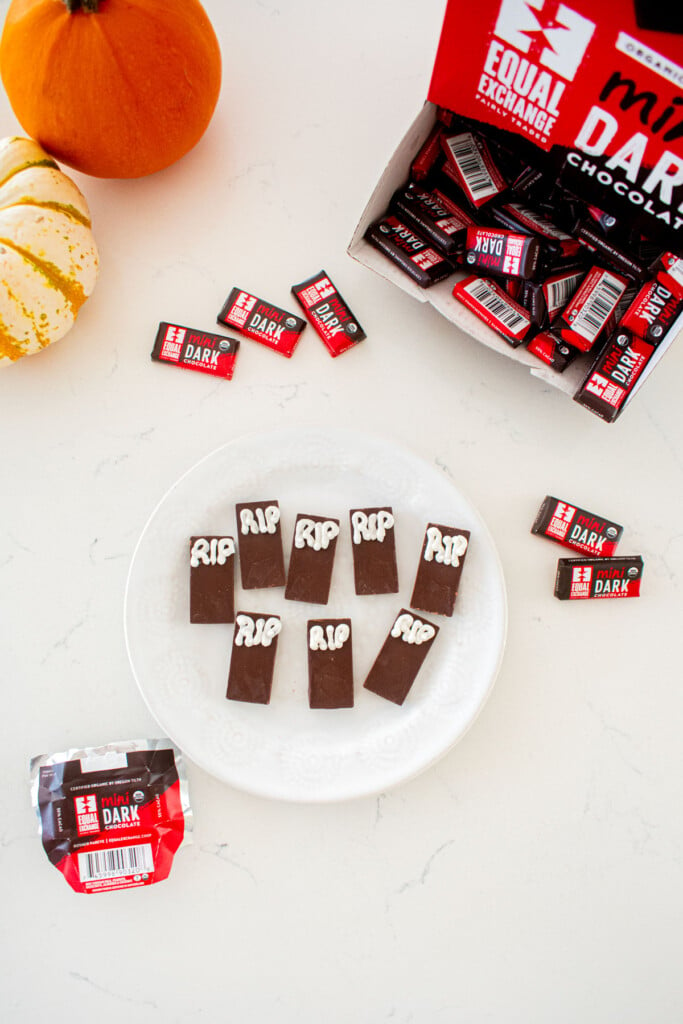
- To make the headstones: Using the white frosting with Ateco tip #4, pipe RIP onto the top of the mini chocolate bars. You can make as many headstones as you like, but I think about 5 to 7 fit nicely on the cake.
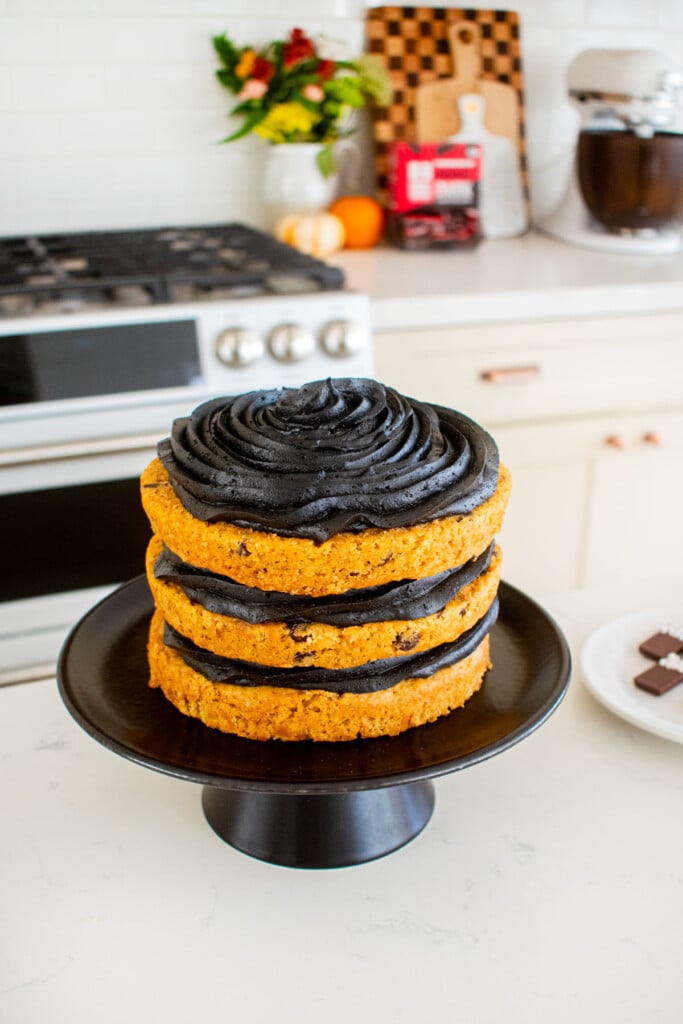
- To assemble the cake: Place a small dollop of frosting on your cake plate or cake stand. Then add the first cake layer, bottom side down as this helps ensure the cake is flush with the cake stand so it sits flat. Starting at the edge of the cake, pipe a spiral using the black frosting and work your way into the center of the cake. Top with the second cake layer, but put this one bottom side up as this helps ensure the cake looks straight. Then, pipe another spiral of buttercream frosting, starting at the outer edge and working your way into the center. Top with the third cake layer, bottom side up again. And, finish with the last spiral of black frosting.
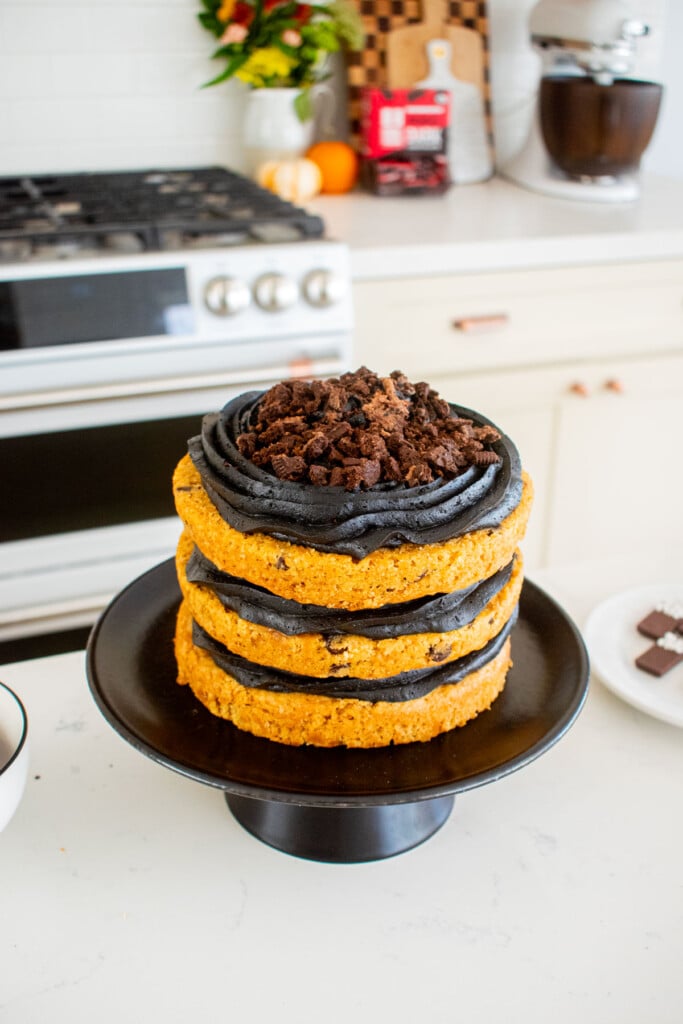
- Crumble up the chocolate cookies into the center of the cake to look like dirt.
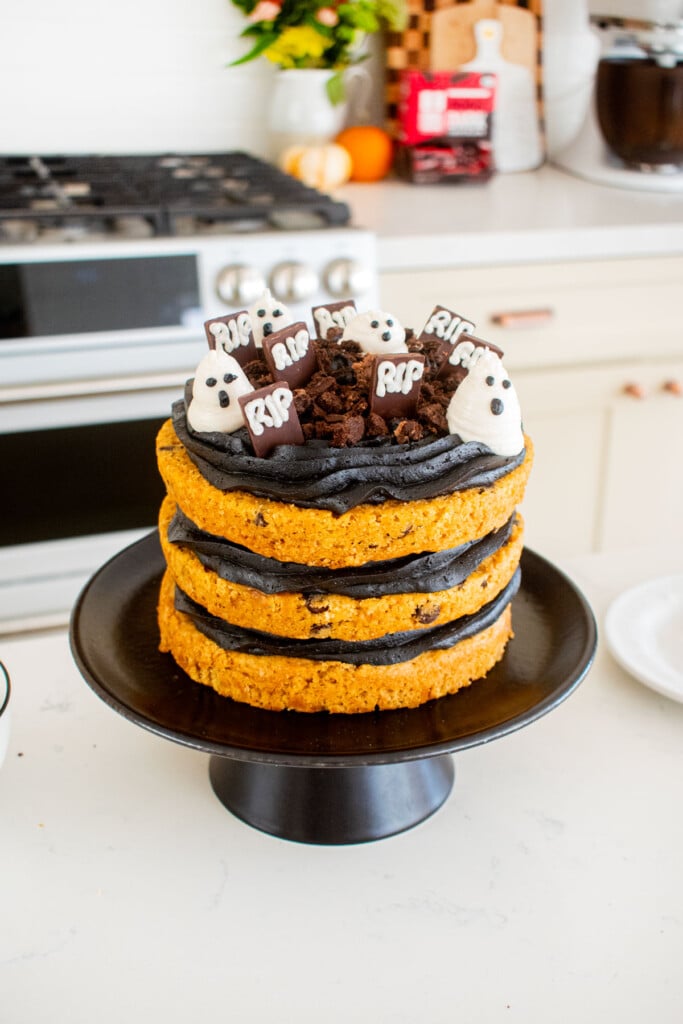
- Place the headstones anywhere you want on top of the cake with the RIP part on the top. Pipe small dollops of frosting using the white frosting with Ateco tip #808 to create ghosts (watch the video, it helps!). Last, transfer a small amount of leftover black frosting into a piping bag with Ateco tip #2. Pipe eyes and a mouth by just piping a small circle onto the ghosts.
Recipe FAQ's
Can I make this cake vegan or dairy free?
Yes, you can use vegan butter for the cake along with a dairy free milk (such as coconut milk, almond milk or oat milk). Then use vegan butter or vegetable shortening for the frosting.
No, don't use pumpkin pie filling as that has added sugars and spices, which we don't need here. You just need to use plain pumpkin puree.
You can use black cocoa powder, but it won't be as black, and it will have a chocolate flavor as well.
No, you won't taste it in the frosting.
Yes, if you want to frost the whole cake so it's black, you can do that too.
Yes, you can double the recipe and then use 8-inch or 9-inch pans. If doing so, you'll need to increase the baking time as you have more cake. Start with 5 extra minutes and check the cake, then go from there.
Chocolate graham crackers also work great, any kind of chocolate or dark cookie works here to mimic dirt.
Yes, this cake does require piping tips if you want it to look like mine does here. But, if you're up for a little rustic look you can still make this without any decorating tips. You can frost the cake rustic naked style by just spreading frosting onto each layer, check out my tutorial How to Make a Naked Cake and use the rustic design option. Then, for the piping on the headstones of RIP, you can just cut a small, tiny hole out of your piping bag and use that to pipe. Same for the ghosts since it is just a round tip, you can jus cut a larger hole and you'll have a similar shape.
Because this is a naked cake, the sides are exposed. This can cause the cake to dry out if it's left out for too long. It's best stored under a cake dome if you have extras. If you don't have a cake dome, slice it up and store in an airtight container.
Yes. You can make the cake layers in advance, let them cool completely and then wrap in plastic wrap and freeze. Then you can assemble the cake the day of your party. If you need to make the whole cake in advance, I recommend doing it only the day before and storing in a cake dome until the following day. If you don't have a cake dome, the fridge is the next best option.
Halloween Party Inspiration
If you're hosting a Halloween party, here's some other dessert ideas that will go great with this cake as the centerpiece!
- Serve homemade versions of popular candy like Healthy Chocolate Peanut Butter Cups, Caramel Lollipops, Homemade Twix Bars, Vegan Snickers Bars, Vegan Dark Chocolate Mini Peanut Butter Cups, Healthy Almond Joy Bars, or Homemade Crunch Bars.
- Boozy Pumpkin Spice Hot Chocolate and Pumpkin Spice Marshmallows Without Corn Syrup are a great cozy drink to serve!
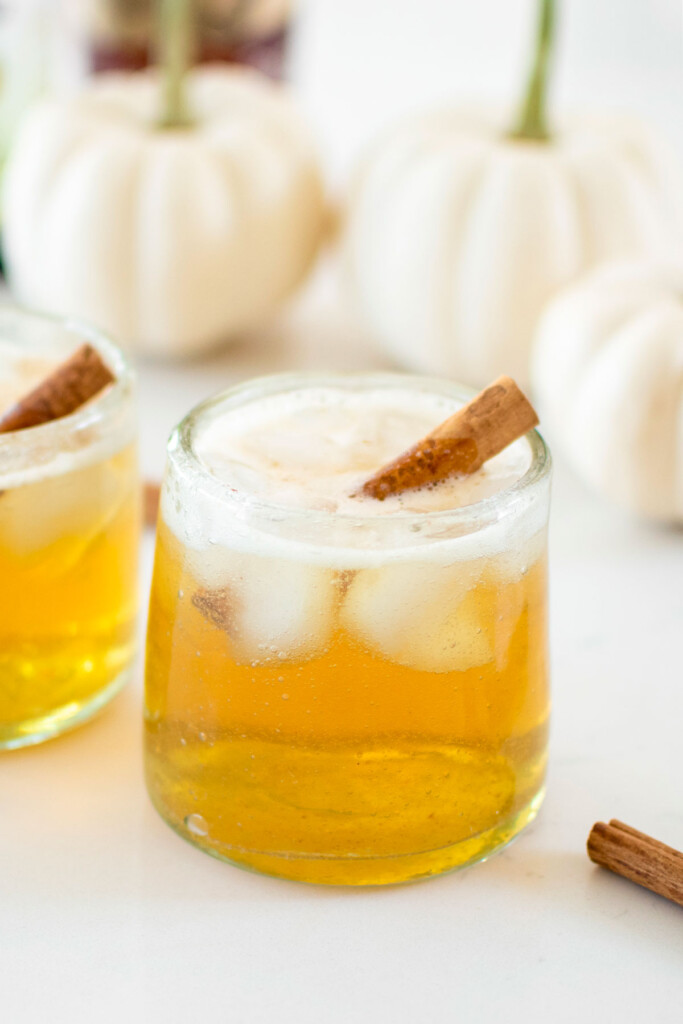
- My Sparkling Apple Cider Bourbon is such as easy fall cocktail that everyone loves!
- Serve with fall cookies like Organic Halloween Cookies With Sprinkles, Brown Butter Pumpkin Cookies With Caramel, Crunch Bar Cookies, or Frosted Pecan Pumpkin Spice Cookies.
Halloween Party Recipes

Loved it? Tell us!
Thanks a waffle lot for stopping by 🧇 If you loved this recipe, sprinkle some love by leaving a ⭐⭐⭐⭐⭐ review — it inspires others to try this recipe and helps me organically reach dog loving foodies like you! I personally read and appreciate every message!
Also, be sure to subscribe to our YouTube channel and join John John and me in the kitchen for step by step recipe videos! And subscribe to our newsletter for new and seasonal recipes!
Pumpkin Chocolate Chip Graveyard Halloween Cake

Equipment
- Digital Food Scale
- Stand Mixer
- 6-inch Cake Pans
- Parchment Paper Rounds
- Piping Bags
- Ateco Tip #808
- Ateco Tip #4
- Ateco Tip #827
- Ateco Tip #2
Ingredients
Batter
- 113 grams salted butter (softened)
- 170 grams cane sugar
- 1 teaspoon vanilla extract
- 113 grams pumpkin puree
- ½ cup whole milk
- 170 grams all purpose flour
- ¾ teaspoon baking powder
- ½ teaspoons pumpkin spice
- ½ teaspoon salt
- 142 grams semi sweet chocolate chips
Decorating Frosting
- 85 grams vegetable shortening (softened)
- 170 grams powdered sugar (sifted)
- 1 to 2 teaspoons milk
Black Frosting
- 226 grams salted butter (softened)
- 454 grams powdered sugar (sifted)
- 57 grams food grade activated charcoal
- 2 teaspoons vanilla extract
- 2 to 3 tablespoons milk
Decorating
- 6 Equal Exchange Dark Chocolate Minis
- 2 chocolate cookies or chocolate graham crackers
Instructions
- Preheat the oven to 350°F. Line three 6-inch cake pans with parchment paper.
- To make the batter: In the bowl of a stand mixer fitted with the paddle attachment, add the butter, cane sugar and vanilla extract.
- Mix on low until combined and there are no butter chunks.
- Add the pumpkin puree, milk, all purpose flour, baking powder, pumpkin spice, and salt. Mix on low until combined into a smooth cake batter. Be sure to scrape down the sides of the bowl part way through mixing, this will ensure everything mixes together evenly.
- Add in the chocolate chips and mix to combine completely.
- Transfer the cake batter to the prepared baking pans. It’s best to weigh them so they are even since this is a naked cake design. They will weigh about 270 grams each. Spread out the batter evenly.
- Bake at 350°F for 20 minutes or until a toothpick inserted in the center comes out clean. Let the cakes cool completely in the cake pans before removing.
- To make the decorating frosting: In the bowl of a stand mixer fitted with the paddle attachment, add the shortening, powdered sugar and milk.
- Mix on low until combined, then speed the mixer up to high and whip for 2 to 3 minutes, or until light and fluffy. Be sure to scrape down the sides of the bowl part way through mixing to ensure the frosting is smooth and everything is mixed well.
- Transfer a small amount of frosting, only a few tablespoons, to a piping bag with Ateco tip #4. This is going to be the writing for the RIP so we don’t need a lot of frosting here, you can just eyeball this.
- Transfer the remaining bulk of the frosting into a piping bag with Ateco tip #808, this is for the ghosts. Set aside the piping bags.
- To make the black frosting: No need to wash the mixing bowl, add in the butter, powdered sugar, vanilla extract and milk.
- Mix on low until combined and then speed mixer up to high and whip for 2 to 4 minutes or until light and fluffy. Be sure to scrape down the sides of the bowl part way through mixing to ensure you have a smooth and creamy frosting.
- Transfer the frosting to a piping bag with Ateco tip #827.
- To make the headstones: Using the white frosting with Ateco tip #4, pipe RIP onto the top of the mini chocolate bars. You can make as many headstones as you like, but I think about 5 to 7 fit nicely on the cake.
- To assemble the cake: Place a small dollop of frosting on your cake plate or cake stand. Then add the first cake layer, bottom side down as this helps ensure the cake is flush with the cake stand so it sits flat.
- Starting at the edge of the cake, pipe a spiral using the black frosting and work your way into the center of the cake.
- Top with the second cake layer, but put this one bottom side up as this helps ensure the cake looks straight. Then, pipe another spiral of buttercream frosting, starting at the outer edge and working your way into the center.
- Top with the third cake layer, bottom side up again. And, finish with the last spiral of black frosting.
- Crumble up the chocolate cookies into the center of the cake to look like dirt.
- Place the headstones anywhere you want on top of the cake with the RIP part on the top.
- Pipe small dollops of frosting using the white frosting with Ateco tip #808 to create ghosts (watch the video, it helps!).
- Last, transfer a small amount of leftover black frosting into a piping bag with Ateco tip #2. Pipe eyes and a mouth by just piping a small circle onto the ghosts.
- Store under a cake dome until ready to serve.
Video
Notes
- Always weigh ingredients for the best results, using a digital food scale will always ensure you get accurate measurements.
- If you want to make this vegan, simply replace the butter with vegan butter and the milk with a nondairy milk like coconut milk, almond milk or oat milk.
- I’m baking this in 6-inch cake pans, but if you want to make this larger, you can double the recipe and use 8-inch or 9-inch cake pans. You will have to bake the cake a little bit longer too, start with 5 minutes, check it and go from there.
- I use Newman’s Own Organic O’s for the organic chocolate cookies to create the dirt, this works well, or you could also use chocolate graham crackers as well.
- Because this is a naked cake, the sides of the cake are exposed. So, it can dry out if it sits out for an extended period of time, depending on your climate. Storing it under a cake dome is the best way to keep it fresh.
- If you want to make this in advance, it’s best to bake the cake in advance, let it cool completely and wrap the layers in plastic wrap and freeze. Then, you can remove from the freezer and assemble the cake the day of your party.
Nutrition
The Bake Shop
Visit The Bake Shop for foodie inspired tees, sweatshirts, and accessories. Find my favorite kitchen tools (with discounts!) in the Kitchen Shop. And shop our collection of food inspired dog accessories too!

Leave a Reply