Sourdough Crescent Rolls
Layers upon layers of buttery, rich pastry and the tangy complexity of sourdough. These Sourdough Crescent Rolls boast a tender, flaky texture, thanks to layers of dough brushed with butter and rolled into their signature crescent shape. Use up sourdough discard with this sourdough inspired take on a classic recipe!
If you’re looking for more baked bread recipes, be sure to check out some of my other favorites like Honey Butter Dinner Rolls, Sourdough Discard Whole Wheat Sandwich Bread, Sourdough Discard Bread With Bone Broth, or Organic French Baguettes With Instant Yeast.

A Quick Look At The Recipe
- Recipe Name: Sourdough Crescent Rolls
- Ready In: 2 hours 30 minutes
- Makes: 12 crescent rolls
- Main Ingredients: all purpose flour, salted butter, sourdough discard
- Flavor Profile: buttery, flaky fluffy rolls
- Dietary Info: no seed oils
- Difficulty: Medium
- Why You’ll Love It: nostalgic crescent rolls made with sourdough discard
Summarize & Save This Content On
Why You’ll Love This Recipe
- Homemade: While you can go buy crescent rolls in a tube, there’s nothing like fresh homemade crescent rolls from scratch, especially because you can choose organic ingredients!
- Nostalgic: As a kid we had crescent rolls on special occasions, so these are super nostalgic for me!
- Easy: This recipe is fairly easy to make. While there’s some rise time, you can easily prep other dishes in between steps so too can make these part of your holiday meal with ease.
- Uses Sourdough Discard: I love recipes that use up sourdough discard because they turn waste into delicious food! These Sourdough Crescent Rolls use sourdough discard for a delicious sourdough element to this nostalgic recipe!
This recipe is another collab with my friend Hannah at Make It Dough! Every month we collaborate on a fun sourdough recipe using active starter or sourdough discard. And this month, we knew that we needed to make homemade crescent rolls for Thanksgiving!
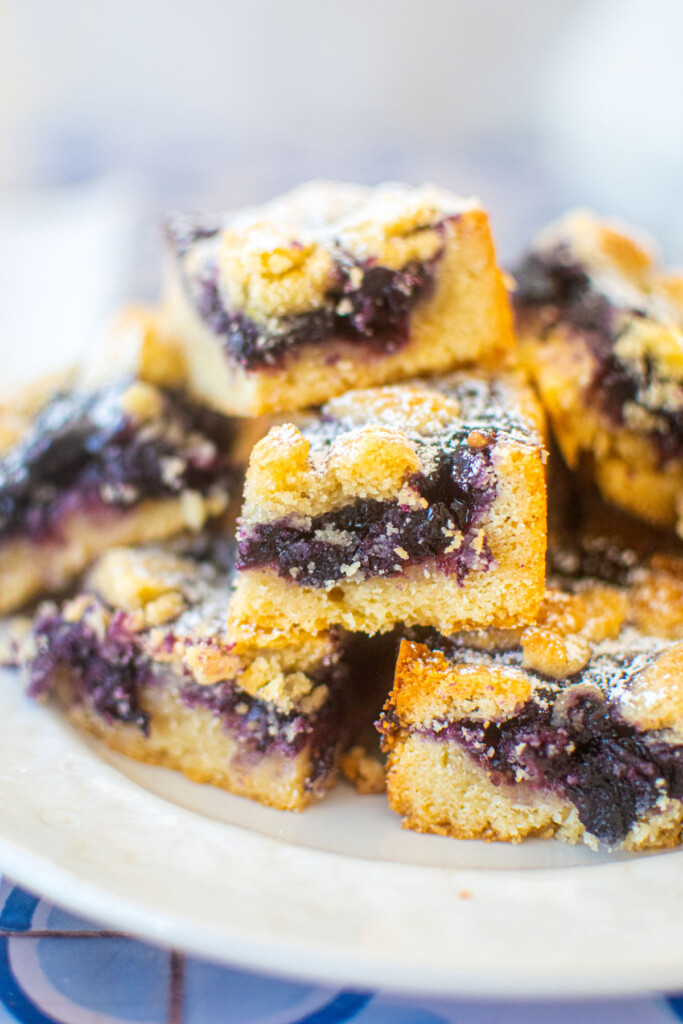
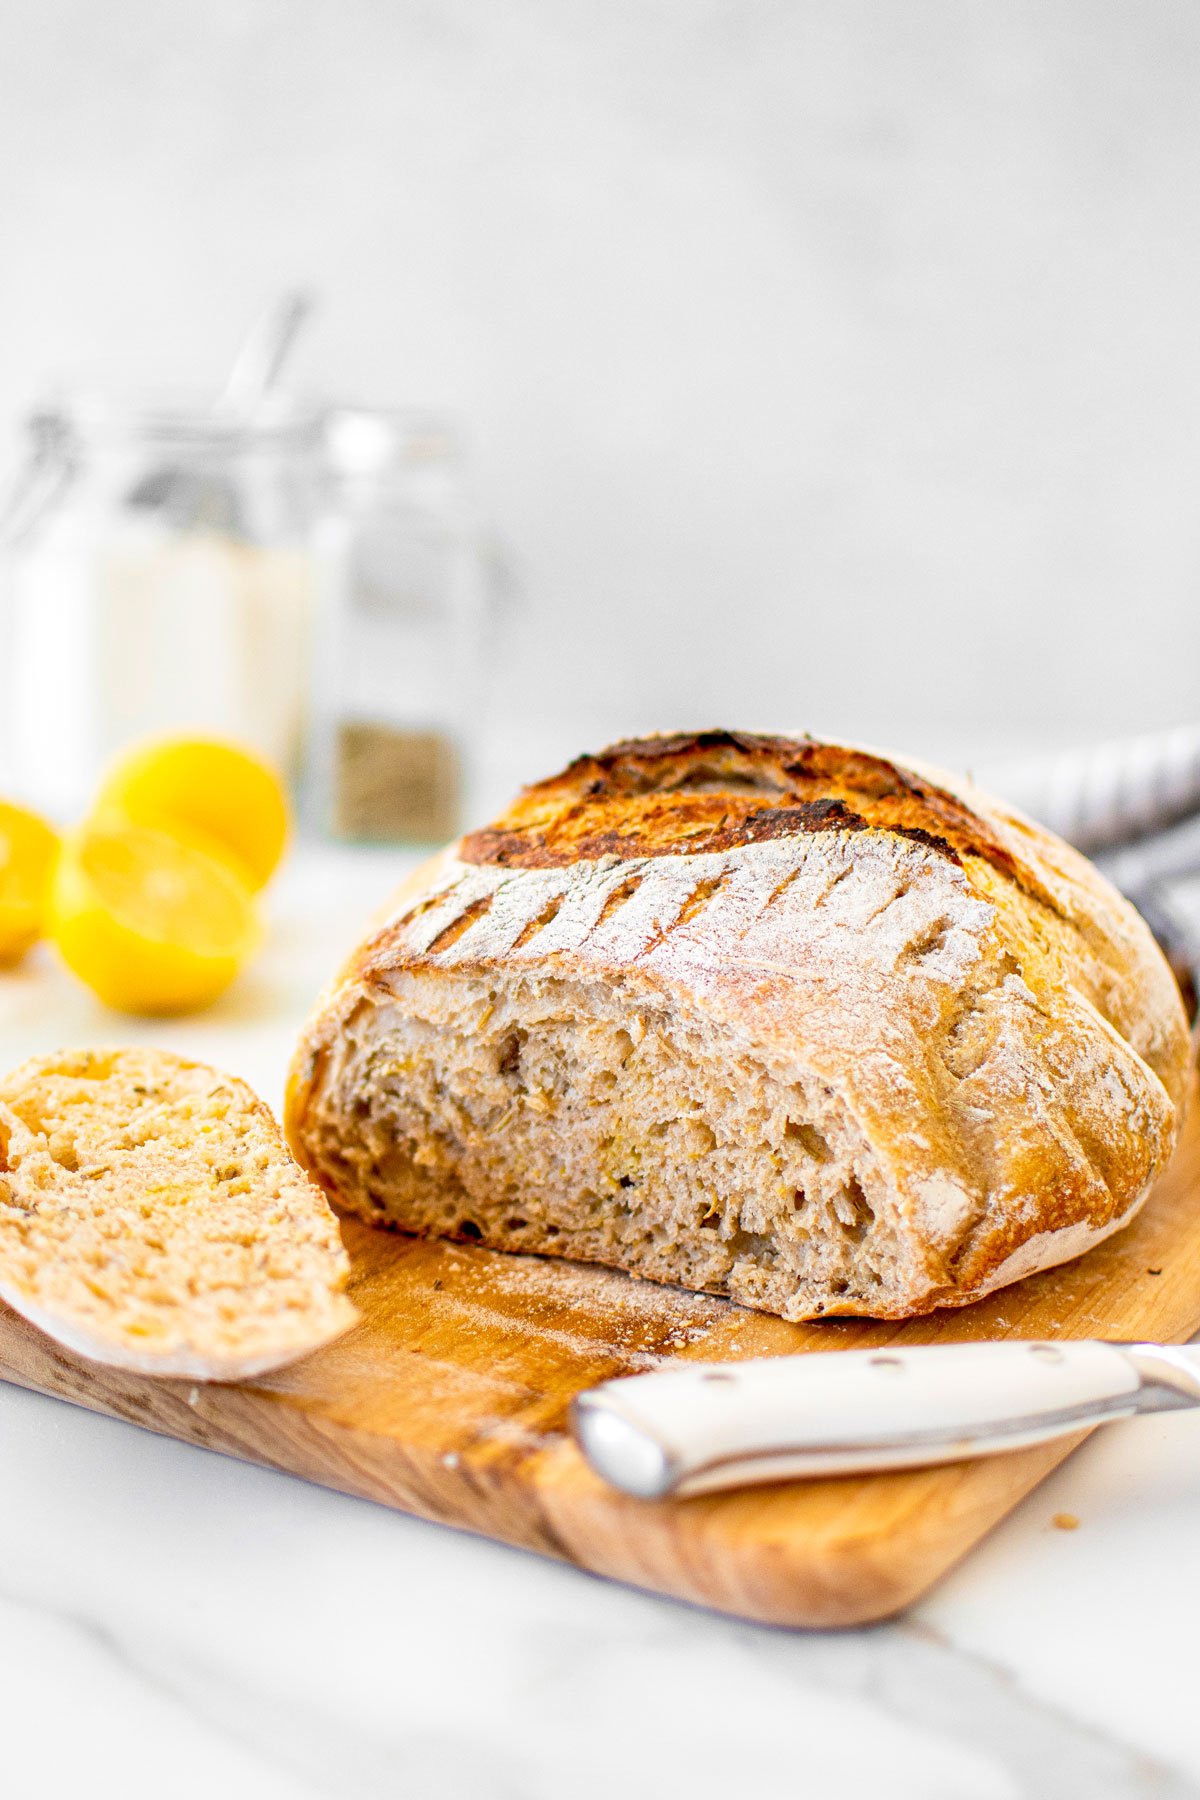
These homemade crescent rolls are soft, pillowy, and layered with butter for a rich and decadent roll for your Thanksgiving dinner party. Some of my other holiday favorite collabs include Lemon Rosemary Sourdough Bread, Eggless Sourdough Molasses Cookies, Peanut Butter Oatmeal Sandwich Cookies With Sourdough Discard, Sourdough Blueberry Crumb Bars, and Sourdough Pumpkin Spice Cupcakes With Cream Cheese Frosting.
How to Use Sourdough Discard
Sourdough discard is the discarded sourdough starter that you would normally toss out when feeding your active sourdough starter. Instead of tossing it, you can use it in recipes to create a sourdough flavor. This reduces food waste, and gives you sourdough flavor in recipes!
You can use your sourdough discard straight from the fridge, your starter does not have to be active. But, if you want to use active sourdough starter for this recipe in place of yeast, you can also do that.
Simply replace the sourdough discard with an equal amount of active sourdough starter. You'll need a longer rise time, since it won't be as quick as yeast. Make sure your dough has doubled in size (it will take about 4 to 6 hours).
Ingredients
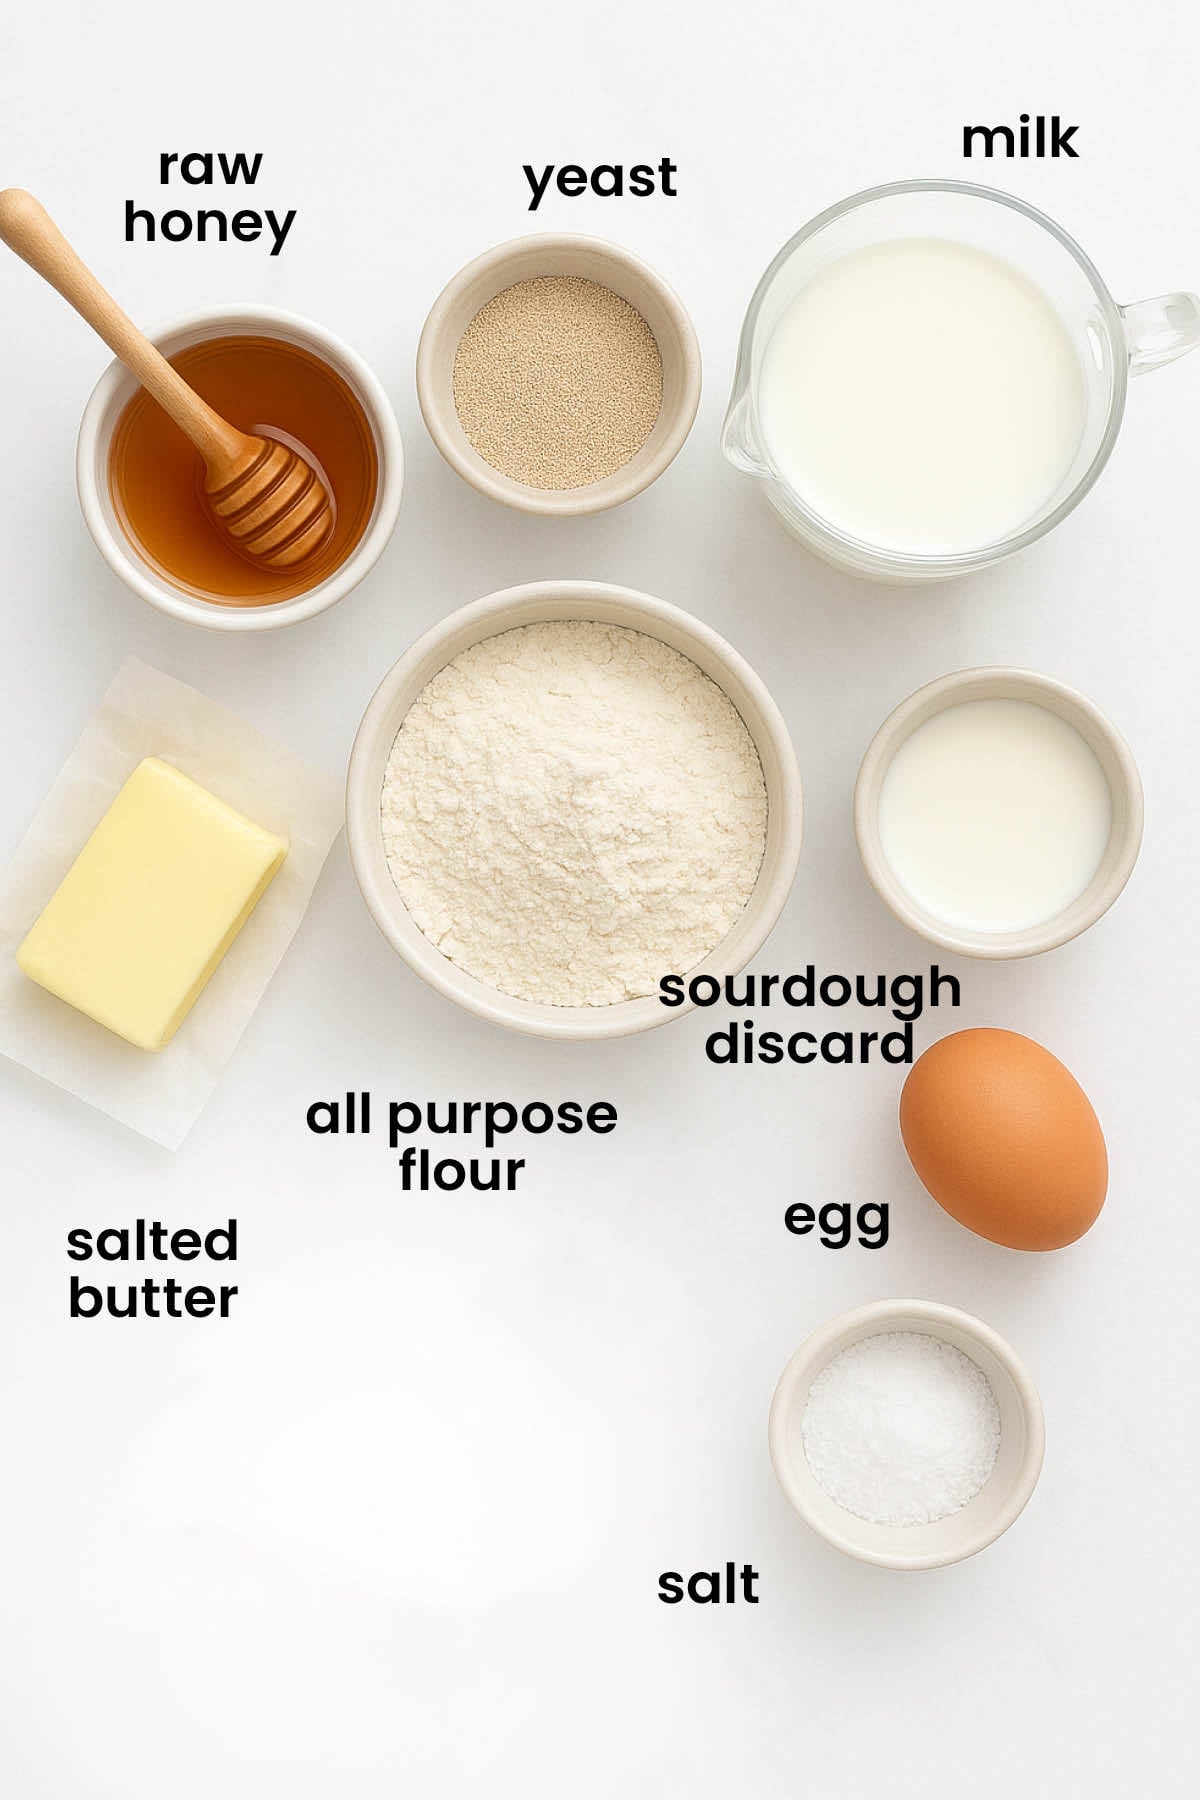
- Yeast: We use organic active dry yeast in this recipe, but you can also use instant yeast if you’re in a hurry or if that’s all you have.
- Milk: I use organic whole milk for the best flavor.
- Sourdough Discard: You can use your sourdough discard straight from the fridge for this recipe.
- All Purpose Flour: My favorite is Cairnspring Mills.
- Butter: I use salted butter for the layers of butter for more flavor, but if you prefer to use unsalted butter, you can.
*For a full list of ingredients and measurements, visit the recipe card below.
Baker’s Tips
- Weigh your ingredients for the best results.
- You can use instant yeast if you’re in a hurry or if you’re out of active dry yeast.
- Make sure your yeast activates and is not expired. If it doesn't turn foamy, then that means your dough won't rise.
- Make sure to let your dough rise fully, don't just go off an amount of time, look for visual signs that the dough is ready.
- Make sure your butter is soft, especially for spreading it onto each layer of dough as the dough is very thin.
- I use a pizza cutter to cut the dough into triangles, but a sharp knife will also work!
- These are best enjoyed fresh out of the oven!
How to Make Sourdough Crescent Rolls
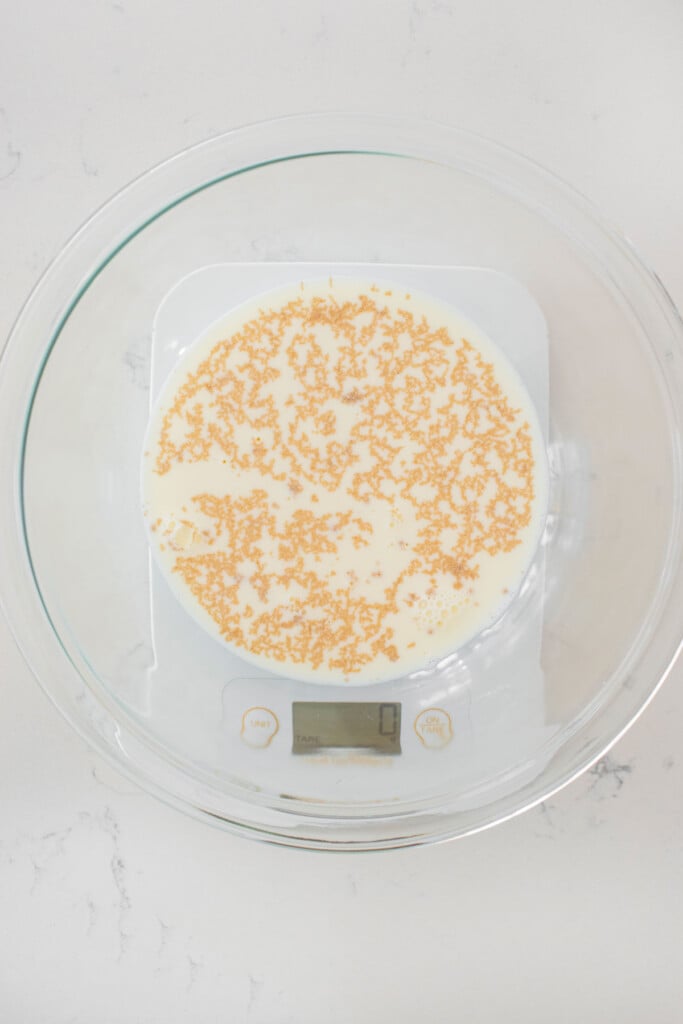
- Activate the yeast: Whisk the honey, milk, and yeast in a large bowl.
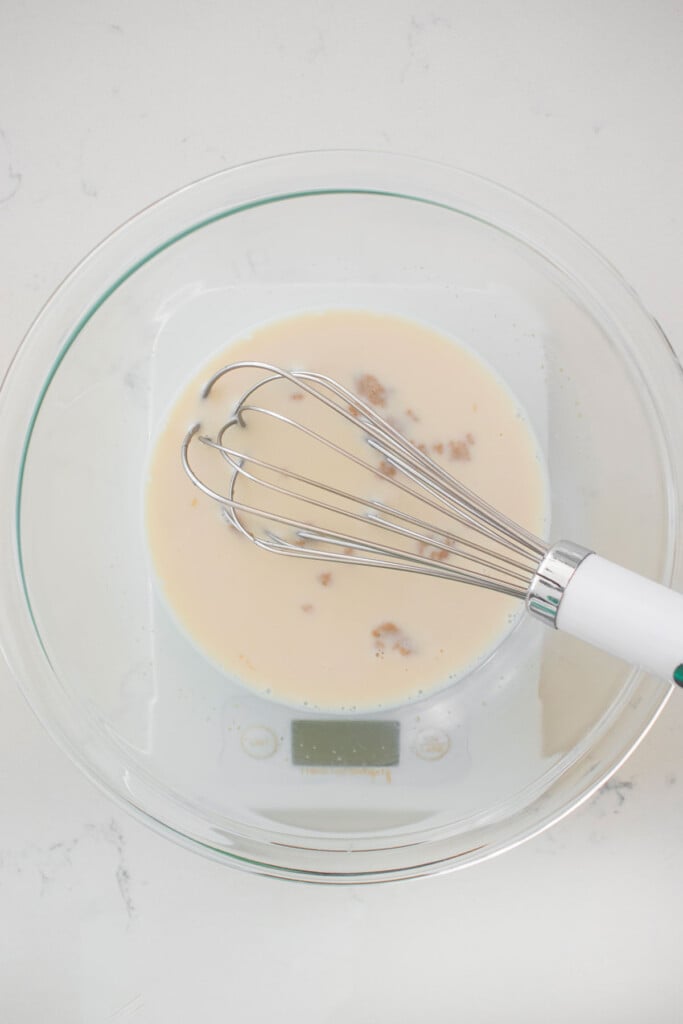
- Cover and let the yeast bloom until foamy, at least 15 minutes.
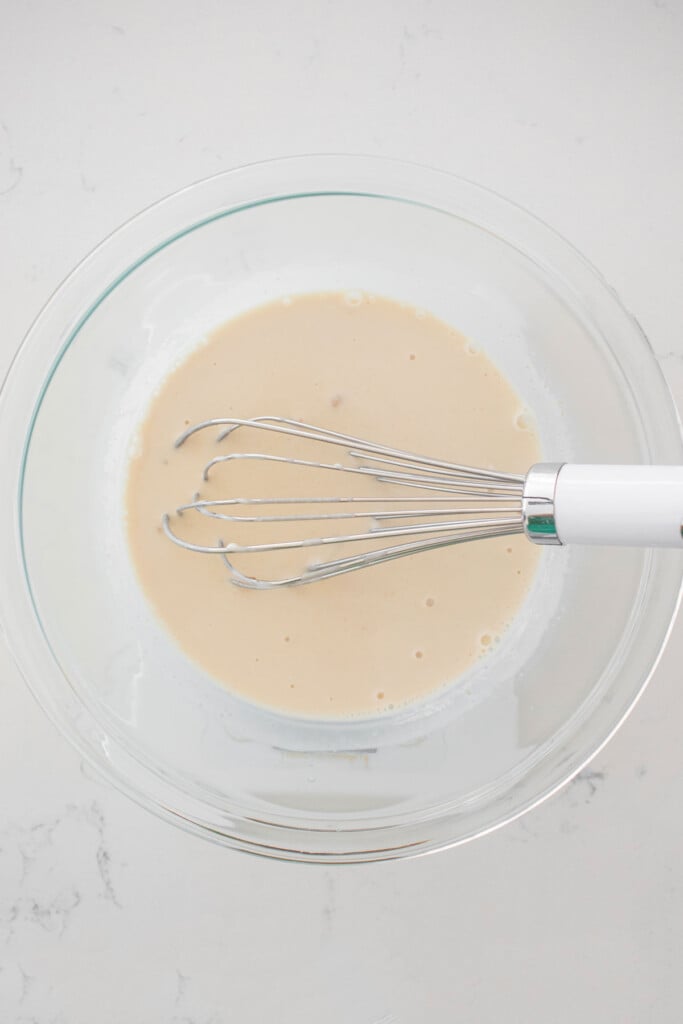
- Make the dough: Whisk the sourdough discard into the yeast mixture until fully incorporated.
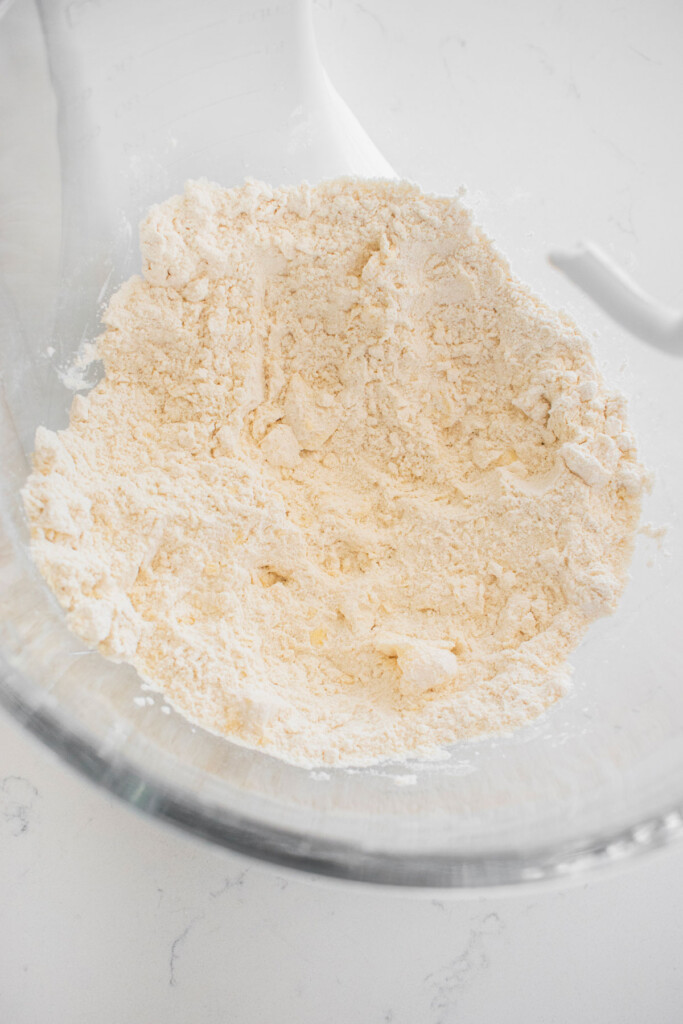
- Add the all purpose flour and salt to the bowl of a stand mixer fitted with the paddle attachment (alternatively, you can use a large mixing bowl with your hands). Add in the softened cubed butter and mix with the dough hook to combine into the flour and butter mixture looks like coarse crumbs. If not using a mixer, just rub the butter and flour together with your fingers.
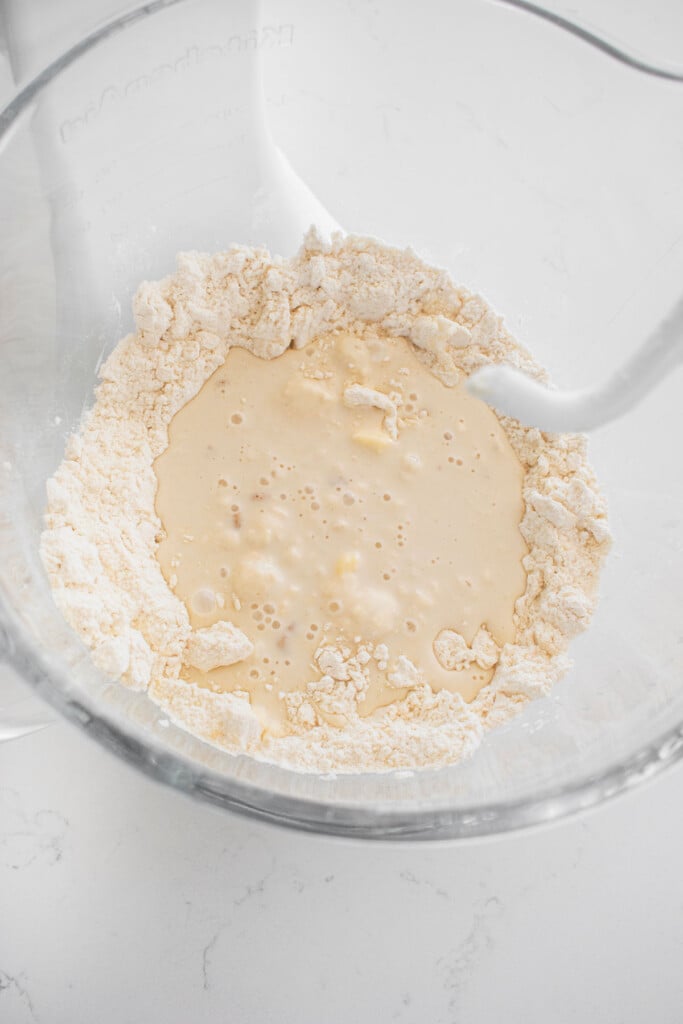
- Create a well in the center and pour the yeast mixture in.
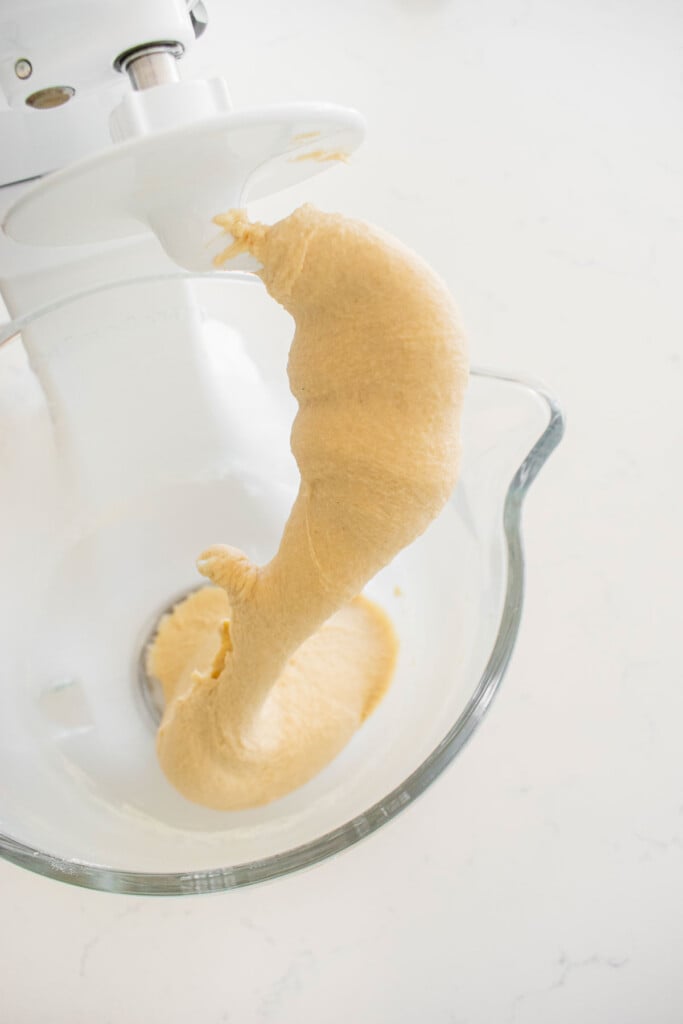
- Knead on speed 2 to 4 until no traces of dry flour remain. Then continue to knead until it looks cohesive and smooth (about 5 to 10 minutes). (If doing with your hands, it may become sticky. If this happens, cover the bowl with plastic wrap and allow it to rest for 15 minutes and come back to it.)
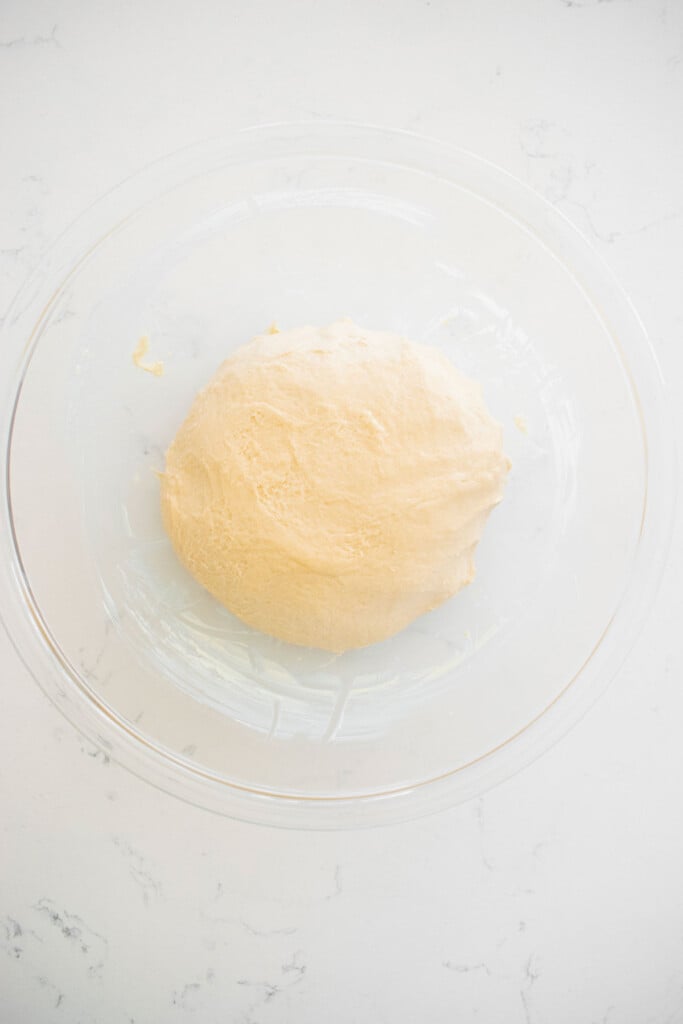
- Bulk ferment: Transfer to a lightly greased mixing bowl and round the dough into a tight ball and cover with plastic wrap.
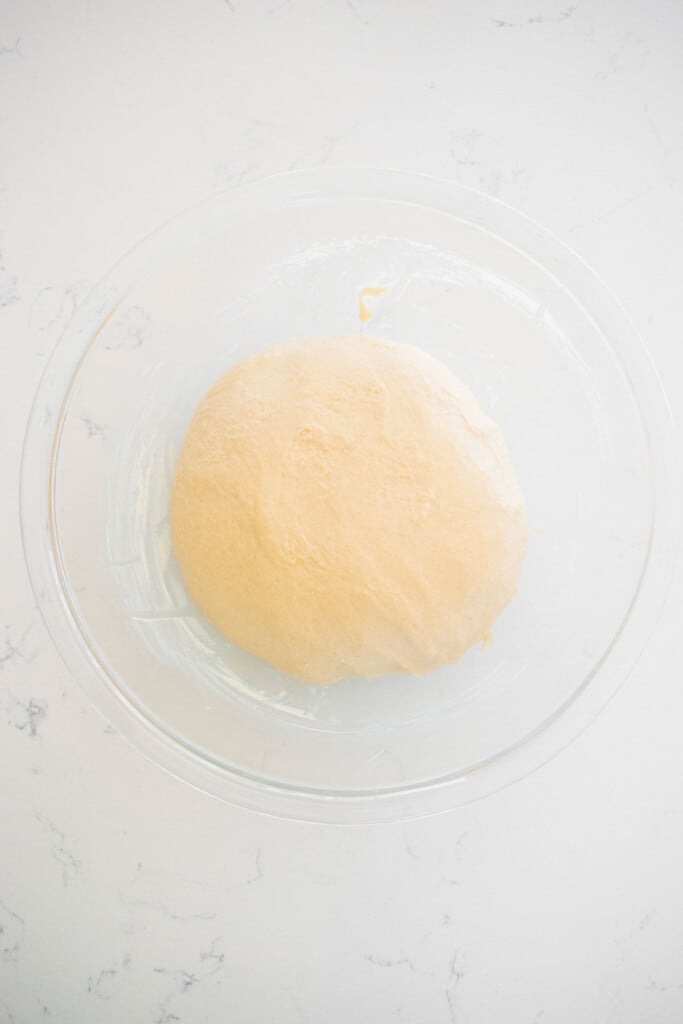
- Let the dough rise until doubled in volume, about 45 minutes to 1 hour (depending on the temperature of your kitchen). It helps to keep it in a warm place.
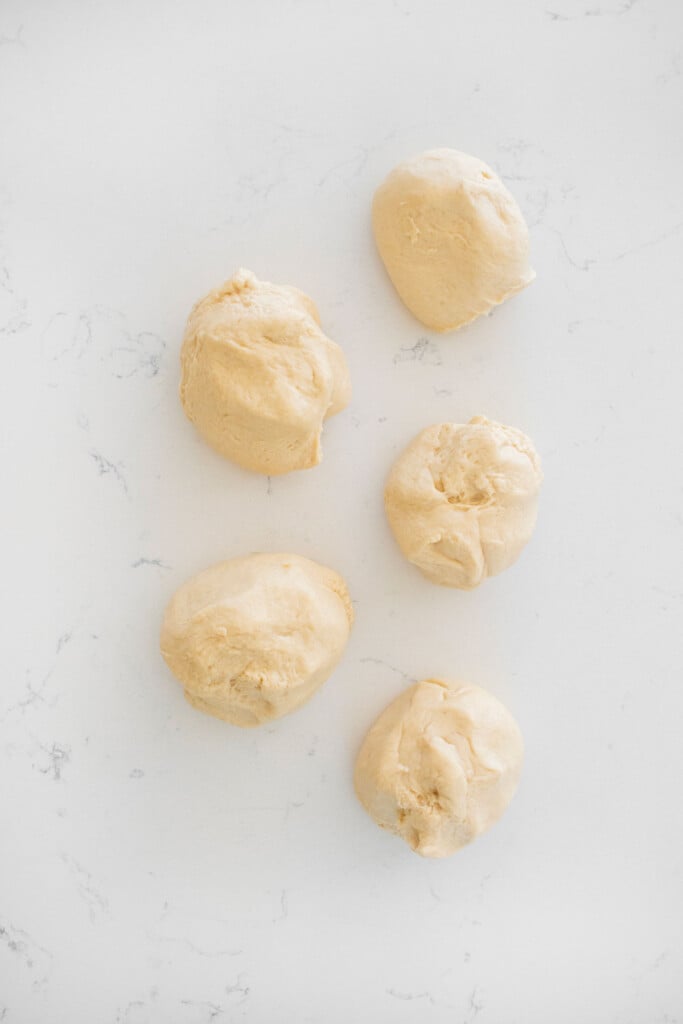
- Line a baking sheet with parchment paper. Laminate the dough: Divide the dough into 5 even portions (you can just eyeball this). Roll each portion of dough into a ball. If it seems sticky, you can cover the dough with plastic wrap and let it rest for 10 minutes, this will make it easier to roll out. I had no issues rolling out right away though.
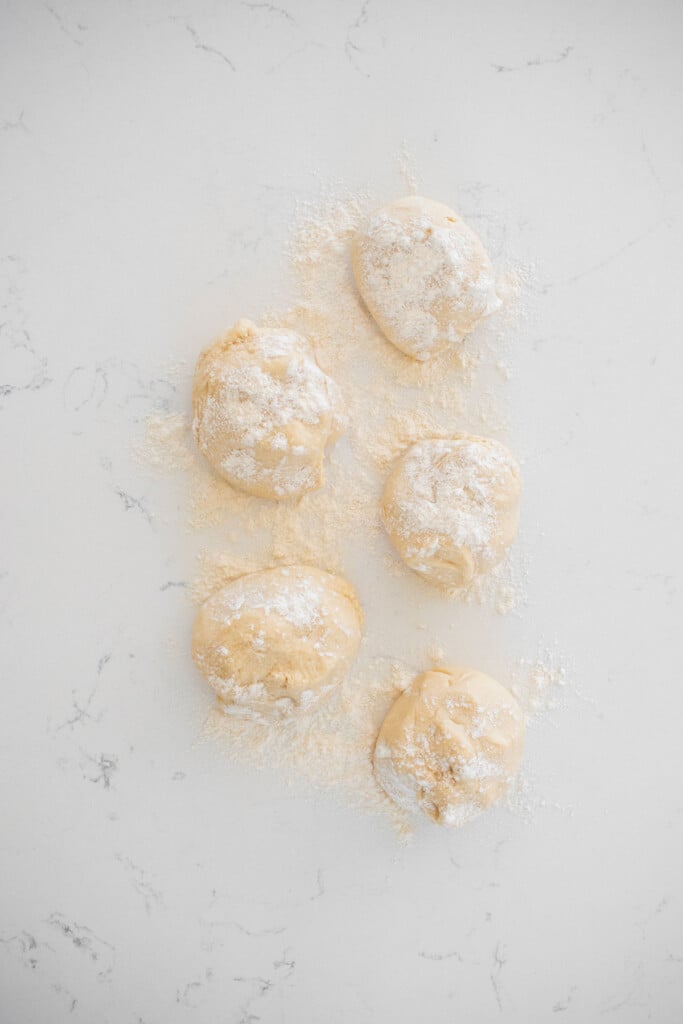
- Lightly flour the dough balls.
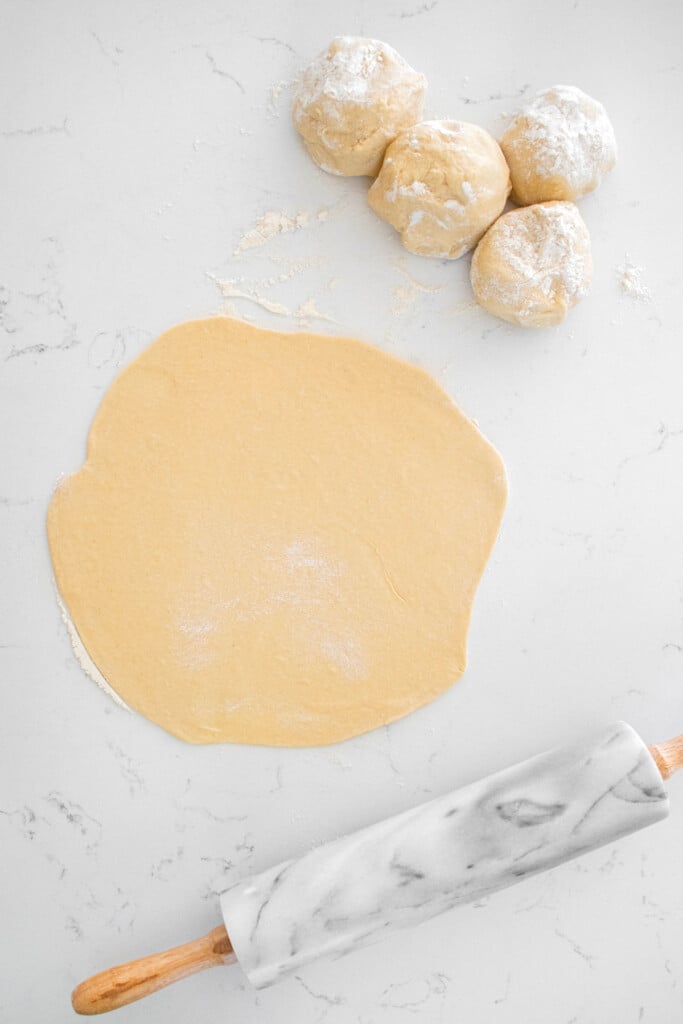
- Working with 1 portion of dough at a time, roll the dough into an 8-inch circle using a rolling pin.
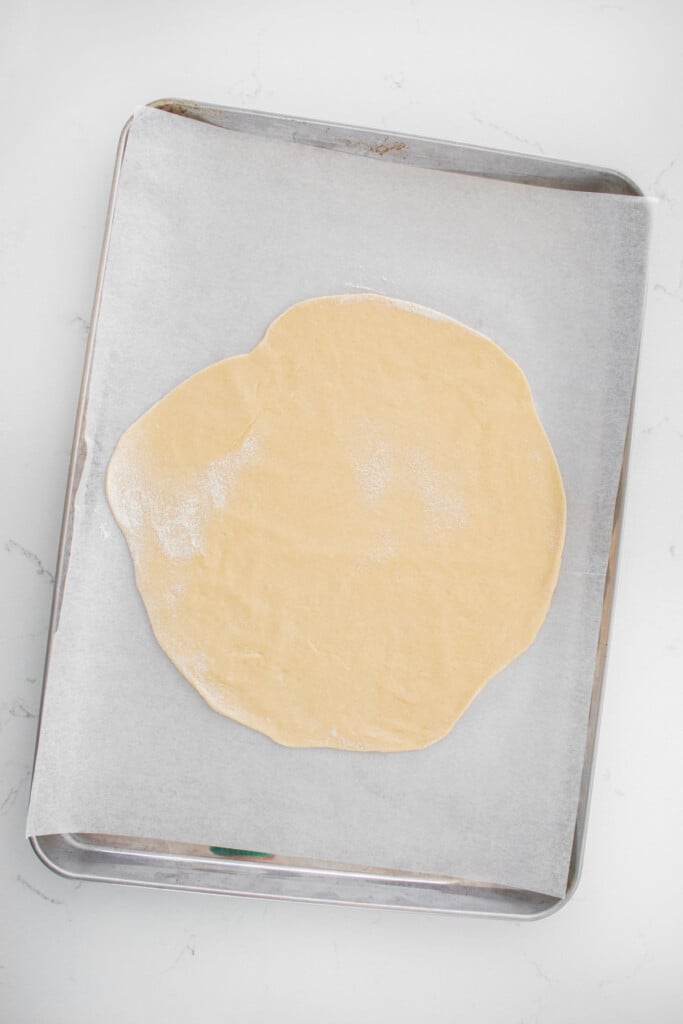
- Transfer the dough to the prepared baking sheet.
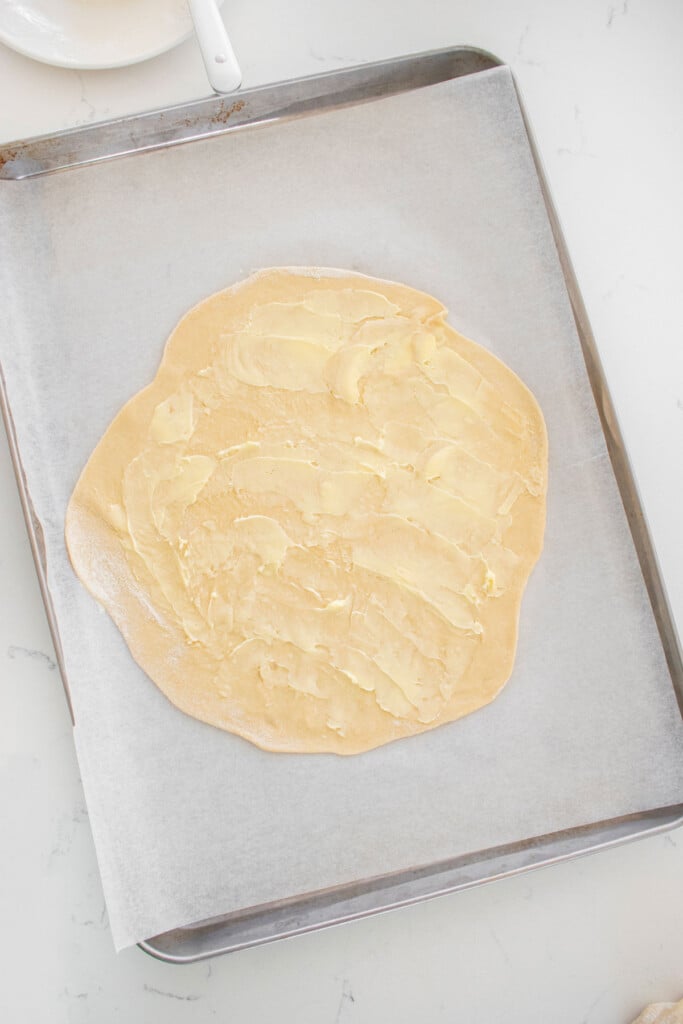
- Spread 1 tablespoon of butter on top of the circle of dough.
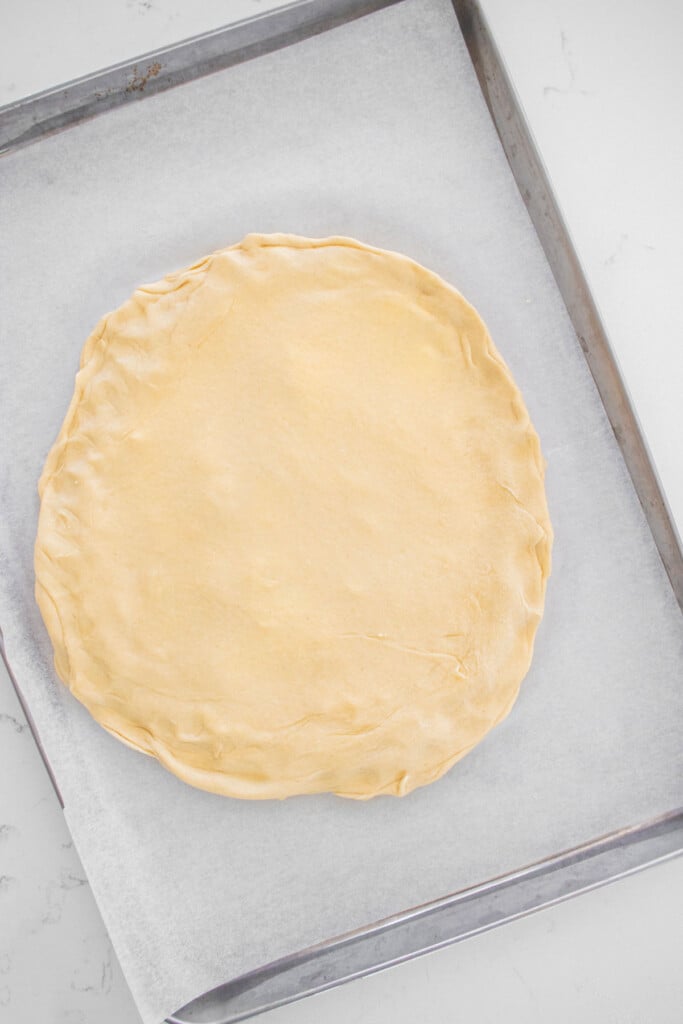
- Repeat with the remaining portions of dough, stacking each circle of dough on top of the previous one and spreading 1 tablespoon of butter on top, but do not spread butter on the top layer! Pinch the edges of the dough together so the layers do not separate. Cover with plastic wrap and chill the dough for 1 hour. Preheat the oven to 350°F.
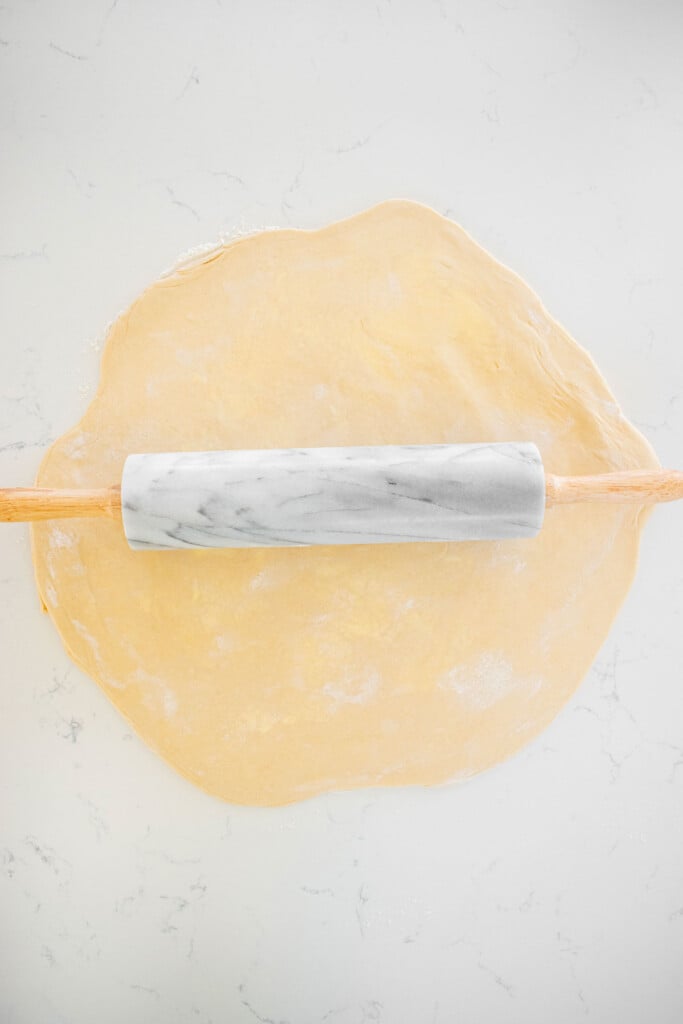
- Shape the dough: Place the dough on a clean work lightly floured surface. Use a rolling pin to roll it out into a large circle, about 15 to 18 inches, it should be quite thin (⅛-inch thick).
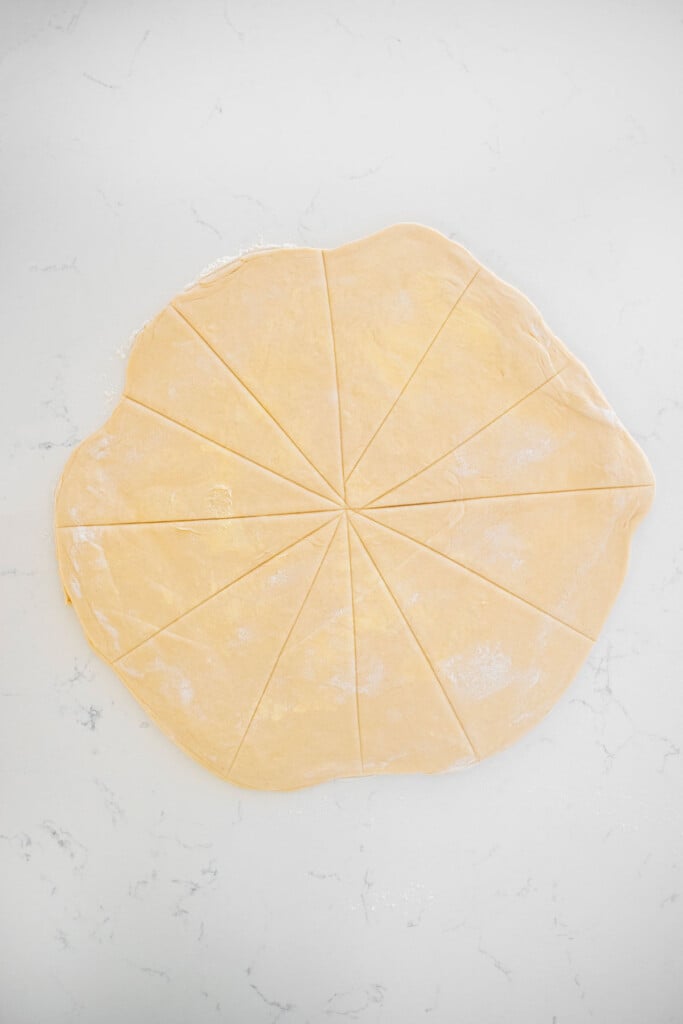
- Using a pizza cutter or chef’s knife, cut the dough into 12 even segments (like a pizza).
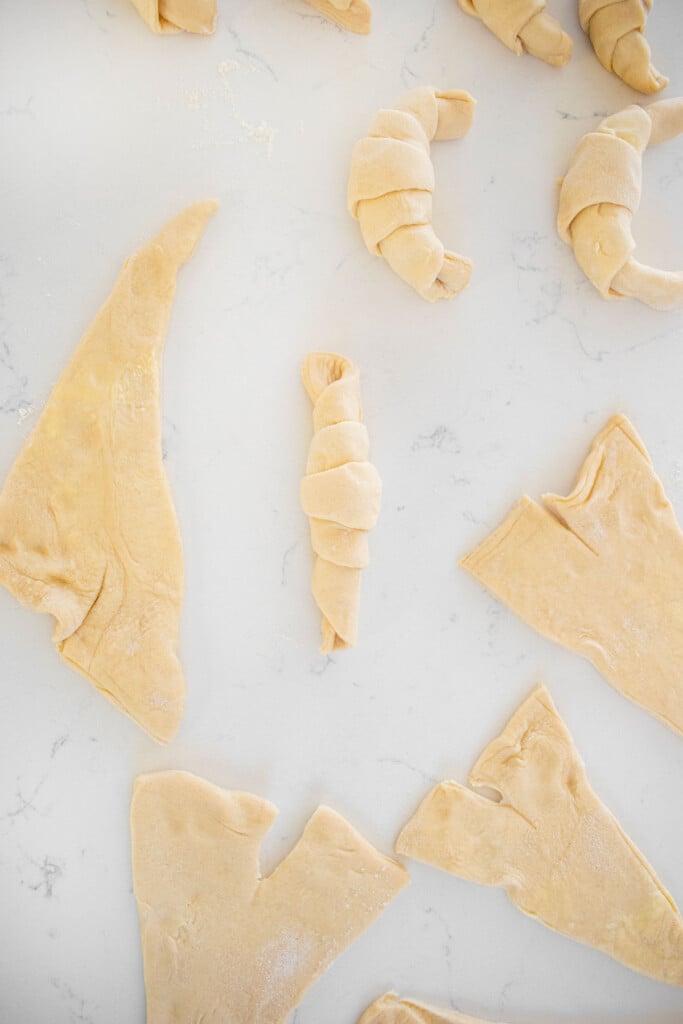
- Working with 1 triangle at a time, make a small slit in the middle of the base of the triangle. This will allow the dough to be curved into its iconic shape, so it’s important to make this cut.
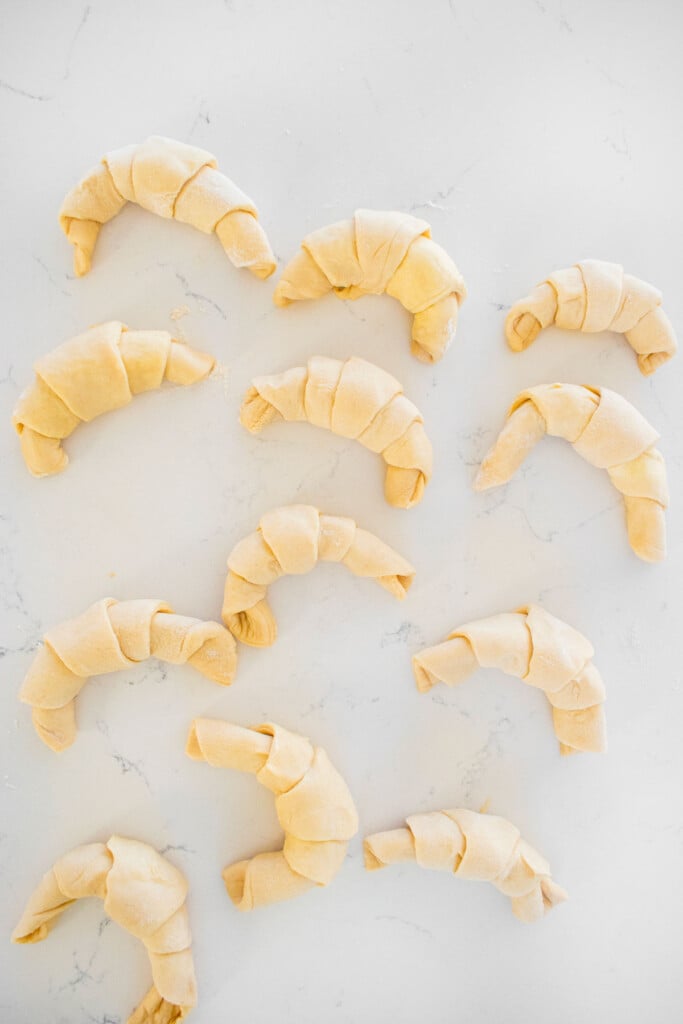
- Pull the two bottom corners outward and roll the dough towards the tip. Place the crescent roll shapes back on the parchment paper lined baking sheet and curve the ends so that the dough resembles a crescent shape (give the dough room to rise and spread a little bit). Repeat with the remaining portions of dough.
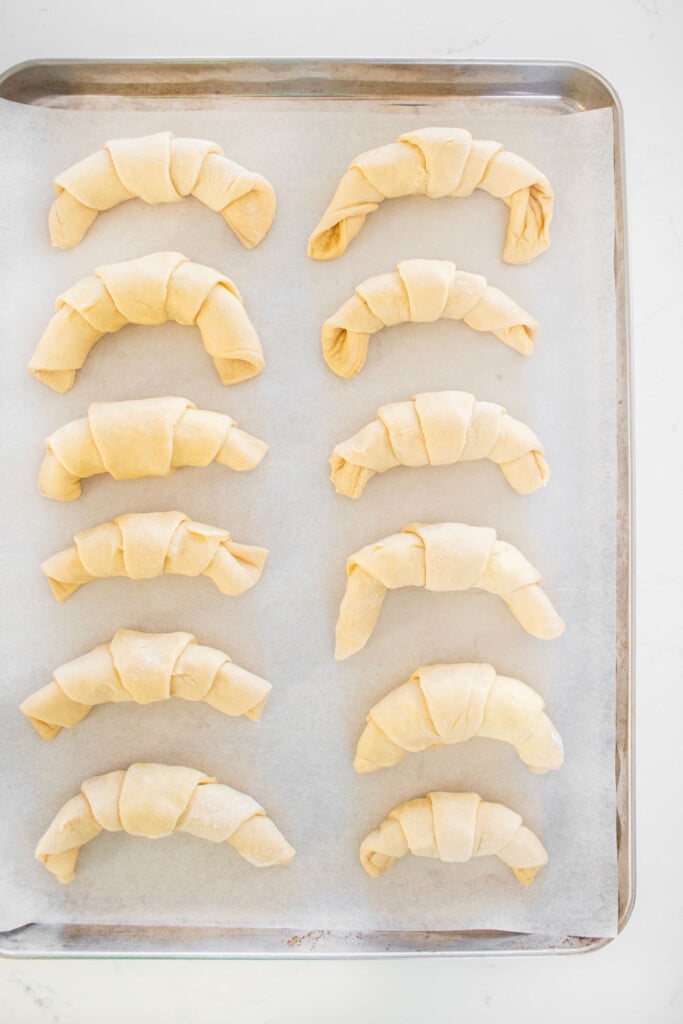
- Final proof: Cover the baking sheet with plastic wrap and let the dough rise until puffy and has noticeably increased in volume, about 30 to 45 minutes.
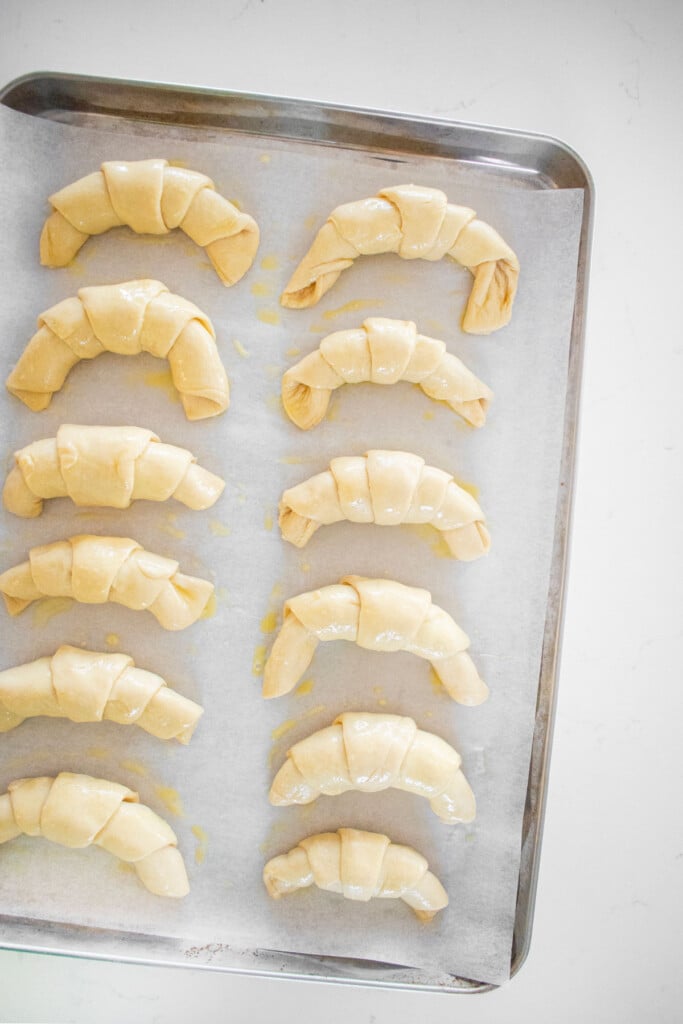
- Whisk the egg. Using a pastry brush, brush the tops of the dough with egg wash.

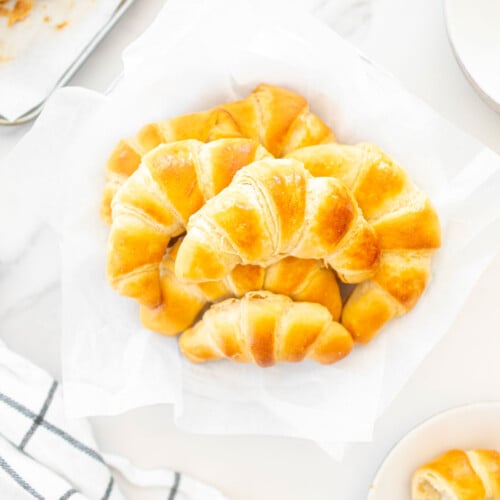
- Bake for 20 to 30 minutes or until the crescent rolls are golden brown. These rolls are best served fresh out of the oven.
What to Serve With Sourdough Crescent Rolls
- Serve as a side to soups like Ham Bone Soup, Slow Cooker Pumpkin Stew, or Meyer Lemon Chicken Wild Rice Soup With Bone Broth.
- Enjoy with Organic Meatloaf With Bone Broth.
- Serve as an appetizer or side for Mushroom Zucchini Baked Pasta or Baked Butter Lemon Pasta Without Cheese.
Recipe FAQ’s
While both doughs use a similar process of layering dough with butter, they result in different textures when baked. Crescent rolls have a soft and buttery texture while croissants have a more flaky, fluffy, and crispy exterior.
By laminating the dough with butter in between each layer!
Using sourdough discard will give you sourdough flavor (and reduce waste) and yeast will allow these rolls rise quicker.
No, it just gives it a really good flavor!
Let the dough rise until it has doubled in volume. While I give a time estimate, always go off visual signs the dough is ready. It also helps to keep it in a warm place.
If your yeast is expired the dough cannot rise. Make sure to check that your yeast is still good and not expired.
Working with 1 triangle at a time, make a small slit in the middle of the base of the triangle. This will allow the dough to be curved into its iconic shape, so it’s important to make this cut. Pull the two bottom corners outward and roll the dough towards the tip. This gives them their iconic shape. Be sure to watch the video to see exactly!
If you have leftovers, store in an airtight container and you can reheat in the toaster oven or air fryer for the best results. But they aren’t the same as when they’re fresh out of the oven!
Yes, you can freeze the dough or the baked rolls. If you are freezing the dough, you can place the formed crescent rolls on a baking sheet until frozen. Then transfer to an airtight container. Let them come to room temperature, then bake as instructed. You can also freeze the baked rolls in an airtight container. Thaw and you can warm up in your air fryer.

More Sourdough Discard Recipes



Loved it? Tell us!
Thanks a waffle lot for stopping by 🧇 If you loved this recipe, sprinkle some love by leaving a ⭐⭐⭐⭐⭐ review — it inspires others to try this recipe and helps me organically reach dog loving foodies like you! I personally read and appreciate every message!
Also, be sure to subscribe to our YouTube channel and join John John and me in the kitchen for step by step recipe videos! And subscribe to our newsletter for new and seasonal recipes!
Sourdough Crescent Rolls

Equipment
- Digital Food Scale
- Stand Mixer
- Mixing Bowl
- Half Sheet Pan
- Parchment Paper Sheets
- Rolling Pin
- Pastry Brush
Ingredients
Dough
- 28 grams honey
- 7 grams active dry yeast
- 170 grams milk
- 113 grams sourdough discard
- 42 grams salted butter (softened and cubed)
- 300 grams all purpose flour
- 6 grams salt
Filling
- 113 grams salted butter (softened)
Topping
- 1 egg
Instructions
- Activate the yeast: Whisk the honey, milk, and yeast in a large bowl. Cover and let the yeast bloom until foamy, at least 15 minutes.
- Make the dough: Whisk the sourdough discard into the yeast mixture until fully incorporated.
- Add the all purpose flour and salt to the bowl of a stand mixer fitted with the paddle attachment (alternatively, you can use a large mixing bowl with your hands). Add in the softened cubed butter and mix with the dough hook to combine into the flour and butter mixture looks like coarse crumbs. If not using a mixer, just rub the butter and flour together with your fingers.
- Create a well in the center and pour the yeast mixture in. Knead on speed 2 to 4 until no traces of dry flour remain. Then continue to knead until it looks cohesive and smooth (about 5 to 10 minutes). (If doing with your hands, it may become sticky. If this happens, cover the bowl with plastic wrap and allow it to rest for 15 minutes and come back to it.)
- Bulk ferment: Transfer to a lightly greased mixing bowl and round the dough into a tight ball and cover with plastic wrap. Let the dough rise until doubled in volume, about 45 minutes to 1 hour (depending on the temperature of your kitchen). It helps to keep it in a warm place.
- Line a baking sheet with parchment paper.
- Laminate the dough: Divide the dough into 5 even portions (you can just eyeball this). Roll each portion of dough into a ball. If it seems sticky, you can cover the dough with plastic wrap and let it rest for 10 minutes, this will make it easier to roll out. I had no issues rolling out right away though.
- Lightly flour the dough balls and working with 1 portion of dough at a time, roll the dough into an 8-inch circle using a rolling pin. Transfer the dough to the prepared baking sheet.
- Spread 1 tablespoon of butter on top of the circle of dough. Repeat with the remaining portions of dough, stacking each circle of dough on top of the previous one and spreading 1 tablespoon of butter on top, but do not spread butter on the top layer! Pinch the edges of the dough together so the layers do not separate.
- Cover with plastic wrap and chill the dough for 1 hour.
- Preheat the oven to 350°F.
- Shape the dough: Place the dough on a clean work lightly floured surface. Use a rolling pin to roll it out into a large circle, about 15 to 18 inches, it should be quite thin (⅛-inch thick). Using a pizza cutter or chef’s knife, cut the dough into 12 even segments (like a pizza).
- Working with 1 triangle at a time, make a small slit in the middle of the base of the triangle. This will allow the dough to be curved into its iconic shape, so it’s important to make this cut.
- Pull the two bottom corners outward and roll the dough towards the tip. Place the crescent roll shapes back on the parchment paper lined baking sheet and curve the ends so that the dough resembles a crescent shape (give the dough room to rise and spread a little bit). Repeat with the remaining portions of dough.
- Final proof: Cover the baking sheet with plastic wrap and let the dough rise until puffy and has noticeably increased in volume, about 30 to 45 minutes.
- Whisk the egg. Using a pastry brush, brush the tops of the dough with egg wash.
- Bake for 20 to 30 minutes or until the crescent rolls are golden brown. These rolls are best served fresh out of the oven.
Video

Notes
- Weigh your ingredients for the best results.
- You can use instant yeast if you’re in a hurry or if you’re out of active dry yeast.
- Make sure your yeast activates and is not expired. If it doesn't turn foamy, then that means your dough won't rise.
- Make sure to let your dough rise fully, don't just go off an amount of time, look for visual signs that the dough is ready.
- Make sure your butter is soft, especially for spreading it onto each layer of dough as the dough is very thin.
- I use a pizza cutter to cut the dough into triangles, but a sharp knife will also work!
- These are best enjoyed fresh out of the oven!
- High Altitude — Follow the recipe as noted.
Nutrition
The Bake Shop
Visit The Bake Shop for foodie inspired tees, sweatshirts, and accessories. Find my favorite kitchen tools (with discounts!) in the Kitchen Shop. And shop our collection of food inspired dog accessories too!


So much better than store bought! These are worth every minute of prep as they’re so flaky and buttery!
Hi I was wondering about making these ahead-maybe leaving overnight in the fridge after putting the layers together?
Hi Lara, yes, you can make ahead. I’d recommend putting the layers together, cutting, and even rolling into the crescent shape. Let them final proof (go to step 20 in step by step photo section) and then keep the tray covered with plastic wrap so they don’t dry out. Remove from the fridge when you preheat the oven, then bake! Let me know how they turn out! Happy baking!