Festive Gingerbread Snack Cake Without Frosting
This Festive Gingerbread Snack Cake Without Frosting is a must bake this holiday season! It’s one layer of perfectly spiced, moist, and fluffy gingerbread cake with the addition of stenciled holiday cheer on top! I serve this with fresh made Homemade Organic Whipped Cream for a truly special holiday cake that’s incredibly easy to make!
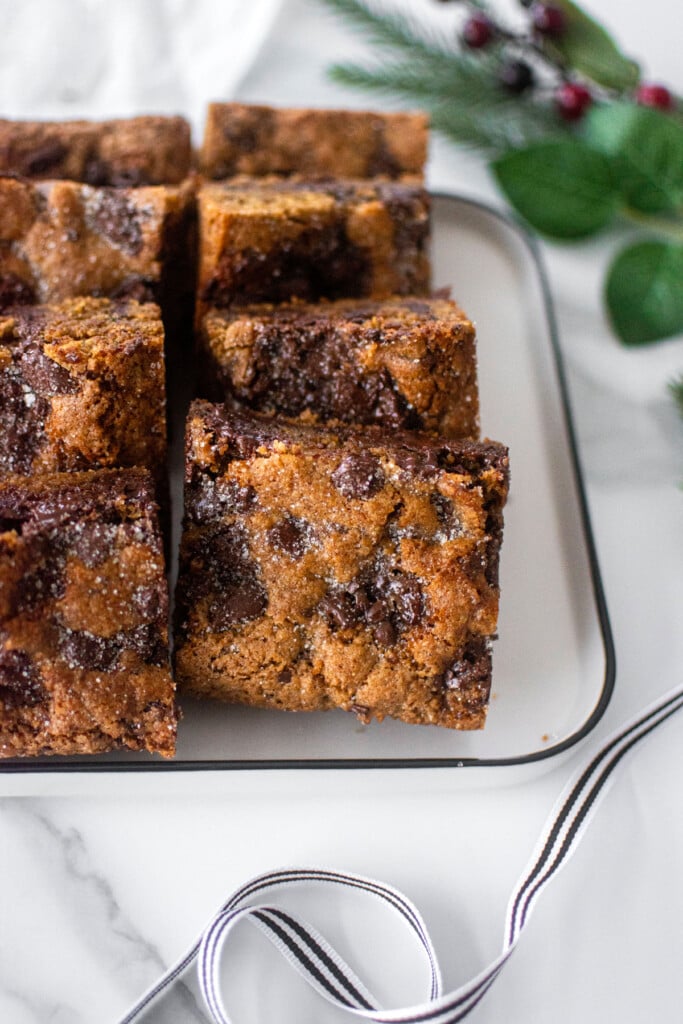
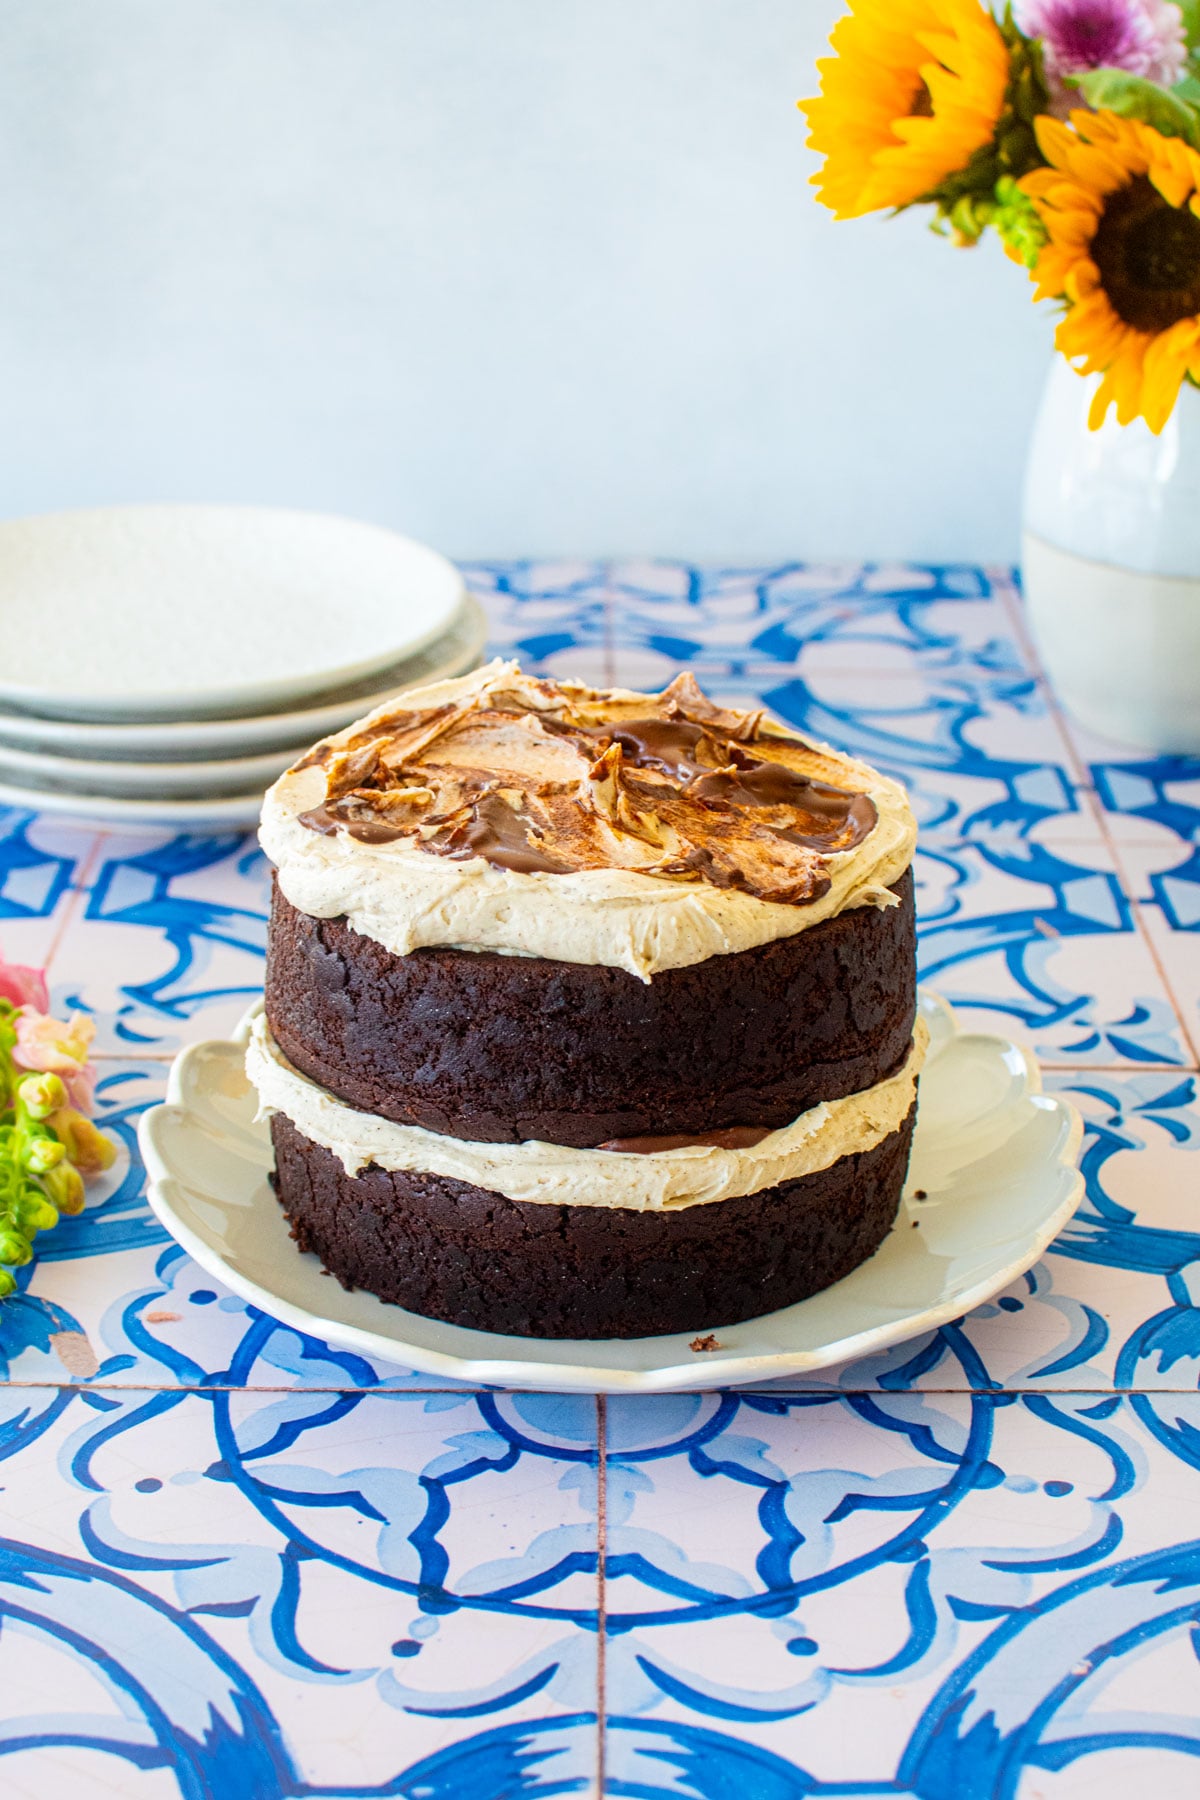
If you’re looking for more gingerbread recipes, be sure to check out some of my other favorites like Frosted Gingerbread Banana Bread, Maple Caramel Dark Chocolate Gingerbread Cookie Bars, or Eggless Pumpkin Gingerbread Cookies.

A Quick Look At The Recipe
- Recipe Name: Festive Gingerbread Snack Cake Without Frosting
- Ready In: 1 hour 50 minutes
- Makes: 9-inch snack cake
- Main Ingredients: butter, dark brown sugar, molasses, all purpose flour
- Flavor Profile: rich molasses with cozy spices and light whipped cream
- Dietary Info: no seed oils, gluten free swap option
- Difficulty: Easy!
- Why You’ll Love It: Rich and cozy holiday cake that's so easy!
Summarize & Save This Content On
Why You’ll Love This Recipe
- Holiday Flavors: This is a maple gingerbread cake, I use maple syrup along with dark brown sugar, molasses, and the classic gingerbread spices. That creates a dark, rich, and perfectly spiced cake that goes great with a hot chocolate, hot toddy, or a cup of coffee or tea. Try my Maple Spice Cake With Brown Sugar Frosting for another simple holiday cake.
- Easy AF: I’m serious when I say this cake is easy AF! This maple gingerbread cake mixes up easily in your stand mixer. Dump it into a 8-inch baking pan, bake, and then sift powdered sugar on top of each piece with a holiday stencil — that’s it!
- Festive and Fun: This easy gingerbread cake is so festive and fun to make. It doesn’t take anymore time than other cakes, it may even take less because there’s no frosting to make! The stencils make this cake incredibly festive but insanely easy! Check out my Easy Christmas Present Brownies for another easy holiday dessert!
- Moist and Fluffy: This maple gingerbread cake is incredibly moist thanks to the dark brown sugar, molasses, maple syrup, and pumpkin. All of these ingredients help keep this cake moist and fluffy!
- No Frosting: This snack cake without frosting still takes the cake! Instead of frosting, I serve this organic gingerbread cake with my homemade organic whipped cream. Because the festive stencils are done on top of the cake, I didn’t add any frosting. But, this Gingerbread Snack Cake is the perfect pairing for fresh made organic whipped cream. Check out How to Make Organic Whipped Cream for my recipe.
This is my fifth and final recipe in my series, Turning Leftover Pumpkin Into Christmas Desserts! I love reducing food waste, and this was a fun challenge this holiday season to use up leftover pumpkin from Thanksgiving!
Be sure to check out the other four recipes in this series, Eggless Pumpkin Gingerbread Cookies, Chocolate Peppermint Crunch Cookies, Chocolate Peppermint Christmas Tree Cupcakes and Cranberry Pumpkin Dog Cookies.
Ingredients

- Dark Brown Sugar: I use my organic Homemade Dark Brown Sugar in this recipe, but store bought also works. While light brown sugar will work in this recipe, it won’t provide the same rich flavor that dark brown sugar will (which is ideal for gingerbread!). So, be sure to use dark brown. If you don’t have dark brown, you can easily make your own with my Homemade Dark Brown Sugar recipe.
- Molasses: You’ll need organic blackstrap molasses for this cake, it’s what gives gingerbread it’s signature dark color and rich flavor.
- Pumpkin: Farmer’s Market Organic Pumpkin is what I use in this cake. The pumpkin makes this cake moist and fluffy. If you don’t have pumpkin, you can replace it with sour cream or even yogurt.
- Baking Powder: You’ll need baking powder for this recipe, because it’s cake. Read my post the Difference Between Baking Soda and Baking Powder for more info on choosing the right leavening agent.
- Spices: I use organic cinnamon, ginger, and cloves which is my holy trio for gingerbread. If you have my Homemade Gingerbread Spice Mix made, you can use that instead of all three spices. Just use 3 teaspoons of the gingerbread spice mix in place of all three spices.
*For a full list of ingredients and measurements, visit the recipe card below.
Baker’s Tips
- Make sure your butter is soft. I like to leave butter out on the counter the day before so it softens naturally.
- While you can use light brown sugar in place of dark, it won’t have the same flavor. Dark brown sugar is what gives gingerbread its signature dark color and rich flavor. So, I really recommend using dark brown sugar! But, if you want a lighter flavor, check out How to Make Homemade Light Brown Sugar instead.
- Have eggs and milk at room temperature for a really smooth cake batter. Take them out of the fridge 2 hours before baking the cake.
- If your cake seems a little domed when it comes out of the oven, immediately take a spatula and press down the middle. Do this just a little bit to flatten the cake, this way the stencils will sit flat when you stencil the powdered sugar. This was one of our tricks at my bakery!
- The stencils are optional, you can skip this part if you want and just sift some powdered sugar over the top of the cake.
- While I don't frost this, you can do that instead if you prefer! Try my Easy Homemade Cream Cheese Frosting or Vanilla Bean Buttercream Frosting.
- Be sure to store extra cake in an airtight container. And, if you have extra whipped cream, store in an airtight container in the fridge.

How to Make a Festive Gingerbread Snack Cake Without Frosting

- Preheat the oven to 350°F. Line an 8×8-inch pan with parchment paper. To make the batter: In the bowl of a stand mixer, add the butter, dark brown sugar, molasses, and maple syrup. Mix on low until combined and there are no butter chunks.

- Add the eggs, milk, and pumpkin puree and mix to combine.

- Last, add in the flour, cinnamon, cloves, ginger, baking powder, and sea salt in that order.

- Mix on low until combined into a smooth cake batter. Be sure to scrape down the sides of the bowl to ensure it’s evenly mixed.

- Transfer the batter to the prepared baking pan and spread it out evenly.

- Bake for 35 to 40 minutes or until a toothpick inserted in the center comes out clean. (Make sure to check the Notes at the bottom of the recipe if you're baking at high altitude). If your cake seems a little domed when it comes out of the oven, then using a spatula, press it down a little bit in the middle to flatten it. If you do this when the cake is hot it will press down easily and you can get a perfectly flat cake without trimming, which really helps with the stencils. Allow the cake to cool completely in the baking pan.

- Remove the cake from the pan and cut into 9 slices (3×3). Place a stencil over the top of each piece and sift powdered sugar on top. It’s best to do each piece individually.

- Serve with homemade whipped cream (optional).
Gingerbread Snack Cake Without Frosting FAQ’s
Yes, just add 1/4 teaspoon of salt per 113 grams of butter.
No, this part is totally optional. You don’t need to do the stencil part and can skip it and just sift some powdered sugar over the top instead!
Yes, if you prefer to skip the stencils and frost this cake then try my Vanilla Bean Buttercream Frosting recipe as it will be the perfect frosting to top this cake with!
Store the cake in an airtight container. And, if you have extra whipped cream, store in an airtight container in the fridge.

More Gingerbread Desserts


Loved it? Tell us!
Thanks a waffle lot for stopping by 🧇 If you loved this recipe, sprinkle some love by leaving a ⭐⭐⭐⭐⭐ review — it inspires others to try this recipe and helps me organically reach dog loving foodies like you! I personally read and appreciate every message!
Also, be sure to subscribe to our YouTube channel and join John John and me in the kitchen for step by step recipe videos! And subscribe to our newsletter for new and seasonal recipes!

Festive Gingerbread Snack Cake Without Frosting
Equipment
- Digital Food Scale
- Stand Mixer
- 8×8-inch Baking Pan
- Parchment Paper Sheets
- Christmas Stencils
Ingredients
Batter
- 113 grams salted butter (softened)
- 113 grams dark brown sugar (packed)
- 85 grams blackstrap molasses
- 44 grams maple syrup
- 2 large eggs
- ½ cup milk
- 57 grams pumpkin puree
- 320 grams all purpose flour
- 1 teaspoon ground cinnamon
- 1 teaspoon ground cloves
- 1 teaspoon ground ginger
- 1 teaspoon baking powder
- ½ teaspoon fine sea salt
Topping
- Powdered sugar (for stenciling)
- Whipped Cream (for serving)
Instructions
- Preheat the oven to 350°F. Line an 8×8-inch pan with parchment paper.
- To make the batter: In the bowl of a stand mixer, add the butter, dark brown sugar, molasses, and maple syrup. Mix on low until combined and there are no butter chunks.
- Add the eggs, milk, and pumpkin puree and mix to combine.
- Last, add in the flour, cinnamon, cloves, ginger, baking powder, and sea salt in that order. Mix on low until combined into a smooth cake batter. Be sure to scrape down the sides of the bowl to ensure it’s evenly mixed.
- Transfer the batter to the prepared baking pan and spread it out evenly.
- Bake for 35 to 40 minutes or until a toothpick inserted in the center comes out clean. If your cake seems a little domed when it comes out of the oven, then using a spatula, press it down a little bit in the middle to flatten it. If you do this when the cake is hot it will press down easily and you can get a perfectly flat cake without trimming, which really helps with the stencils. Allow the cake to cool completely in the baking pan.
- Remove the cake from the pan and cut into 9 slices (3×3).
- Place a stencil over the top of each piece and sift powdered sugar on top. It’s best to do each piece individually.
- Serve with homemade whipped cream!
Video

Notes
- Make sure your butter is soft, this is key for creaming together with the sugars and molasses.
- It helps to have dairy at room temperature, this ensures the cold dairy doesn't seize up the butter you just creamed! This will help you achieve a light and tender crumb instead of a dry cake.
- While I don't frost this cake, you can if you want! It would be delicious with my Easy Homemade Cream Cheese Frosting or Vanilla Bean Buttercream Frosting.
- Store extra cake in a cake dome or in an airtight container.
Nutrition
The Bake Shop
Visit The Bake Shop for foodie inspired tees, sweatshirts, and accessories. Find my favorite kitchen tools (with discounts!) in the Kitchen Shop. And shop our collection of food inspired dog accessories too!

Love how festive and EASY this holiday cake is!