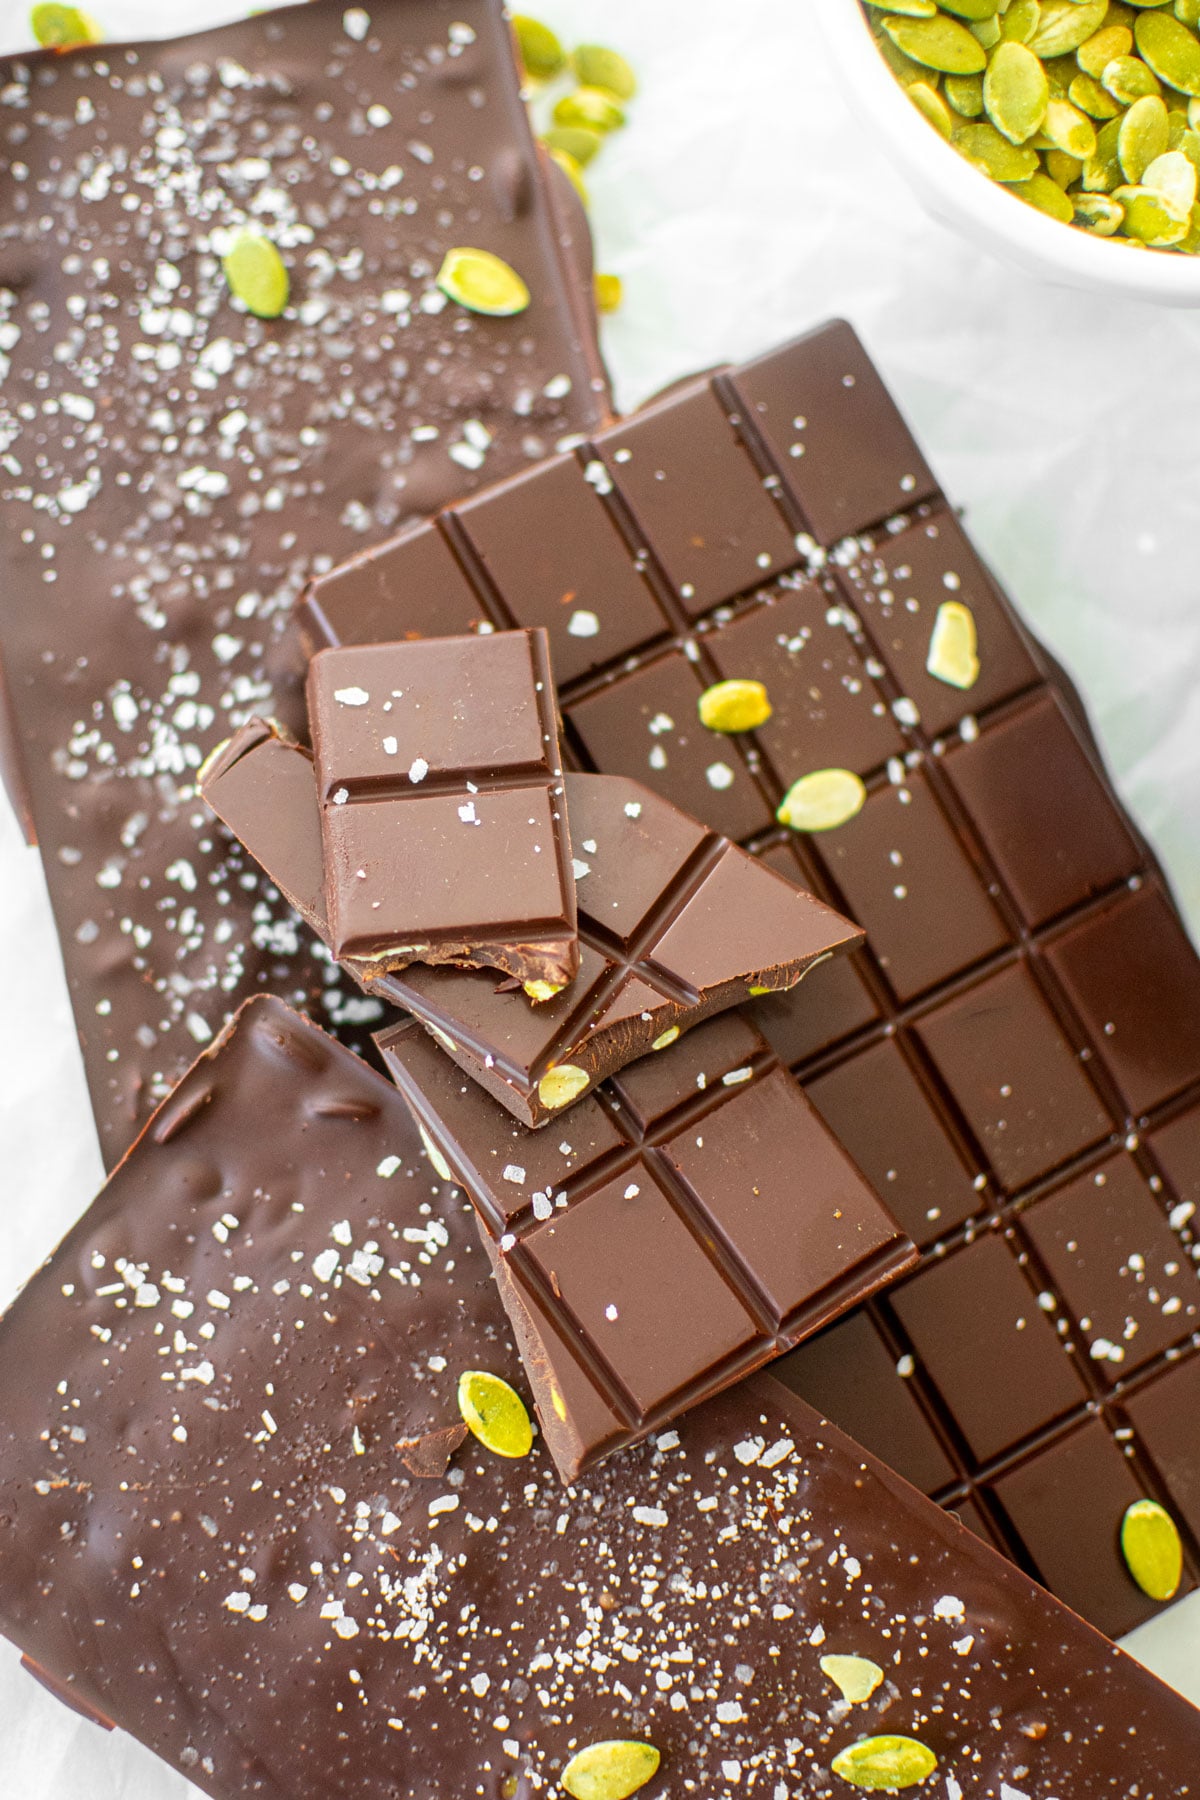
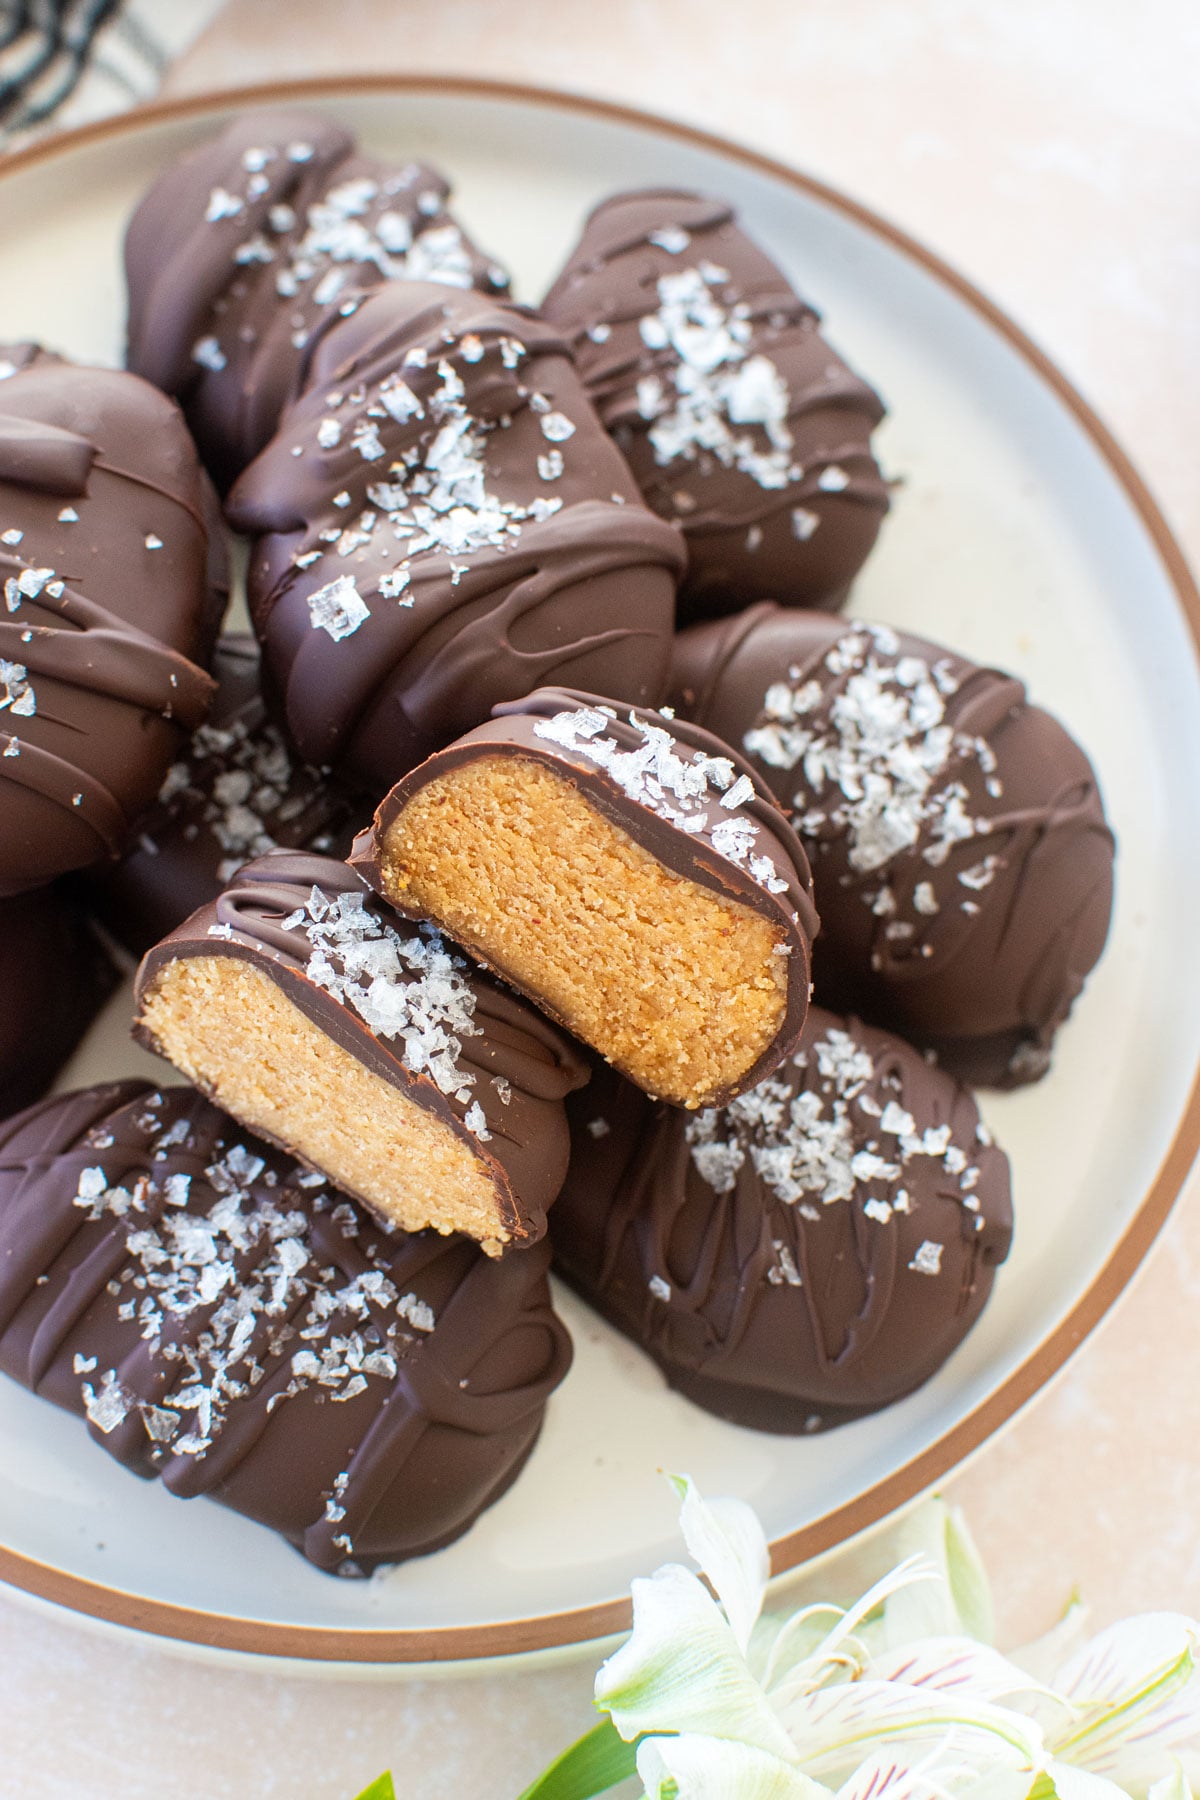
Pumpkin Chocolate Bars
Indulge in this simple fall candy recipe with only 3 ingredients! These Pumpkin Chocolate Bars are made of dark chocolate, pumpkin seeds, and flaky sea salt for a sweet an salty chocolate bar that you will fall in love with!
If you’re looking for more homemade candy recipes, be sure to check out some of my other favorites like Sea Salt Dark Chocolate Cashew Clusters, Strawberry Cream Drops, Homemade Chewy Chocolate Caramel Candy, Peanut Turtle Candy, or Chocolate Covered Raisin Clusters.
A Quick Look At The Recipe
- Recipe Name: Pumpkin Chocolate Bars
- Ready In: 15 minutes
- Makes: 4 chocolate bars
- Main Ingredients: dark chocolate, pumpkin seeds, flaky sea salt
- Flavor Profile: rich dark chocolate with salty crunchy pumpkin seeds
- Dietary Info: vegan, gluten free, eggless, no seed oils
- Difficulty: Easy!
- Why You’ll Love It: better than store bought chocolate bars
Summarize & Save This Content On
Why You’ll Love This Recipe
- 3 Ingredients: This simple fall candy recipe only has 3 ingredients! Dark chocolate, pumpkin seeds, and flaky sea salt is all you need for a delicious fall treat.
- Healthy-ish: I love desserts that are healthy-ish like Homemade Caramel Sauce with Bone Broth. While these Pumpkin Chocolate Bars are definitely indulgent, they are also a healthier dessert option because they are made of dark chocolate and pumpkin seeds.
- No Bake Dessert: If you want a quick no bake fall dessert, this is it! Pumpkin treats don't always have to be baked or even include pumpkin puree or pumpkin pie filling! These pumpkin bars prove just that with simple ingredients and no baking required.
- Quick and Easy: These homemade chocolate bars are quick and easy to make. I temper the chocolate here, but this step is completely optional. If you don’t temper it, you may just need to store these in the fridge.
Ingredients

- Dark Chocolate: I use organic mini dark chocolate chips for ease. But, you could also use a plain dark chocolate bar, you’d have to chop it up though. I kind of feel like it’s odd to chop up a chocolate bar, just to make a chocolate bar! Another reason why I use the mini chocolate chips, haha!
- Pumpkin Seeds: I use organic roasted and salted pumpkin seeds. I recommend using these, making sure they are roasted already as they have more flavor.
- Flaky Sea Salt: I use flaky sea salt for that sweet and salty combo! If you are not as obsessed as I am with sweet and salty chocolate, feel free to leave this out.
*For a full list of ingredients and measurements, visit the recipe card below.
Easy Substitutions
- I use dark chocolate here, but milk or white chocolate also works!
- I use roasted and salted pumpkin seeds. You could use raw, but they won’t have as much flavor which is why I use roasted and salted. I’m obsessed with the Go Raw brand.
- You can also add in more seeds or use a different seed such as sunflower seeds or sesame seeds, both of these would be delicious! Just be sure the total volume is the same (1/4 cup).
- If you want these to have a little pumpkin spice, add in 1/4 teaspoon of pumpkin pie spice mix. This will satisfy a fall pumpkin craving, without brownies, cookie bars, or cakes!
- I temper the chocolate here, but this step is totally optional. If you don’t temper, you may just want to store it in the fridge to prevent sweating. Learn more at How to Temper Chocolate for Candy Making.
- If you don't temper the chocolate, you may want to store in the refrigerator to prevent the chocolate from sweating.
- The flaky sea salt is optional, if you don’t want a salty chocolate bar, just skip this step.
How to Make Pumpkin Chocolate Bars

- In a heatproof bowl, add 80% of the mini chocolate chips. Melt, using a doubler until the chocolate reaches 115°F.

- Add in the remaining 20% of chocolate and stir to combine completely.
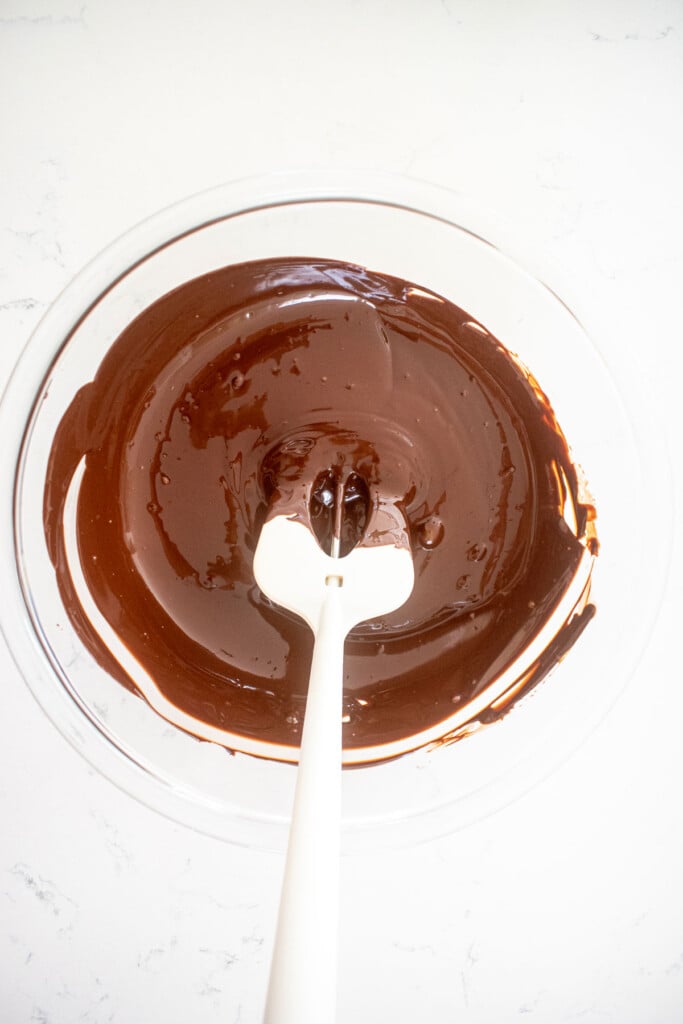
- Allow the chocolate to come down to 91°F. (If you are not tempering, then you can just melt all the chocolate together in a heatproof bowl in the microwave doing 30 second intervals, stirring between each one to prevent burning).

- Add in the pumpkin seeds.

- Stir to combine completely.

- Transfer the chocolate to the candy bar molds and spread evenly.

- Sprinkle with flaky sea salt.

- Allow the chocolate to set. You can do this at room temperature or speed it up by placing in the fridge or freezer. I transfer my chocolate bars to a baking sheet so it’s easier to move them without spilling them out! You can wrap in foil or store in an airtight container. Store in a cool dry place or in the fridge (if you do not temper).
Pumpkin Chocolate Bars FAQ’s
No, you don’t. This step is totally optional. If you don’t temper it, then you may just need to store in the fridge. If you’re just making these for you and your family to eat, then I wouldn’t worry too much about tempering. I prefer to temper when I’m gifting or setting out chocolate for a party. This way it doesn’t sweat or get people’s hands sticky.
You can do this using a double boiler or you can also use a heatproof mixing bowl and do 30 second intervals in the microwave. It's important to do 30 second intervals and stir between each one, this will help prevent burning as it will ensure the chocolate gets heated evenly.
If chocolate gets moisture in it, it can seize, even a drop of water! This can also happen if it gets too hot. So, this is why doing intervals (if microwaving) and stirring to ensure even heat is important.
Yes, just be sure to use a heatproof bowl (like glass). And, you want to do 30 second intervals and stir it up between each one. This ensures that the chocolate doesn't get too hot in one spot (and burn) and that it gets evenly heated.
No, they don't. While I do prefer to use roasted and salted pumpkin seeds because they have more flavor, raw works if that's what you prefer.
Yes! Add in 1/4 teaspoon of pumpkin spice into the melted chocolate for a little extra flavor if you love pumpkin spice.
Yes, sunflower or sesame seeds would also be delicious in this recipe! You can swap for either or use a mix of all three. Just ensure the total volume of seeds does not exceed ¼ cup.
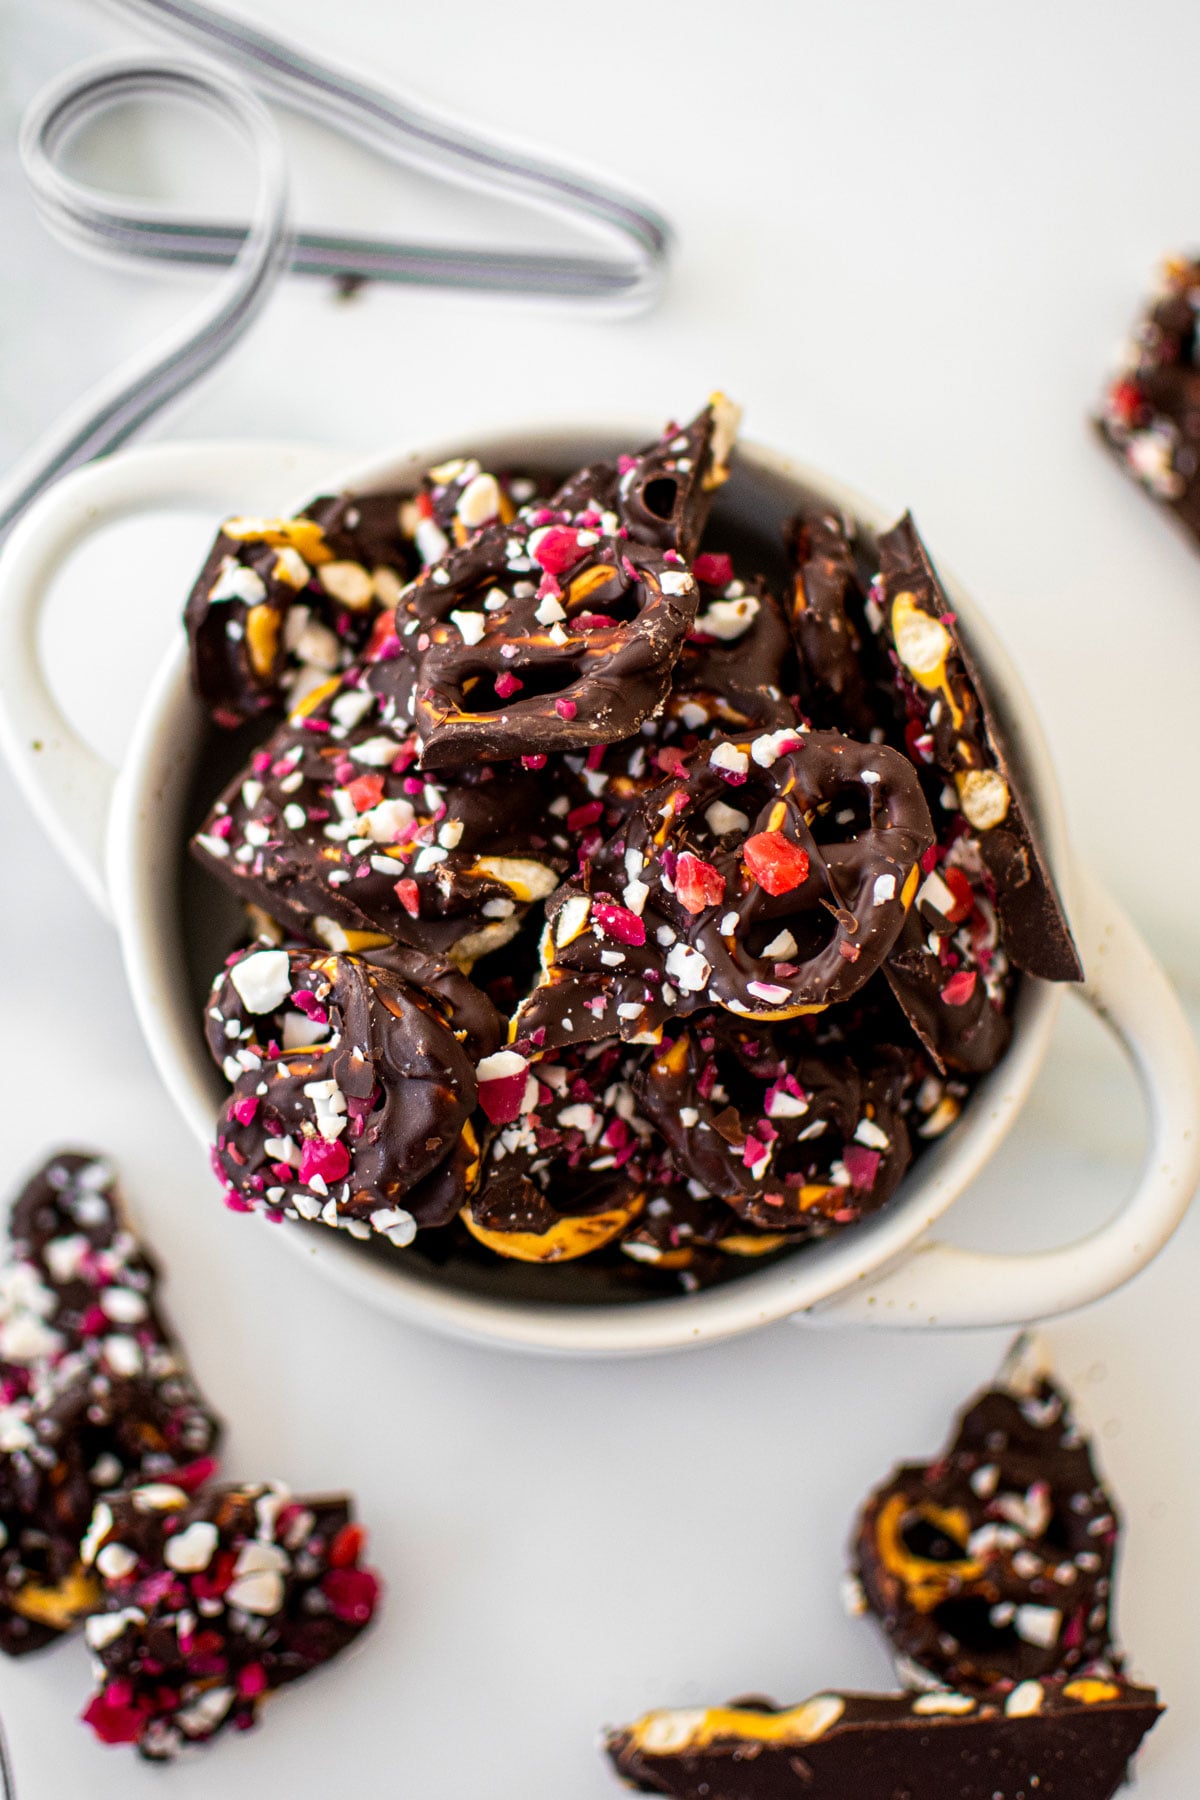
Yes, but it will be more like chocolate bark. You can line a baking sheet with parchment paper and just pour the chocolate onto it and spread out evenly. Then, you can break into pieces. Alternatively, you could also use a baking pan, such as a 9×9-inch or 8×8-inch baking pan. Line it with parchment paper and add the melted chocolate. Once cooled, cut into bars.
Chocolate is best wrapped in foil or stored in an airtight container. You can store in a cool, dry place like your pantry. Or you can store in the fridge, especially if you didn’t temper.
Because this is made with dark chocolate and doesn’t have any dairy, it will last for up to two months in the pantry or fridge! You can also freeze it so it lasts longer too.
Yes, just store in an airtight container in the freezer for up to 3 months.

Benefits of Homemade Chocolate Bars
Making your own homemade chocolate bars is so much better than store bought! Here's why I love making my own as opposed to buying them!
- Quick and easy, only need a few ingredients!
- Save money! Gourmet organic chocolate bars are anywhere from $5 to $7 a pop, which is pretty pricey. This recipe only costs you $3.97 per bar (if you use the ingredients I mention here, trust me I owned a bakery for over a decade, costing is my jam!).
- You can make your own flavors! Try some of my other favorite chocolate bars like Strawberry Chocolate Bars, Salted Almond Dark Chocolate Bars, and of course Homemade Crunch Bars.
- Also, try other better than store bought candy bars like Vegan Snickers Bars, Homemade Twix Bars, or Healthy Almond Joy Bars.
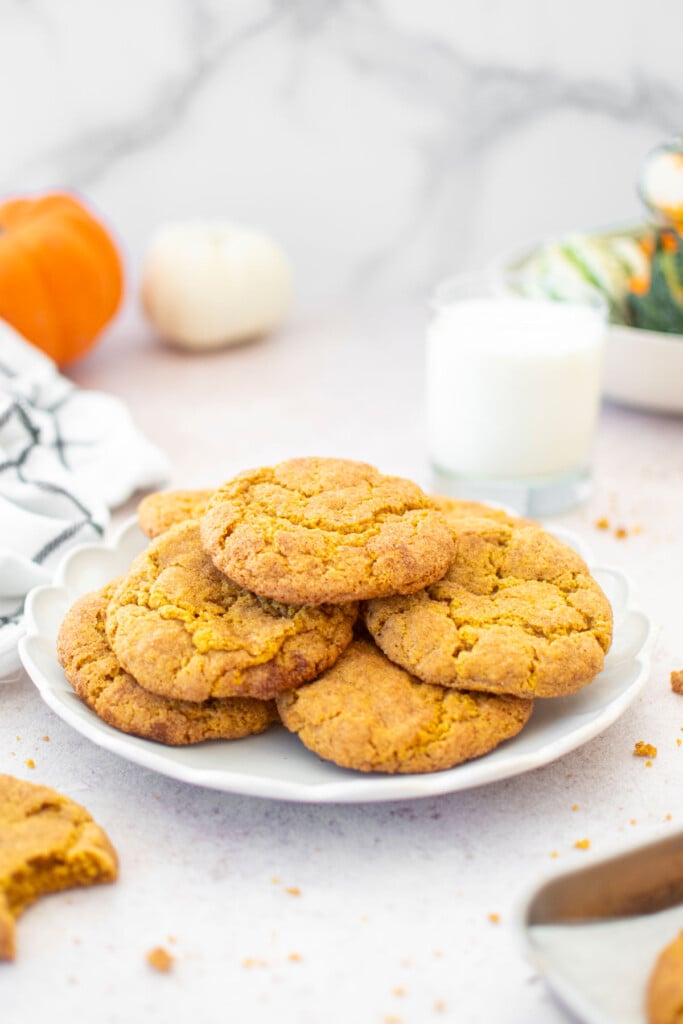
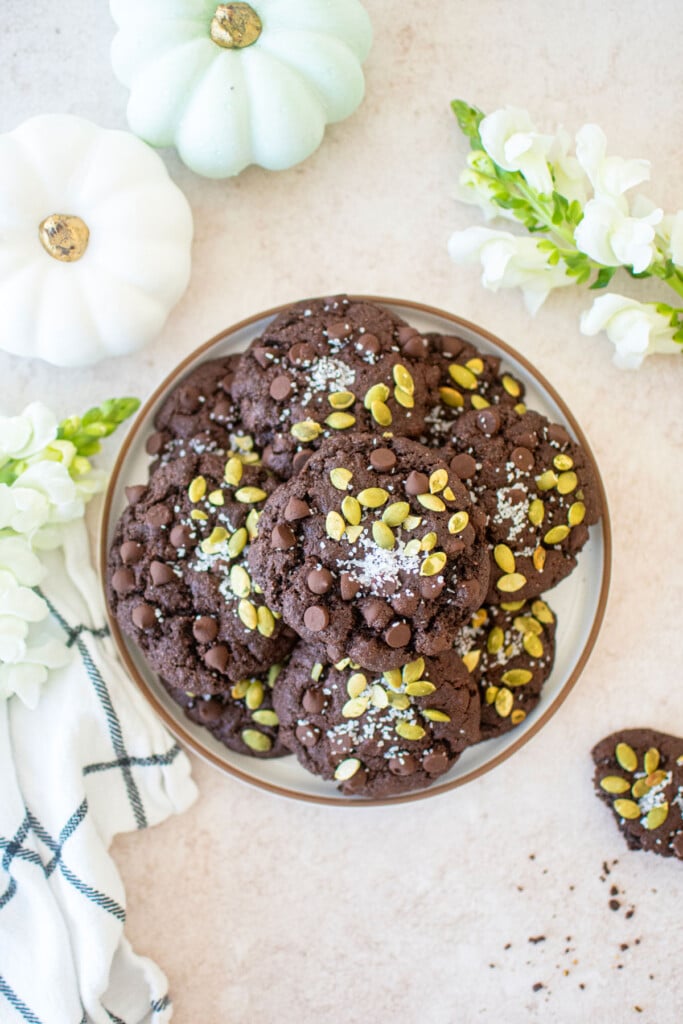
More Pumpkin Desserts


Loved it? Tell us!
Thanks a waffle lot for stopping by 🧇 If you loved this recipe, sprinkle some love by leaving a ⭐⭐⭐⭐⭐ review — it inspires others to try this recipe and helps me organically reach dog loving foodies like you! I personally read and appreciate every message!
Also, be sure to subscribe to our YouTube channel and join John John and me in the kitchen for step by step recipe videos! And subscribe to our newsletter for new and seasonal recipes!

Pumpkin Chocolate Bars
Equipment
- Digital Food Scale
- Heatproof Mixing Bowl
- Small Pot (optional)
- Chocolate Thermometer (optional)
- Chocolate Bar Molds
Ingredients
- 284 grams mini dark chocolate chips
- 30 grams roasted and salted pumpkin seeds
- Flaky sea salt
Instructions
- In a heatproof bowl, add 80% of the mini chocolate chips. Melt, using a doubler until the chocolate reaches 115°F. Add in the remaining 20% of chocolate and stir to combine completely. Allow the chocolate to come down to 91°F. (If you are not tempering, then you can just melt all the chocolate together in a heatproof bowl in the microwave doing 30 second intervals, stirring between each one to prevent burning).
- Add in the pumpkin seeds and stir to combine completely.
- Transfer the chocolate to the candy bar molds and spread evenly. Sprinkle with flaky sea salt.
- Allow the chocolate to set. You can do this at room temperature or speed it up by placing in the fridge or freezer. I transfer my chocolate bars to a baking sheet so it’s easier to move them without spilling them out!
- You can wrap in foil or store in an airtight container. Store in a cool dry place or in the fridge (if you do not temper).
Video

Notes
- I use dark chocolate here, but milk or white chocolate also works!
- I use roasted and salted pumpkin seeds. You could use raw, but they won’t have as much flavor which is why I use roasted and salted. I’m obsessed with the Go Raw brand.
- You can also add in more seeds or use a different seed such as sunflower seeds or sesame seeds, both of these would be delicious! Just be sure the total volume is the same (1/4 cup).
- I temper the chocolate here, but this step is totally optional. If you don’t temper, you may just want to store it in the fridge to prevent sweating. Learn more at How to Temper Chocolate for Candy Making.
- If you don't temper the chocolate, you may want to store in the refrigerator to prevent the chocolate from sweating.
- The flaky sea salt is optional, if you don’t want a salty chocolate bar, just skip this step.
- High Altitude — Follow the recipe as noted.
Nutrition
The Bake Shop
Visit The Bake Shop for foodie inspired tees, sweatshirts, and accessories. Find my favorite kitchen tools (with discounts!) in the Kitchen Shop. And shop our collection of food inspired dog accessories too!


My new obsession!