How to Lattice a Pie Crust
Learn how to lattice a pie crust with this easy step by step tutorial with photos and a video! You can apply this technique for how to lattice a pie crust to any double pie crust recipe!
If you’re looking for pie recipes that use this technique, check out some of my favorites like my Honey Lemon Apple Pie, Vanilla Bean Apple Pie, and Blueberry Slab Pie Without Eggs.

In This Baking Guide
- How to Lattice a Pie Crust
- Step by step photos for latticing a pie crust
- Video showing you exactly how to lattice a pie
- Tips to create the perfect lattice pie
- Recipes that use this technique
Summarize & Save This Content On
Learn how to lattice a pie crust to create a beautiful pie for any occasion! To be honest, my favorite kind of pies have a lattice top. I feel that the filling is cooked perfectly being exposed a little bit, instead of covered up. And, I love the perfectly crispy lattice strips and how they brown in the oven.
If you love lattice top pies as much as I do, you can check out some of my other recipes with this type of top. Brown Butter Apple Pie Without Eggs, Lattice Spiced Apple Pie, and Brown Sugar Honey Apple Pie are some of my faves! Plus, you can apply this technique to any pie crust with a double crust.
Baker's Tips for How to Lattice a Pie Crust
- Start with your pie crust already made. You can use my How to Make Pie Crust in a Mixer or any of my pie recipes that have a double crust. Check out How to Make Pie Crust with Sourdough Discard too!
- Make sure your pie dough is very chilled. Having cold pie dough makes it so much easier to roll out and work with.
- Have your filling and pie wash prepared before you roll out your pie, this will help keep your dough chilled as much as possible.
- If your dough starts getting warm, just put it back in the fridge for 15 to 20 minutes and take a break, and then come back to it, that’s totally fine!
- If you have excess dough that’s larger than your pie crust, be sure to trim it off. This will prevent your crust from becoming too thick, a crust that is too thick will not bake fully through and won’t taste that great.
- You can use any kind of pie wash that you like. Besides the traditional egg wash, other great options include heavy whipping cream or equal parts honey and water. If you use honey and water, be sure to microwave it so the honey and water can combine together completely. This is my favorite pie wash as it provides so much flavor and it makes it really golden brown!
- Always bake your pie on a baking sheet. This just prevents anything from dripping onto your oven rack or bottom of your oven. It’s so much easier to clean a baking sheet than the oven!
How to Lattice a Pie Crust

- First, start with a top and bottom pie crust. You can use my recipe for my All Butter Pie Crust or any double crust recipe that you love.

- Once the pie crust is made and chilled, lightly flour a work surface and roll out the bottom and top pie crust to about ¼-inch thick.

- Gently add the bottom pie crust to your pan pie and form it to the bottom and sides.
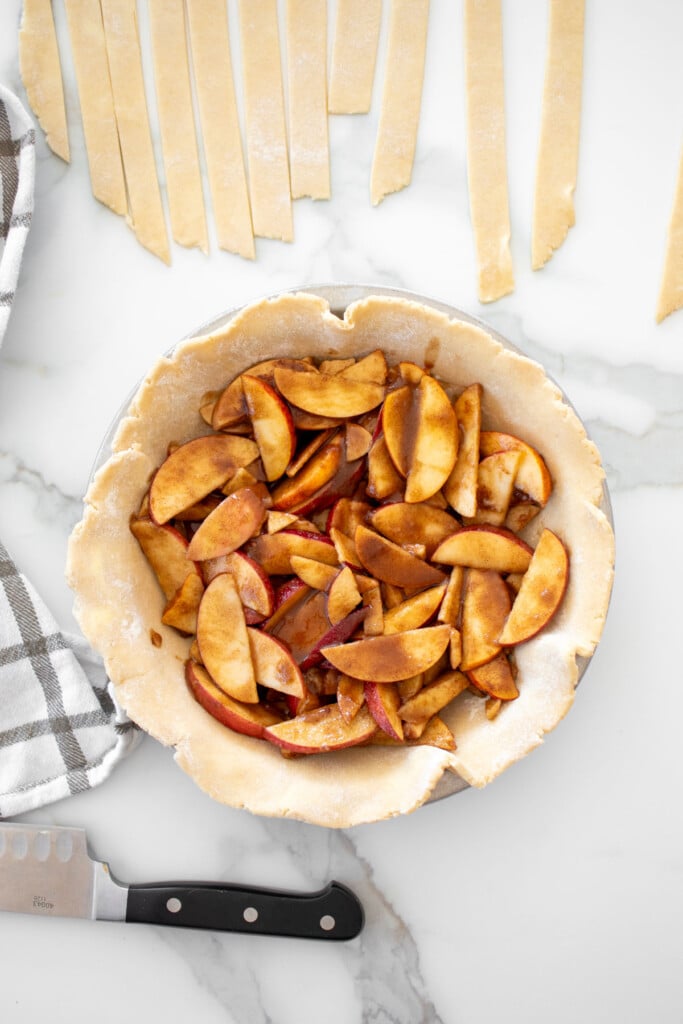
- Add your filling and spread it evenly.

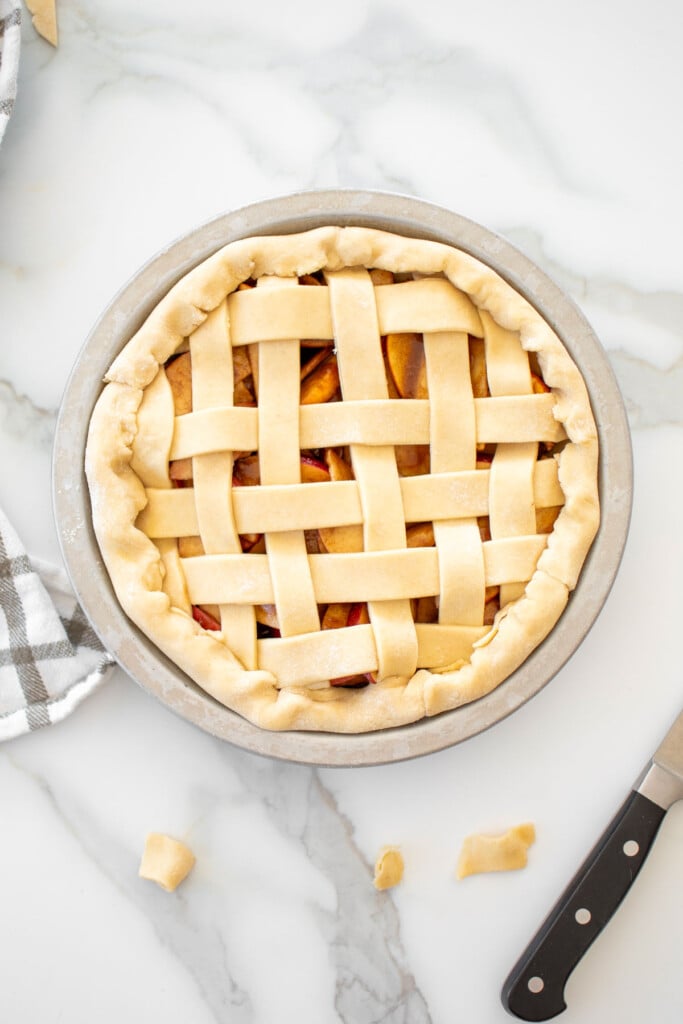
- Cut 1-inch strips out of the top pie crust, I actually like to use a pizza cutter for this part! But a sharp knife will work as well. Reserve the shorter pieces for the edges of the pie and the larger pieces for the middle.

- Lay them over the top of the pie with about 1-inch in-between.

- Pull back every other strip of dough.

- Then lay a strip down perpendicular to the ones you just laid. Pull back every other strip, opposite of what you just did, and lay another strip 1-inch apart horizontal to the strip you just laid.

- Continue doing this until the pie is completely covered. You may need to go back and add a strip if you have extra pie dough or more pie to cover! Trim the pie crust using a sharp knife so it’s even with the end of the pie pan.
- Pinch and fold over the curst into the middle of the pie to seal the top and bottom together.

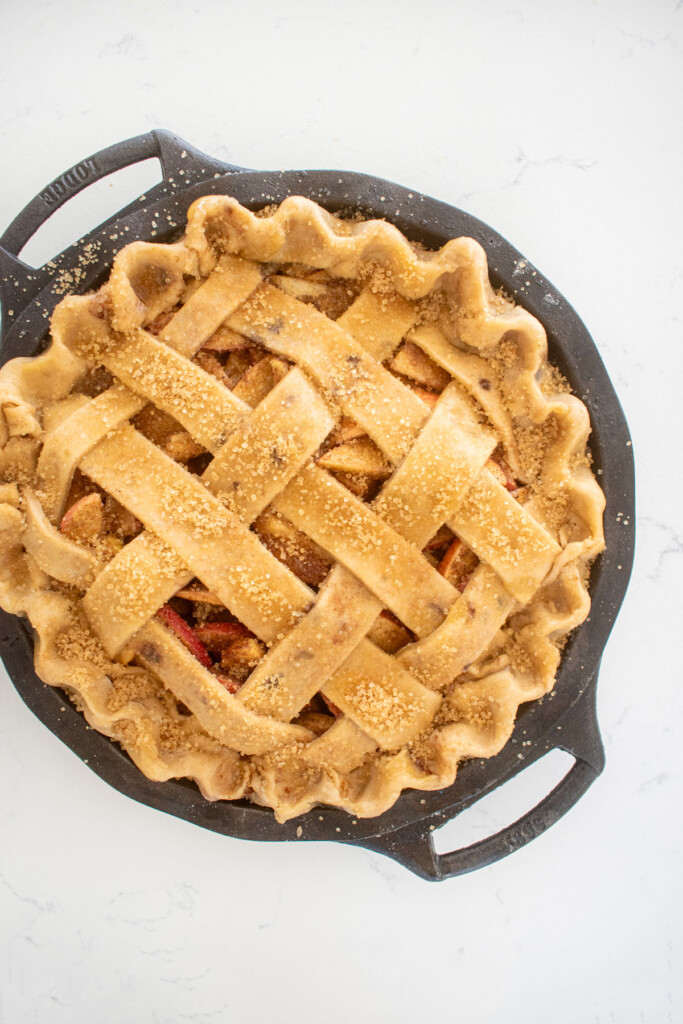
- Using your pointer finger of one hand and thumb and pointer of the other, flute the pie crust.

- Add your pie wash, this can be eggs, heavy whipping cream, or honey and water! Use a pastry brush to brush it on. Top with turbinado sugar for a sparkly pie with a subtle crunch (optional).
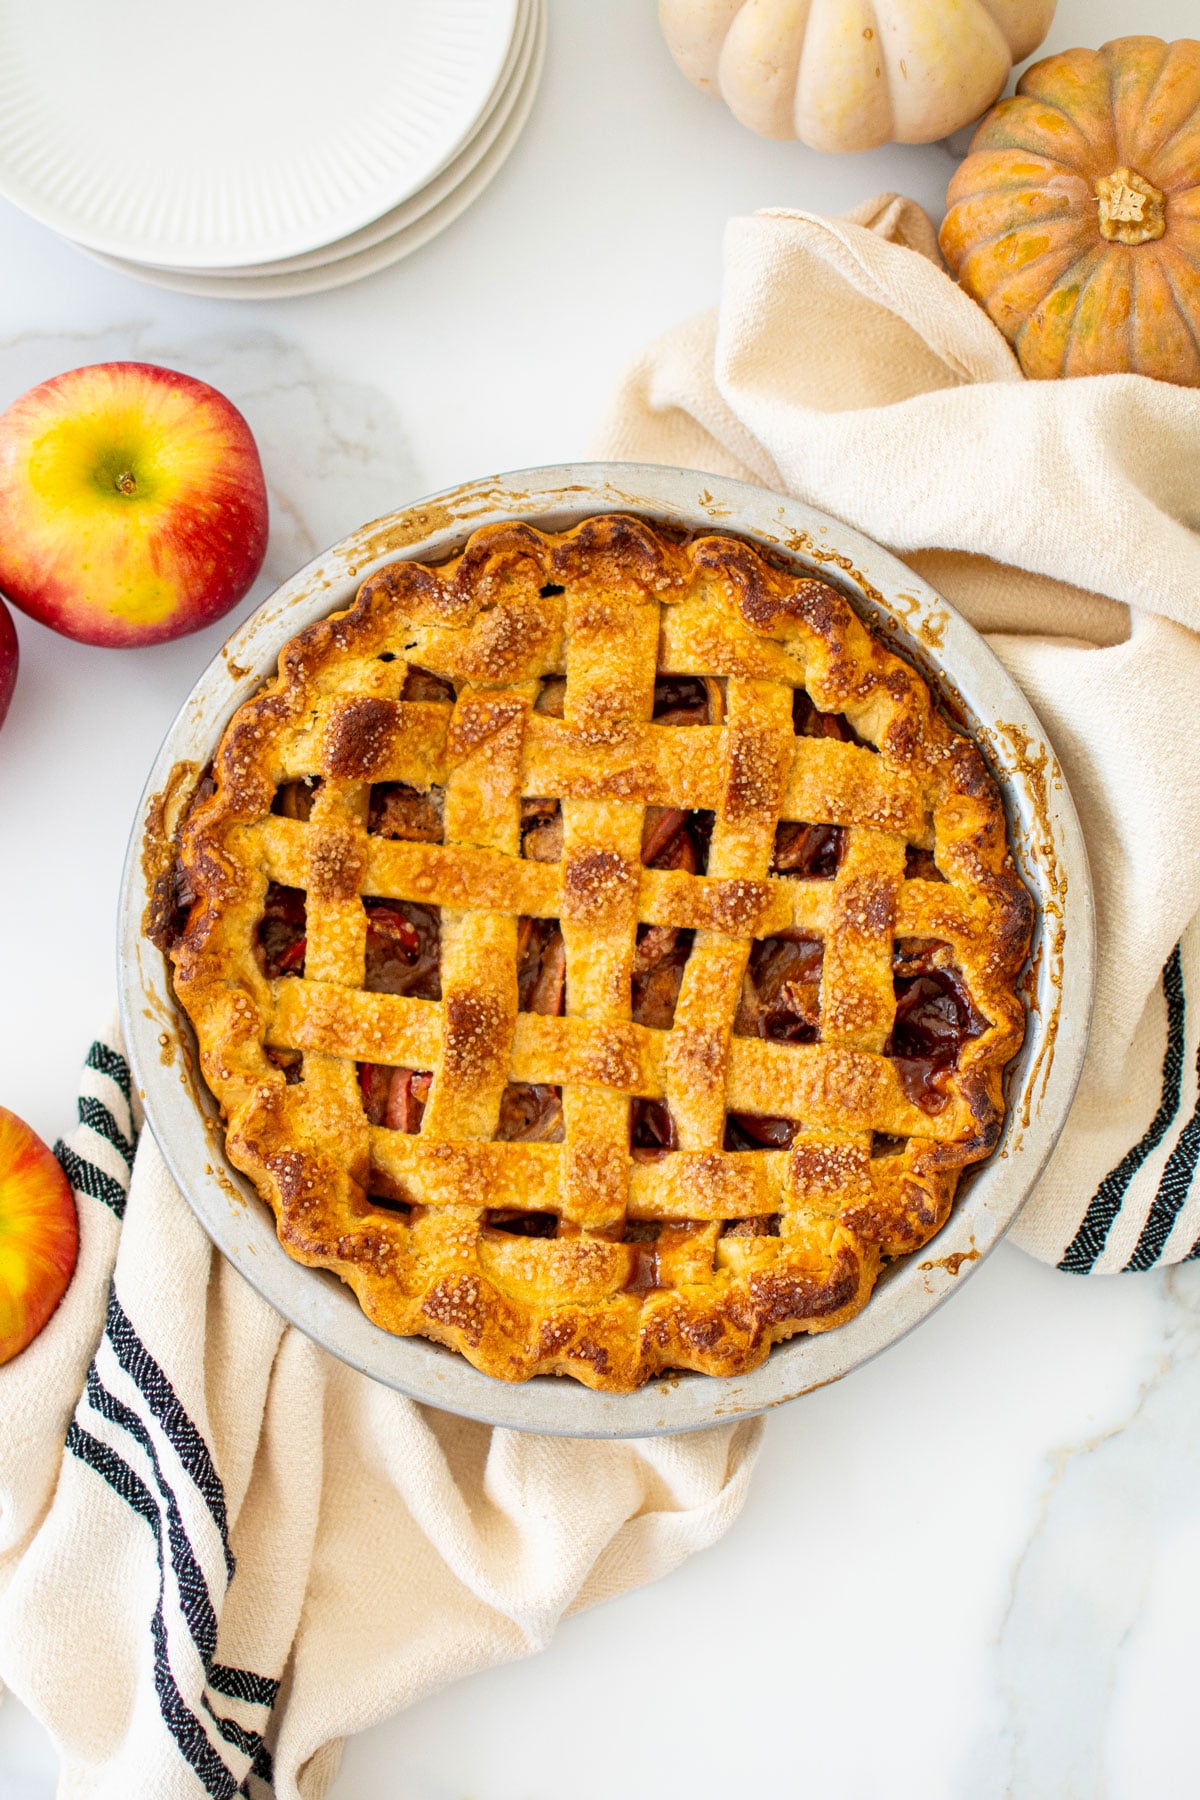
- Bake your pie at 350°F for about an hour, turn the heat up to 400°F for the last few minutes to ensure a golden brown pie crust. Or follow the instructions for the pie recipe you are using if it’s not one of my recipes.
Lattice Pie Crust Tutorial Video

Recipe FAQ's
A double pie crust is a pie crust recipe that includes a top (crust) and bottom (crust). I usually just refer to these as top and bottom crust, but other recipes may call it a double crust. You need to have a double crust to make a lattice pie!
When you make pie crust, the butter is cold. This is crucial for a flaky pie crust. So, keeping the pie crust cold as you work with it is also crucial for a flaky pie crust. When the pie crust bakes in the oven, the cold butter melts, leaving air pockets in the dough. The moisture in those air pockets turns to steam from the heat of the oven, expanding the air pockets. This is what creates a flaky pie crust and why it’s super important to have cold butter throughout the pie crust making and rolling out process before it goes into the oven.
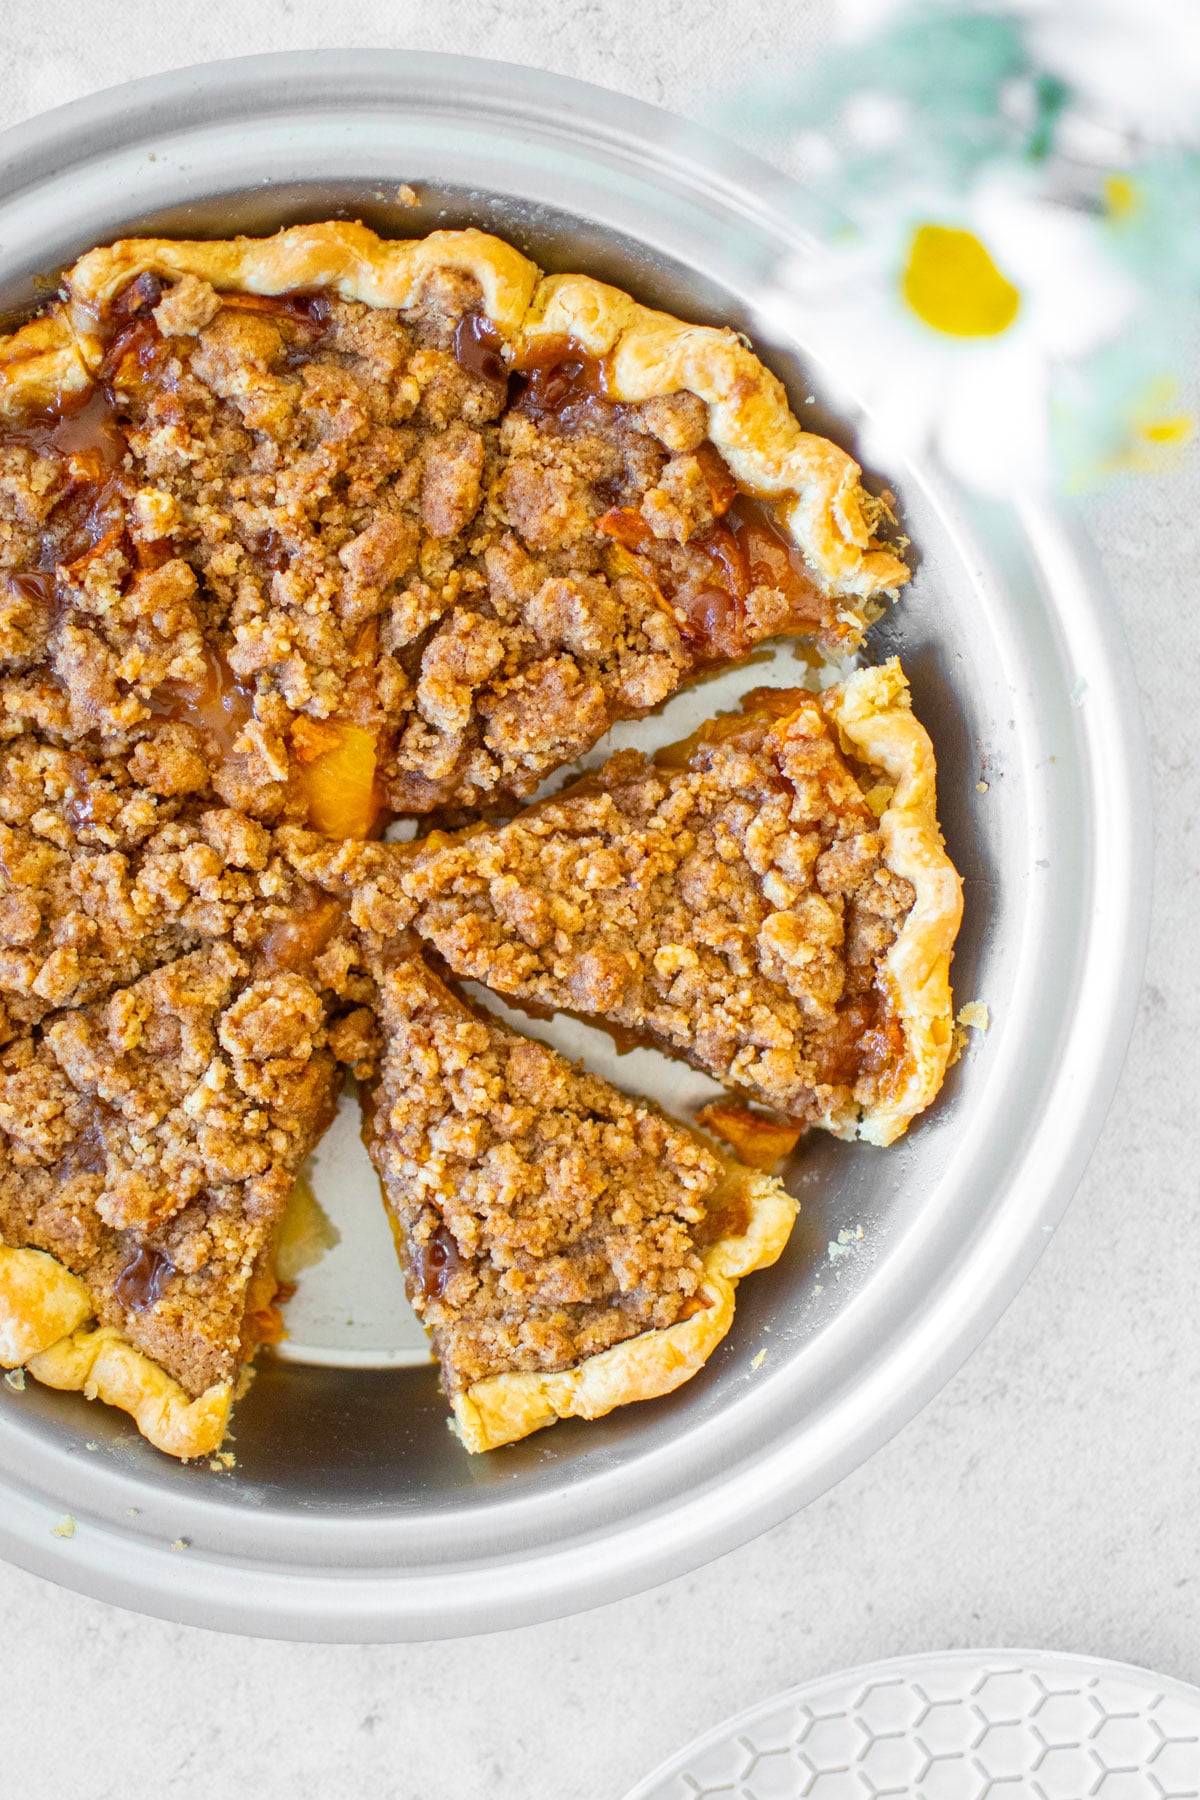
Fruit pies are best for lattice pies as the filling can show through and look beautiful. Apple, strawberry, blueberry, peach – these are all great pies to use this lattice technique on!
I use a pizza cutter to cut the strips as I feel it works so well! You can also use a sharp knife as well.
Sure, if you’d like to experiment with a different pattern, go for it! That’s what baking is all about!


The Bake Shop
Visit The Bake Shop for foodie inspired tees, sweatshirts, and accessories. Find my favorite kitchen tools (with discounts!) in the Kitchen Shop. And shop our collection of food inspired dog accessories too!

Leave a Reply